Cheep-cheep, Where Will We Live?
Even though we started building the chicken coop before acquiring hatching eggs, it was not ready by the time the chicks hatched.
It was not finished when they were one week old.
It was not finished when they were two weeks old.
I had thought putting the chicks in Oscar’s bathroom would motivate him to finish the coop. Nope. It required my setting a drop-dead deadline and telling Oscar that if the chicks weren’t going to sleep in the coop HE would be sleeping there.
I meant it, too!
The chicks were only supposed to be in the bathtub-brooder for a few days but they were not moved into the coop until they were more than three weeks old. It took nearly five weeks to get done what should have been a weekend project. Even then, the coop was not quite finished but it was far enough along that they would be secure. So, out they went.
Don’t for a minute imagine my ultimatum was a mean, or unnecessary, thing to do. You have to remember, the whippersnapper was home all day, everyday, that entire time. I was housing him, I was feeding him. He was costing me money; he needed to earn his keep. He was capable of doing it, he had the tools, he had the supplies, he was given daily assignments. Unfortunately, if I wasn’t standing over him, he wasn’t doing anything. Perhaps there will be a future post about our experiences this summer with Adulting 201. Maybe I’ll leave out the episodes of Raging Granny though.
🐤
Apples to Applesauce
Last Saturday I bought a case of apples from my favorite apple orchard, Millstone Creek Orchards in Ramseur, NC. I have been getting my apples from there since 2012.
I enjoy visiting with Beverly, the owner, each year. On my first visit, I learned she had come back to NC to learn how to run the orchard from her father. After he died a few years ago, she carried on and has done some wonderful work there. Her dad would be so proud of what she’s accomplished.
Usually for applesauce, I like to do a mix of Golden Delicious and Granny Smith apples. The Goldens add just the right amount of sweetness to the combination while the Grannies provide body to the flavor. However, this year she talked me into getting a box of seconds. The apples only had small bruises or other imperfections; most I couldn’t even figure out what was “wrong” with them. My box had sixty pounds of Golden Delicious, Red Delicious, Macintosh, Granny Smith, Arkansas Black and a couple other varieties I didn’t recognize. The draw of course was that I could get them at fifty cents a pound!
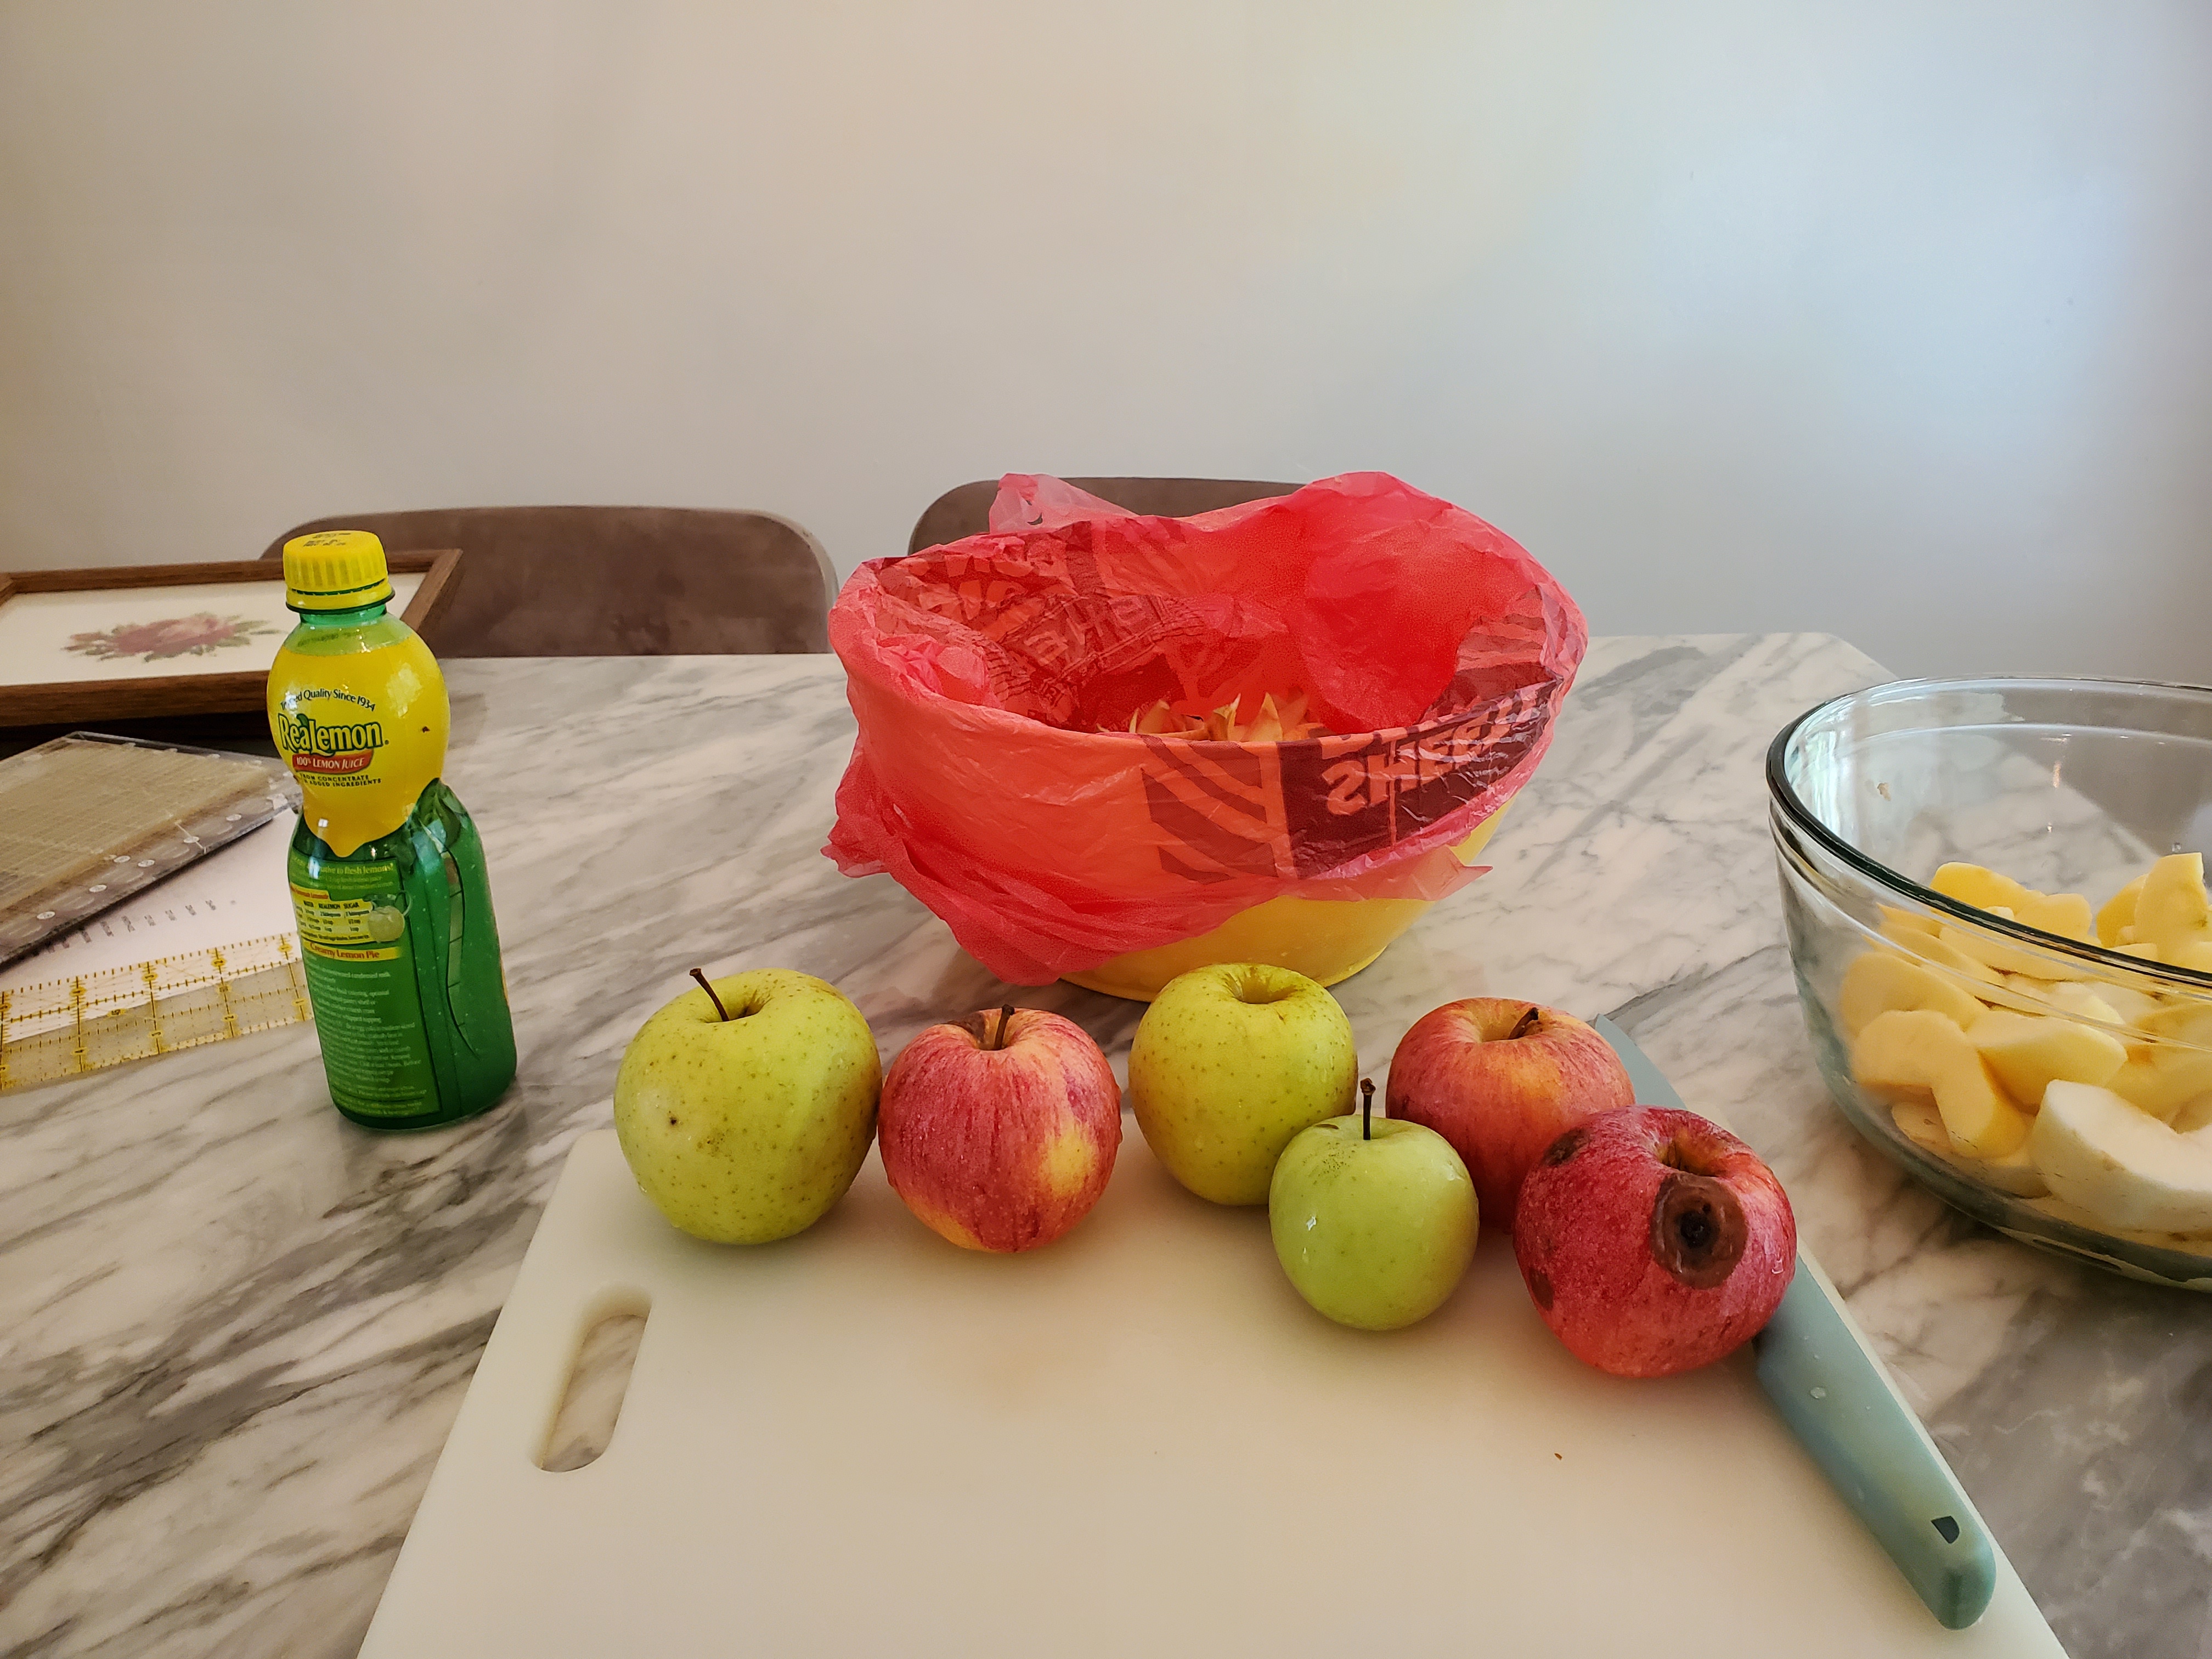
So, every night after work this week, I’ve been converting apples to applesauce. I can get 6 -10 cups processed for the freezer each night. Since I clean up each night, it’s an easy job to wash the apples in a little vinegar water, pull out the necessary supplies – cutting board, knife, bowl, lemon juice, trash bucket – and get started.
I have one more very important tool:
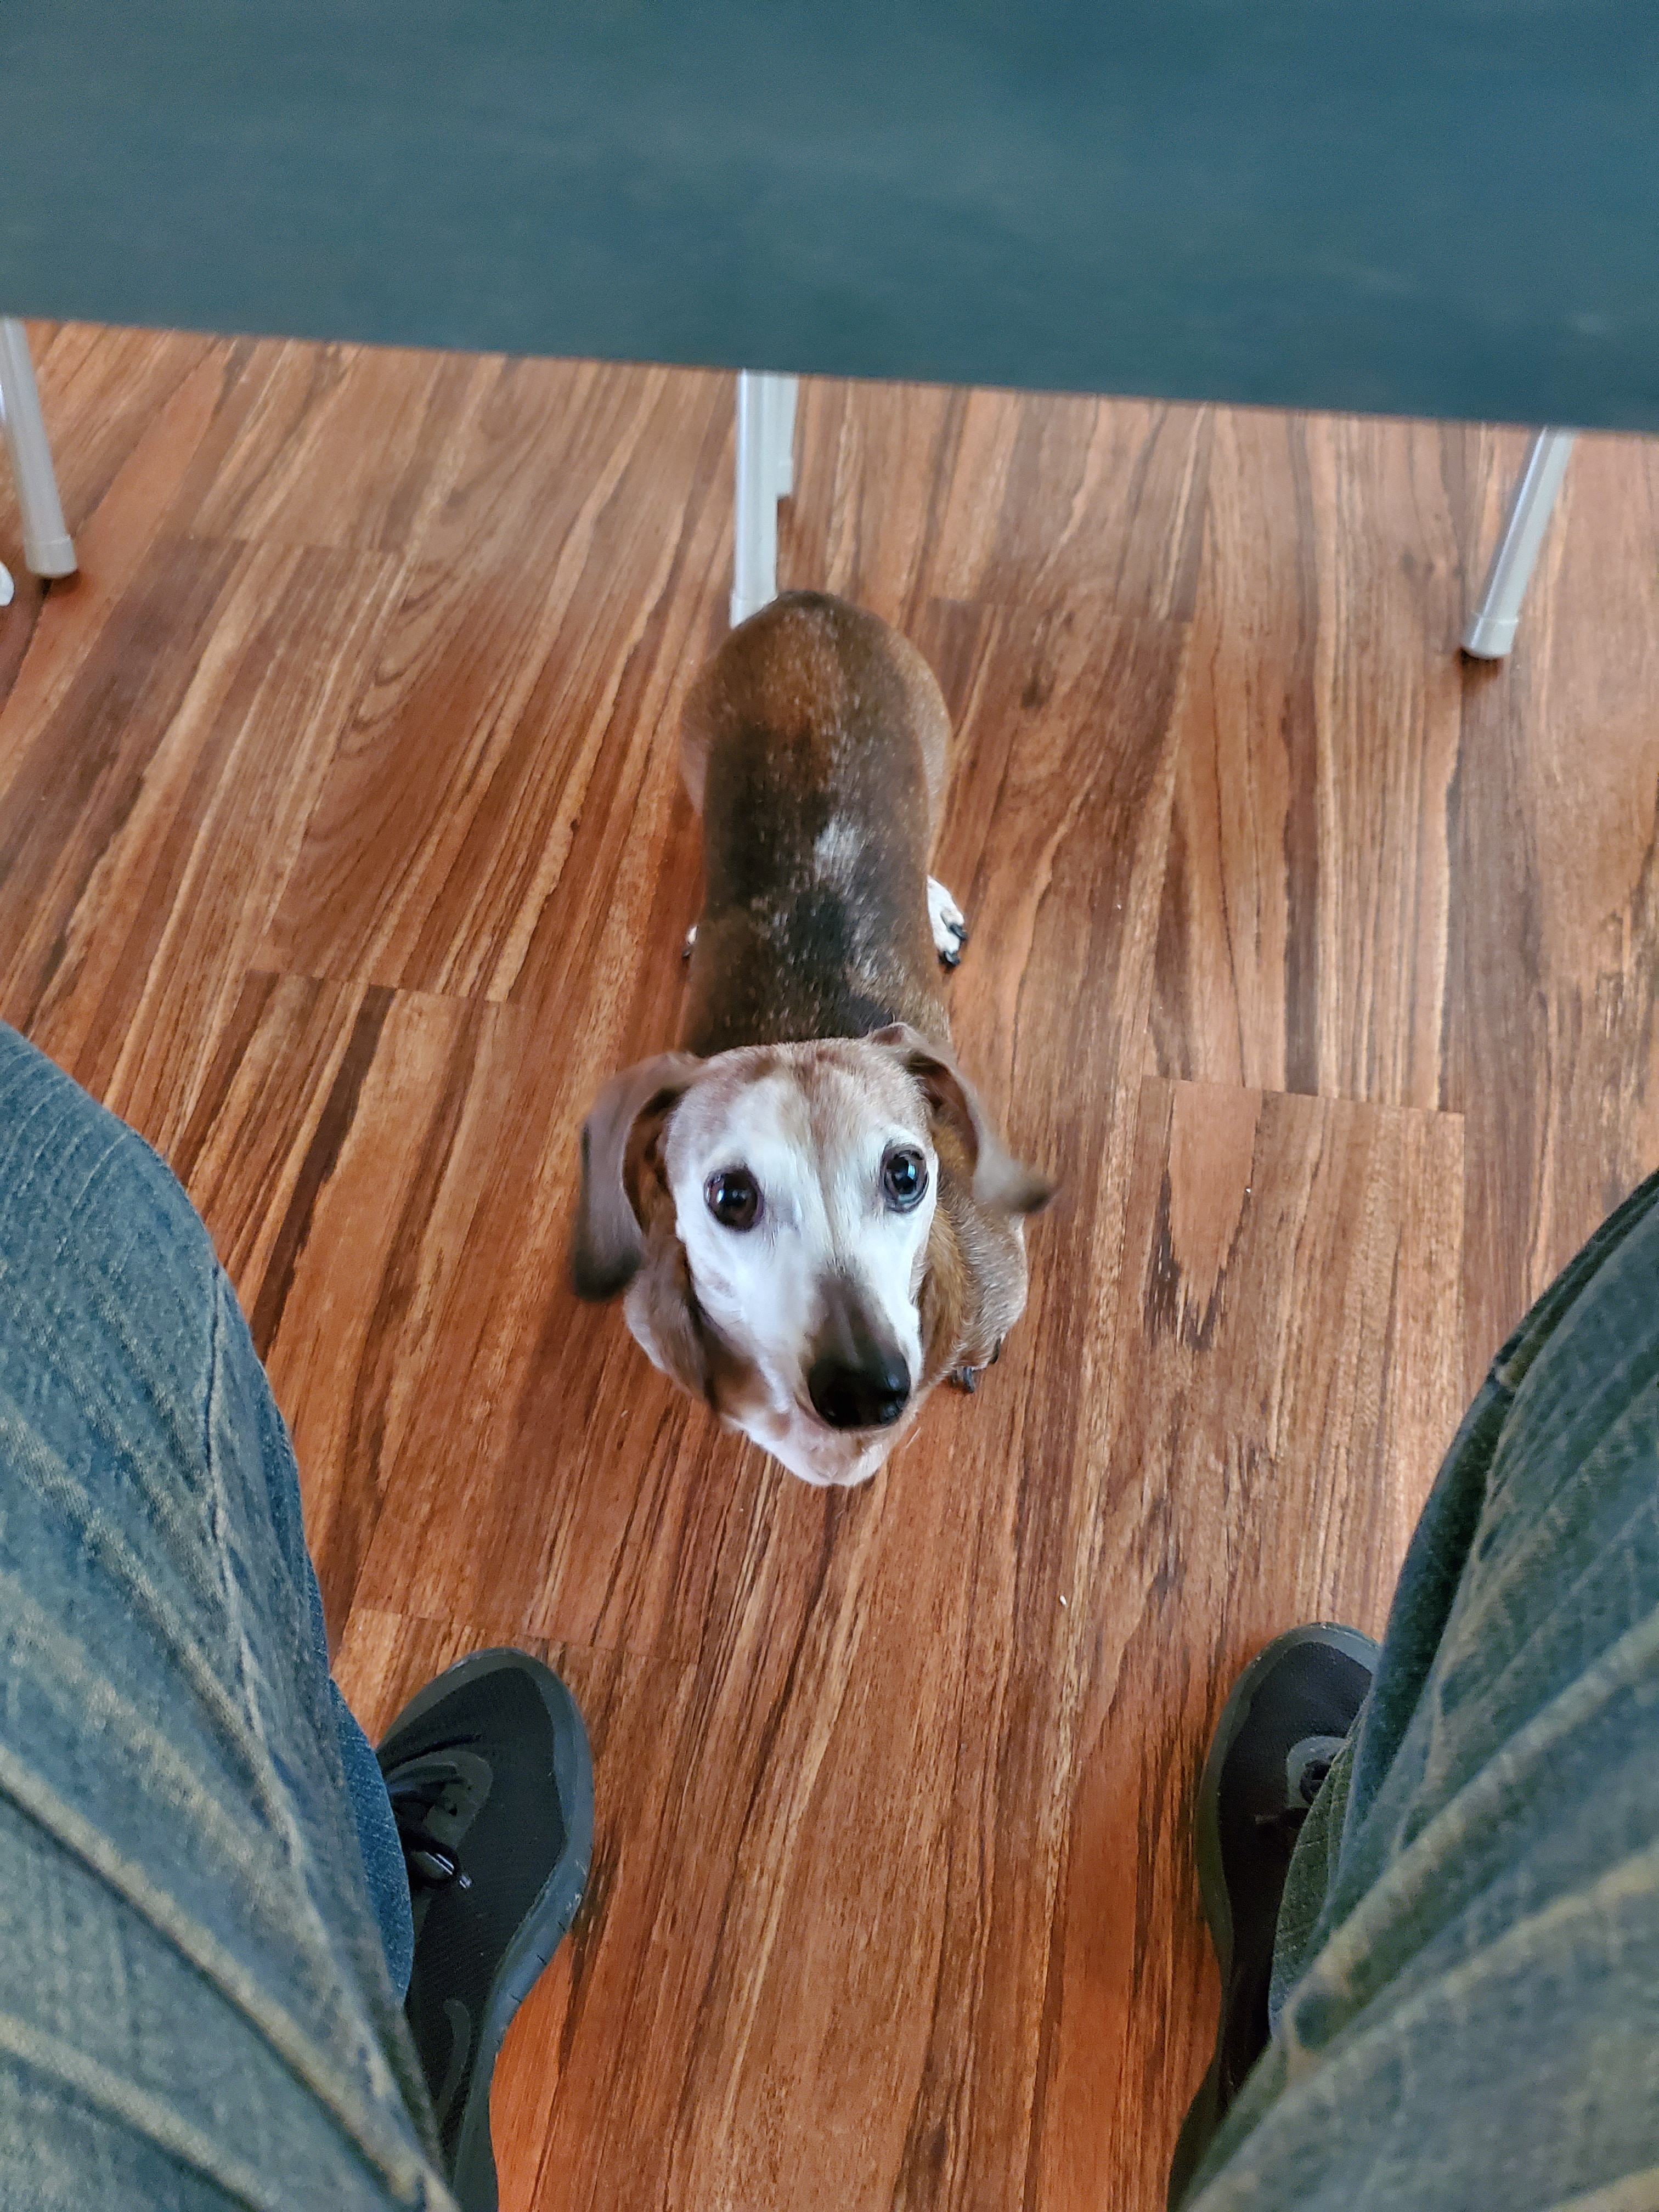
Timmy is always underfoot when food is being prepared, waiting for a “fumbled” bit to lick off the floor. He is very efficient but complains if I’m not being “clumsy” enough.
The biggest part of making applesauce is peeling, coring, and slicing the apples. I know the commercial canners just chuck the whole apple – peel, core, stem and all – into a big chopper. I don’t complain about all that stuff being in my store-bought applesauce. Somehow, though, I can’t do that for homemade. I used to have extra tools for the job, like an apple peeler-corer-slicer device that purportedly did all the hard work but I found that it wasn’t all that effective on any but a very few apples. It really just created more stuff to clean up (and that thing was not easy to clean!). So, I just use a knife to cut the apple in half, each half into half, and each quarter into half so the apple is in eight pieces. That is usually just the right size for easily removing the little bit of core and then slicing the peel off in one quick swoop.

If a slice is a little big, I might cut it again for easier handling.

The prospect of peeling a bunch of apples can be daunting. To ease the boredom and help me not feel so overwhelmed, I get a You Tube video going on my phone to occupy my mind. My current favorites are Cog Hill Farm and Living Traditions Homestead but Ted Talks or Dry Bar Comedy can also be entertaining.
As I cut, I put the prepared slices in a bowl. Every few apples, I sprinkle them with a bit of lemon juice and give them a toss. I prep about 14 – 20 apples per batch. The number depends on how long my back lasts.
3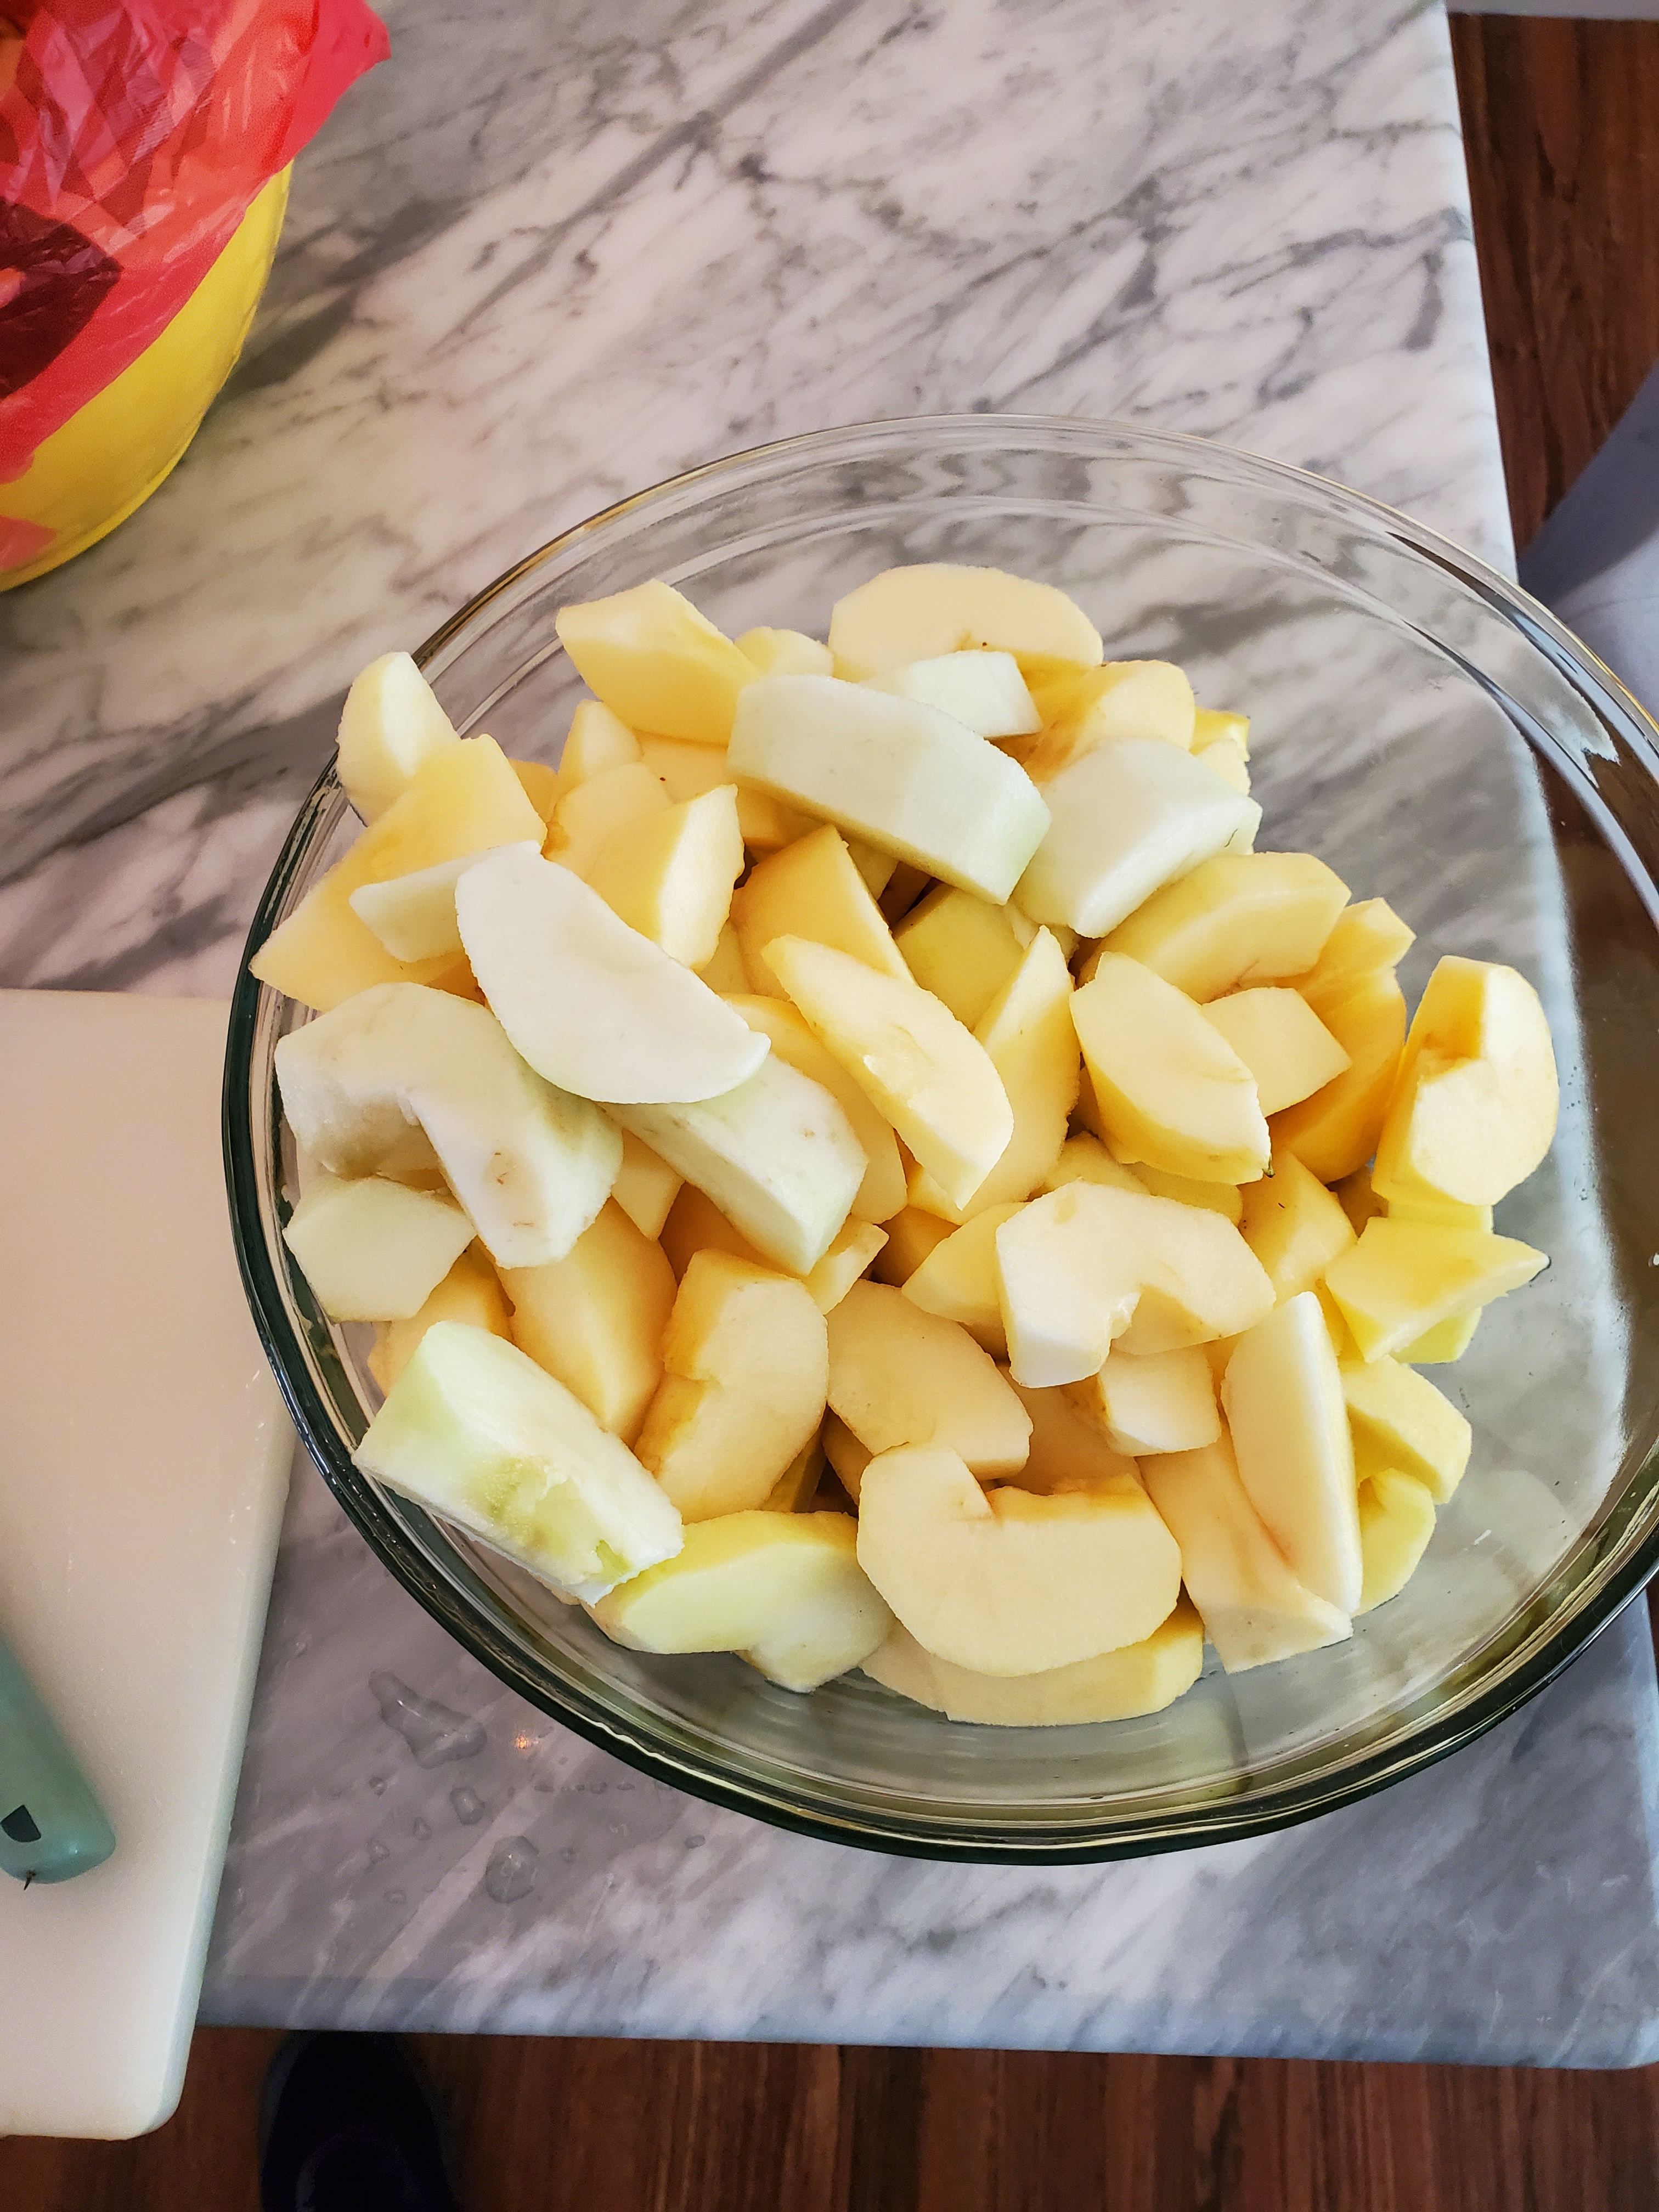
When the bowl is full, I transfer them to a pot, add just enough water to cover the bottom of the pan (to prevent scorching or burning), cover the pan, and cook them on medium heat for 25 minutes. No, I don’t add sugar to my applesauce!

After 25 minutes I stir the apples and give them a tentative mash with a potato masher. If they aren’t quite ready, I turn the heat down a notch and let them cook another 5 to 10 minutes

Then I mash them to the desired consistency. Be careful, the mixture is hot! If you want smoother applesauce you can run it through a blender but, in my mind, that’s just another dish to clean. I like it a little chunky, though, so my potato masher works great for me.
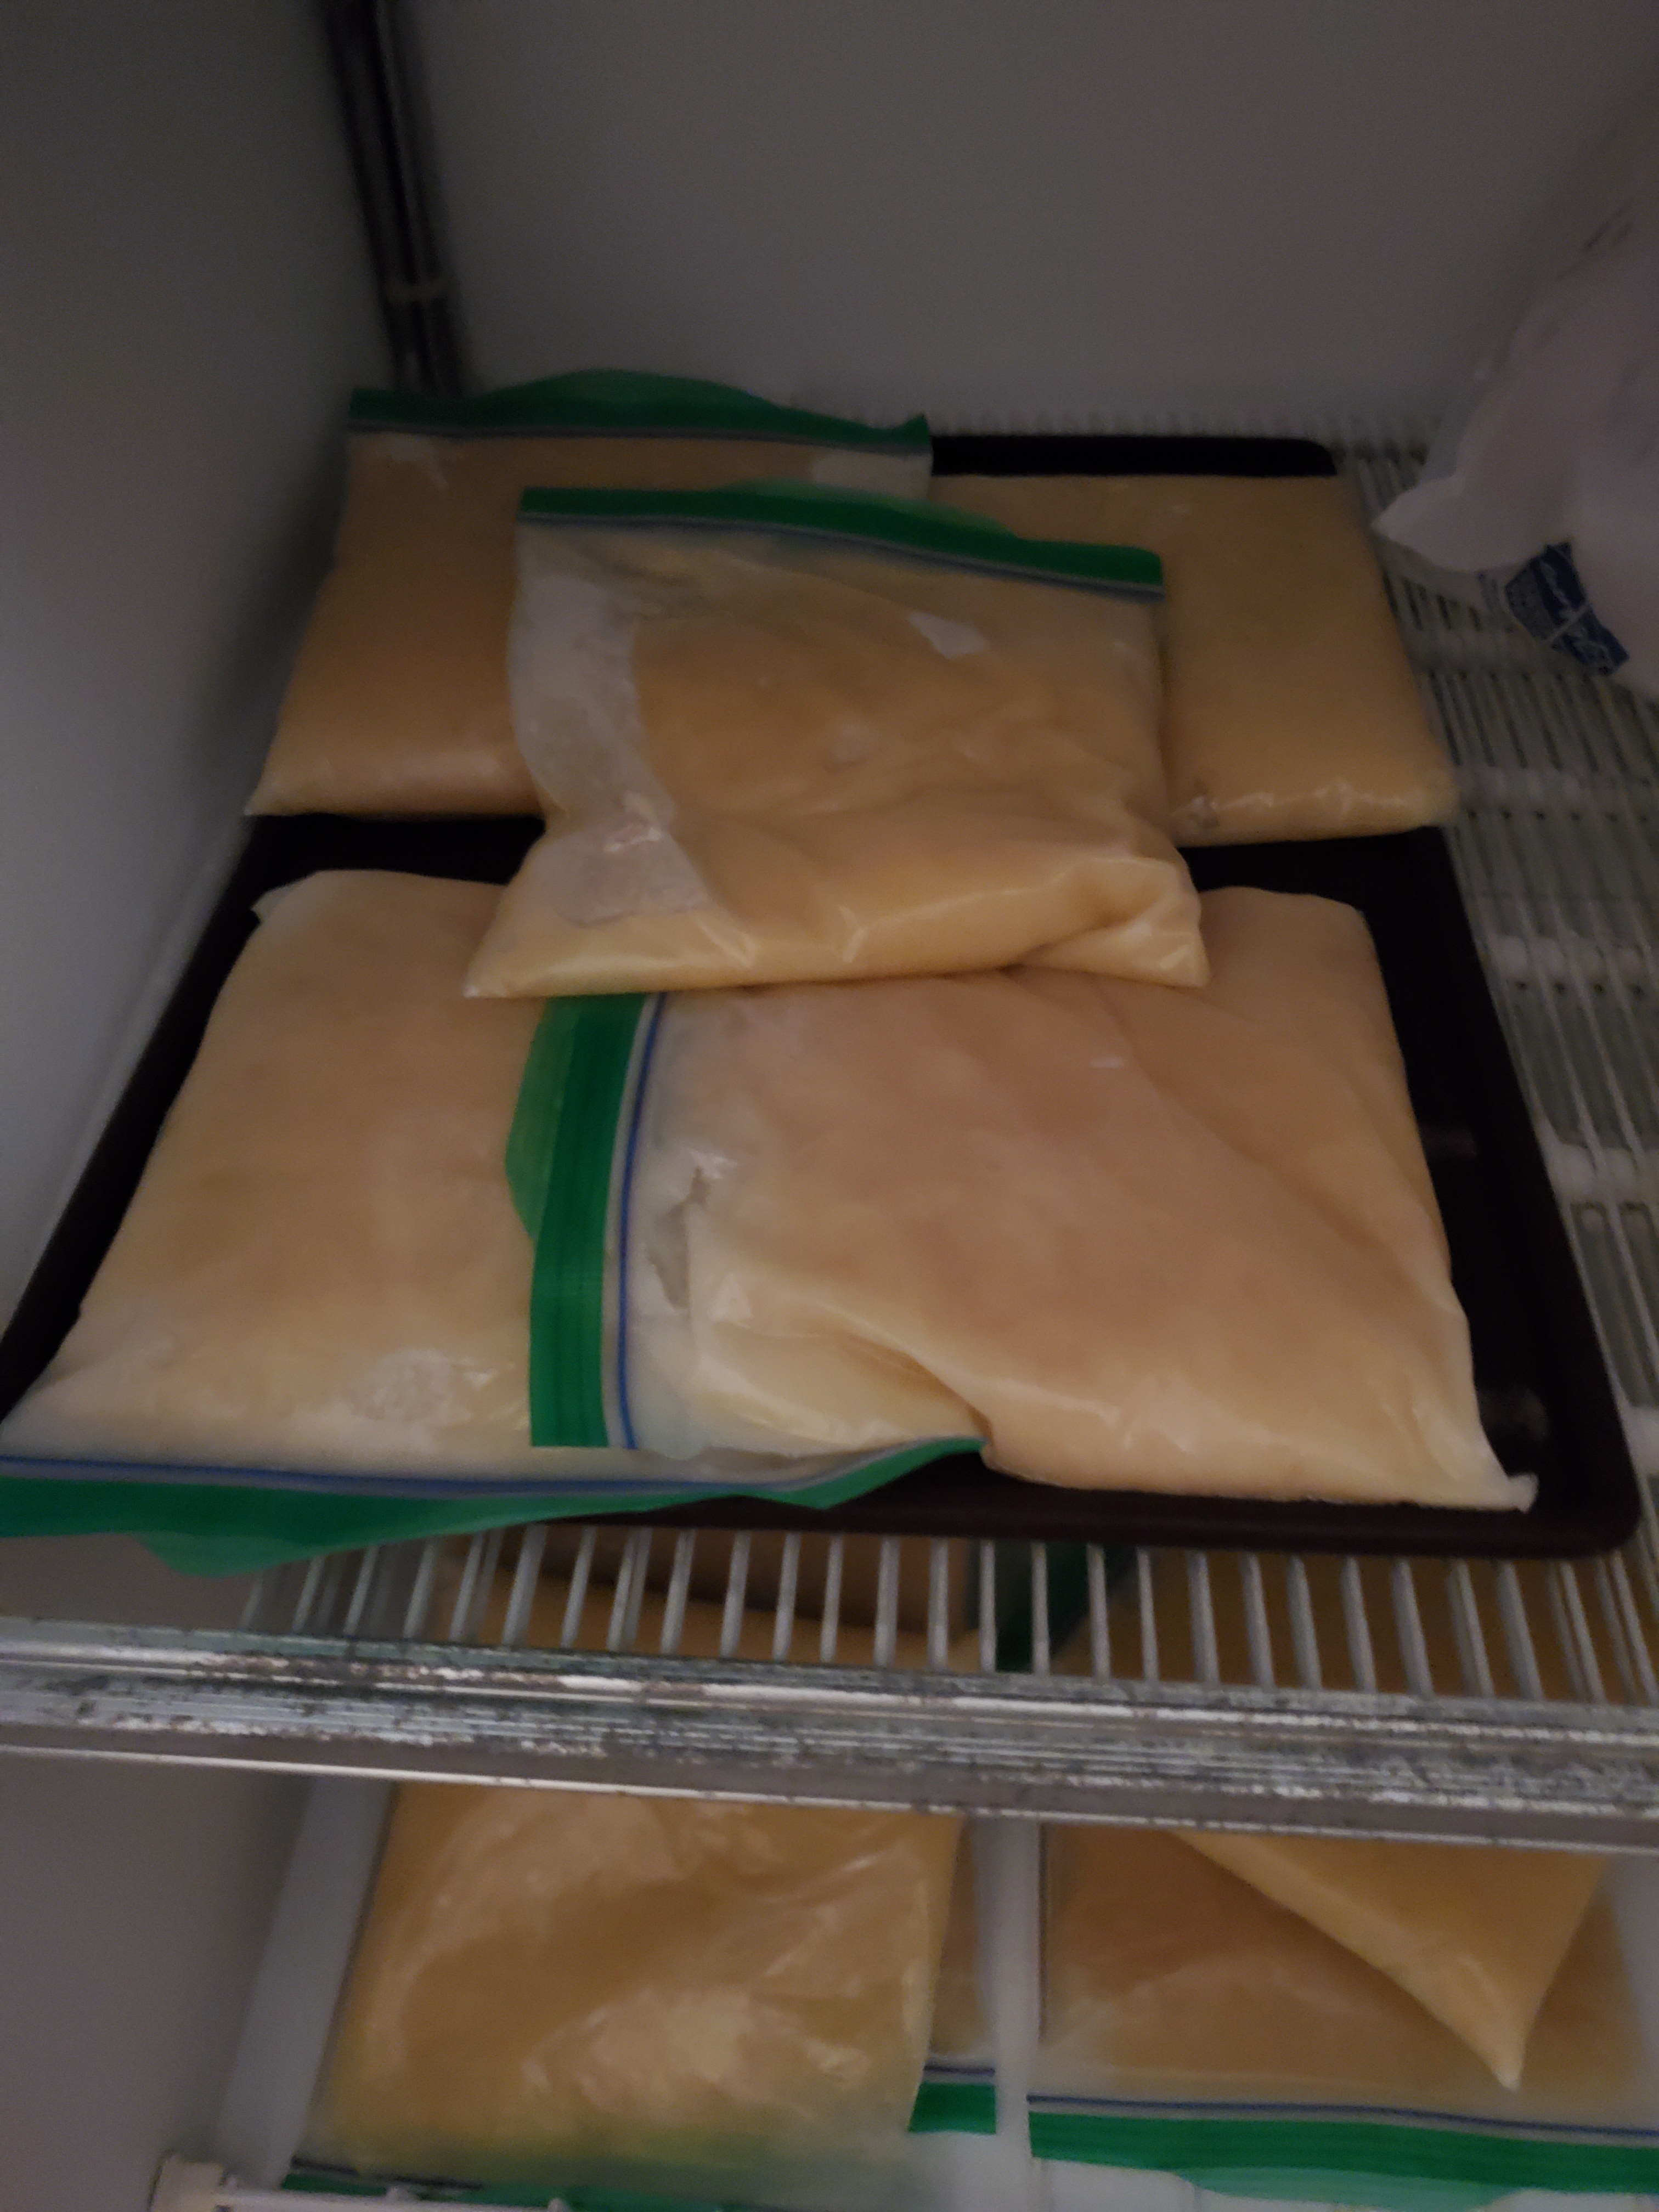
I let it cool for about an hour, ladle the sauce into sandwich bags, squeeze out excess air, and put them into the fridge. Then I clean the cutting board, knife, bowl, masher, and pot to use the next day.
Next day, while that day’s batch is cooking, I take the baggies out of the fridge, lay them flat on a tray, and put them in the freezer. They can be laid on top of each other. They will freeze together but can easily be separated and then stacked for efficient use of space in the freezer.
Well, after a week, I’ve processed a little more than half the apples. The peelings and cores and a few apples that got ahead of me were given to the chickens and a friend’s livestock. If I’d wanted to, I could have made Apple Peel Jelly out of the peels and cores but apparently I’m not that dedicated. Besides, there’s nothing wrong with feeding the critters or even adding to the compost pile. You do what you can!
Meanwhile, the peeling continues ….
😐
Well, there’s a sight I didn’t think I’d see again
As I went to my favorite apple orchard, Millstone Creek Orchards, this weekend to get apples for applesauce, I came across a sight I didn’t expect to see again after leaving Wyoming. Bison!
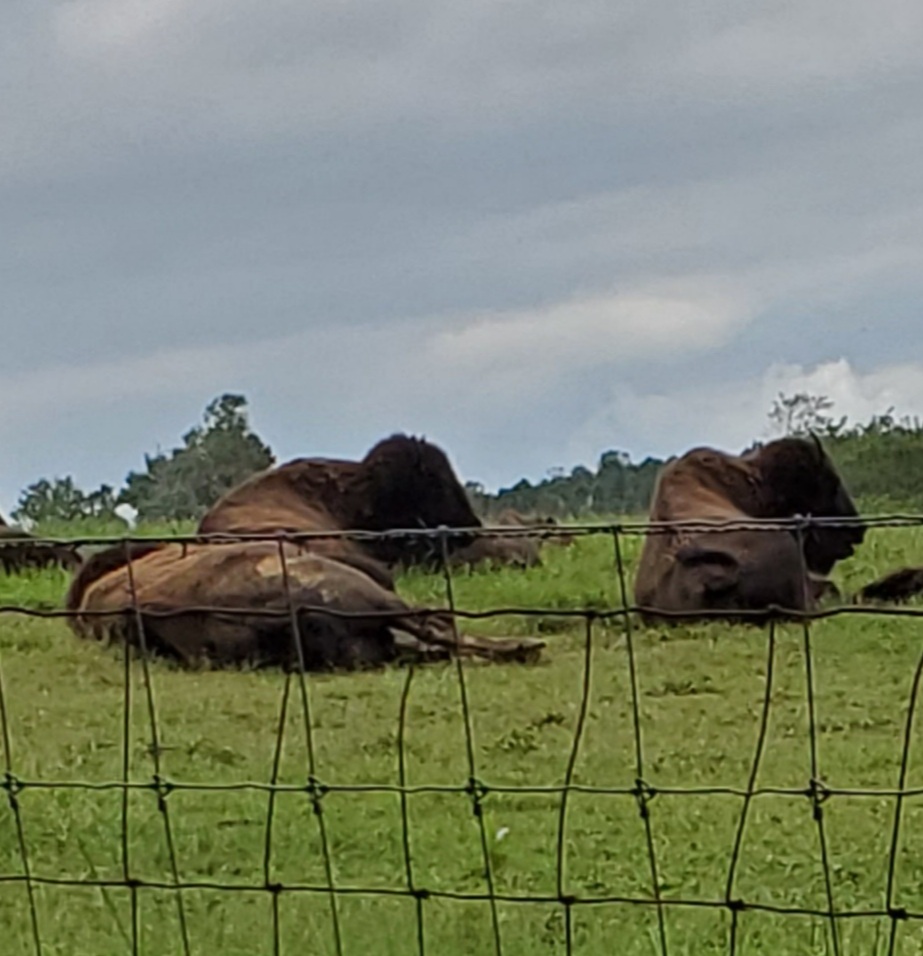

As you enter Cheyenne from the south there is a Bison Ranch with hundreds of bison. There is something a bit awe-inspiring about seeing a herd of bison. They are huge, powerful animals. With a little imagination you could almost envision how magnificent and fearsome it must have been 150 years ago when they roamed the prairies by the millions.
Today’s surprise group only consisted of a dozen animals, but it provided a little bit of nostalgia for me.
🙂
Knowing is not enough
“Knowing is not enough; we must apply. Willing is not enough; we must do.”
— Johann Wolfgang von Goethe
The Hatching
The first chick, one of the Laced Blue Bells, hatched about 3:00 a.m., June 28th, and announced her arrival vociferously. The cheeping was So Loud, it woke me up! I got Oscar (eldest grandson) and Emmett (youngest grandson) out of bed to ooh and aww over her. Oscar declared her name is Eager. We all went back to bed.
The cheeping, however, did not stop. I finally had to turn off the kitchen night light so she would shut up and we could go back to sleep.
… Until …
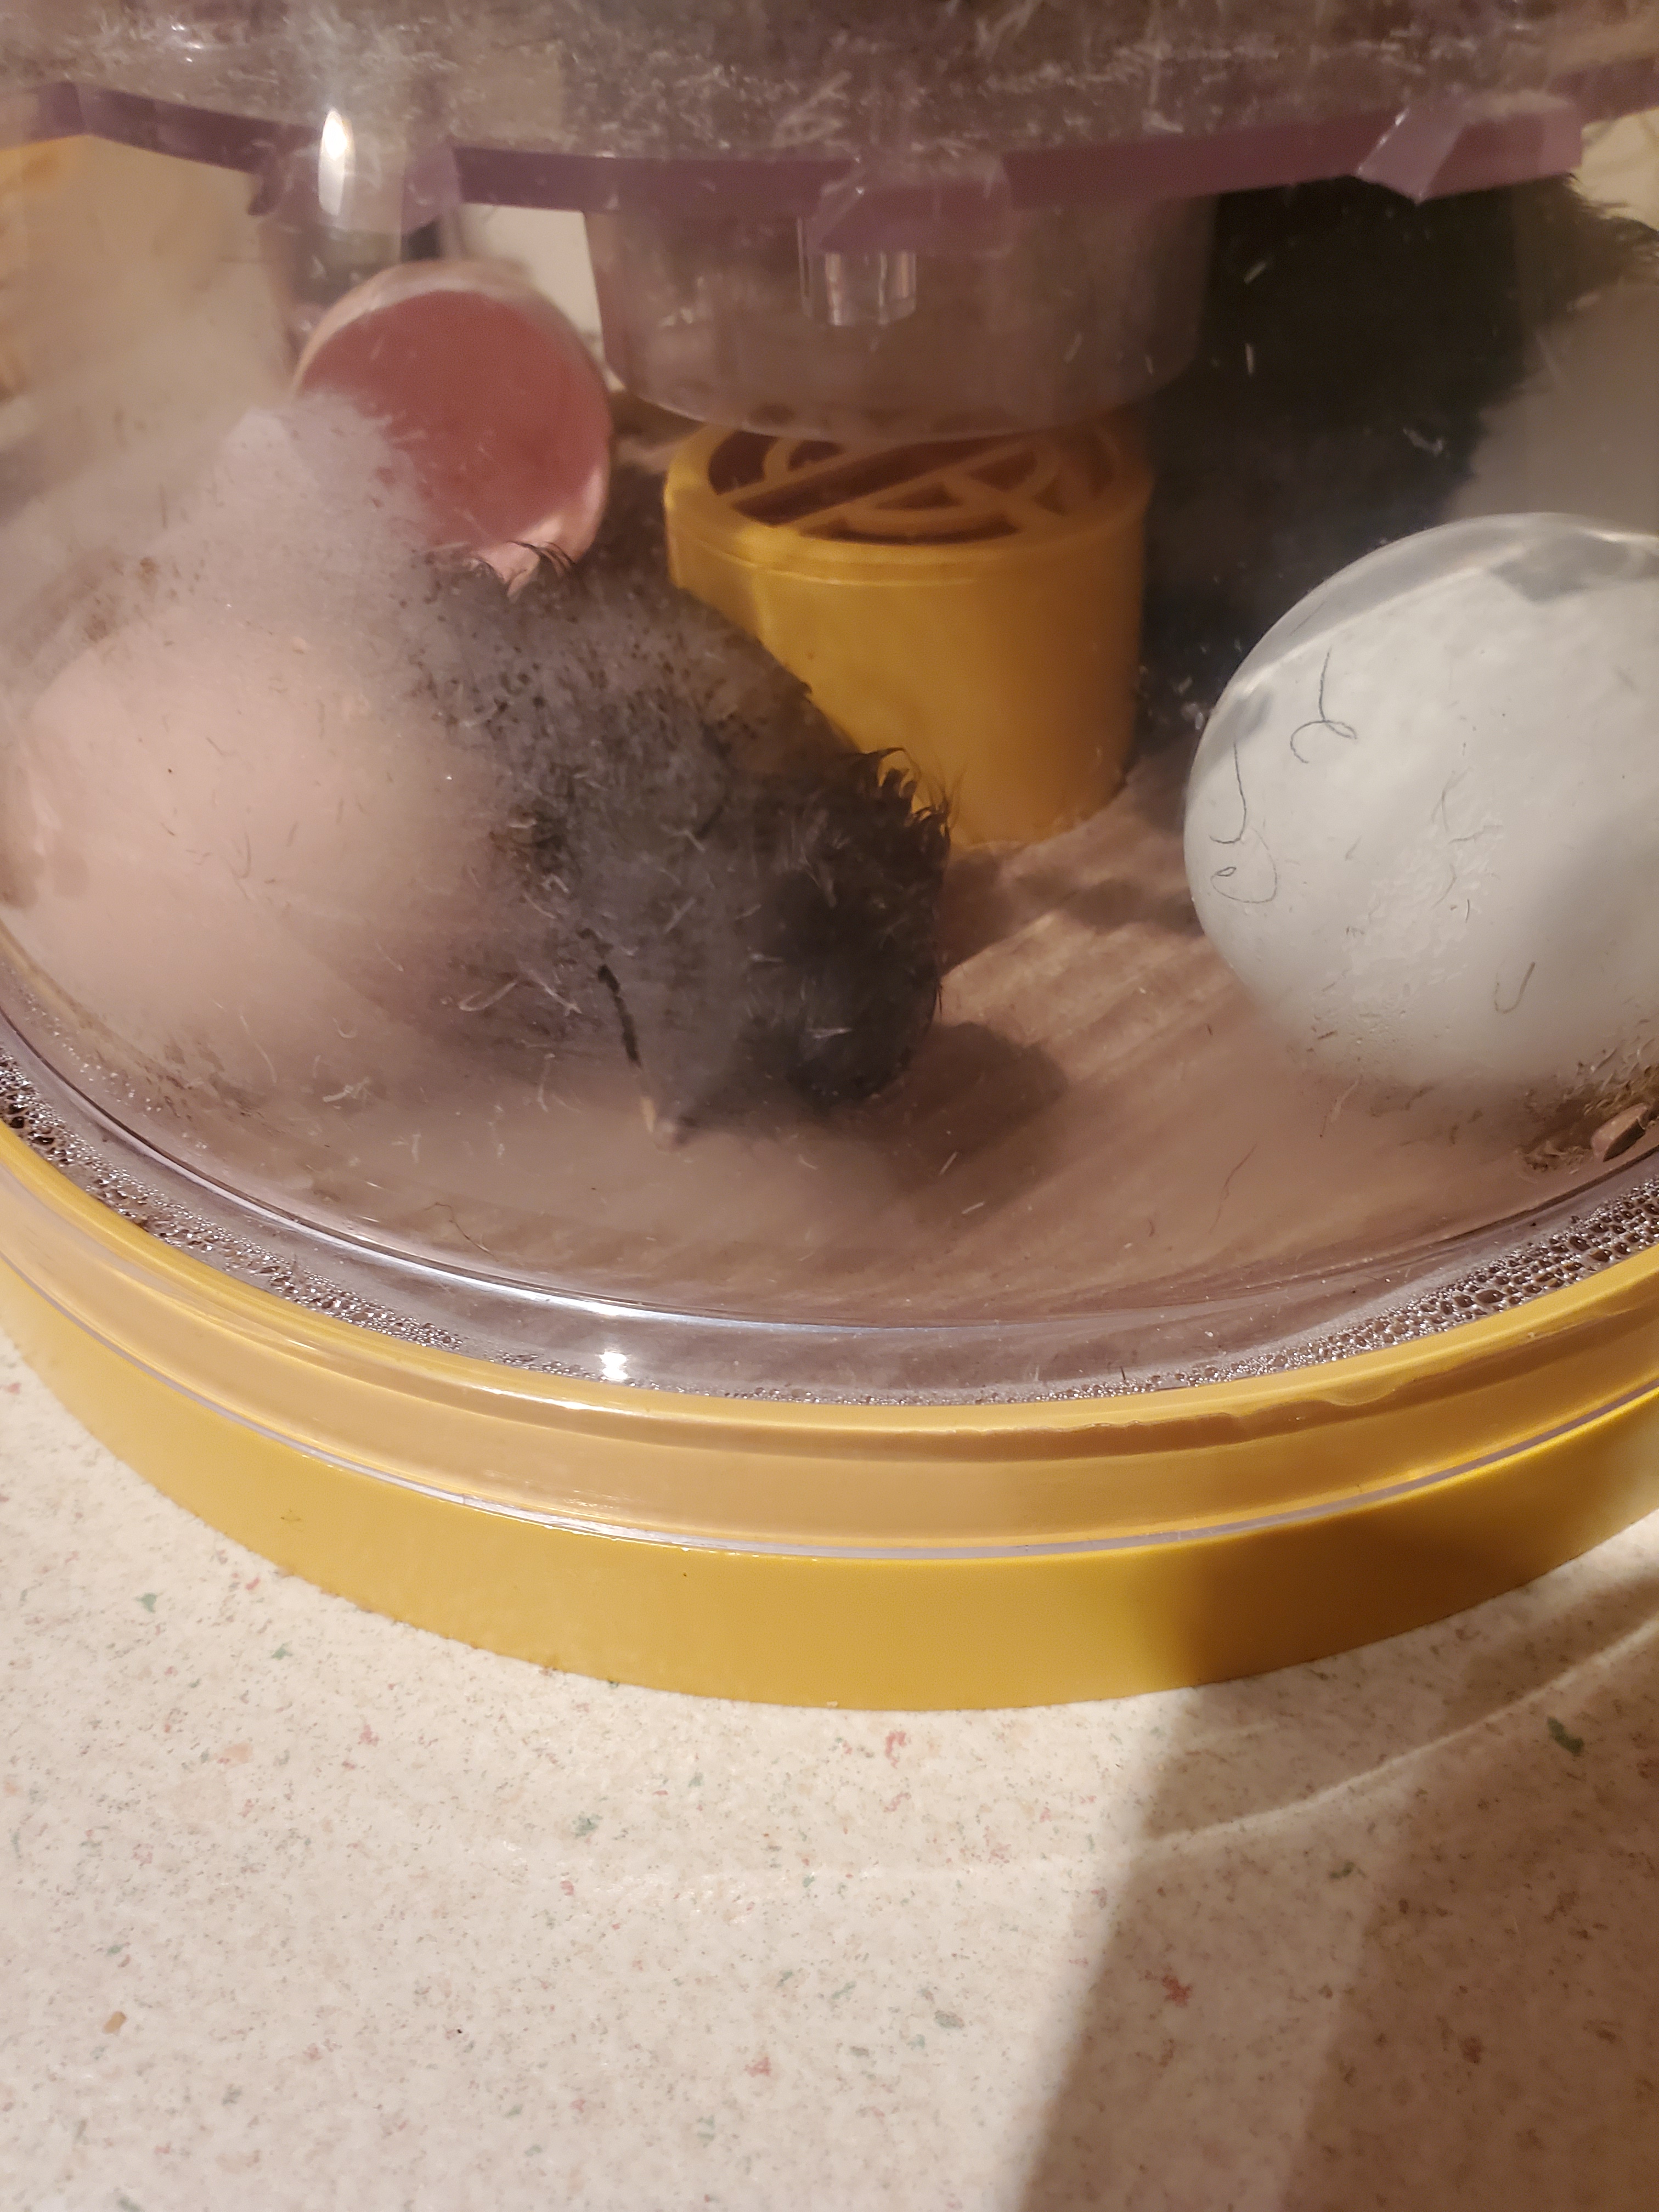
6:00 am, when the second Blue Bell hatched and the two of them started a chorus. The one in the foreground is chick number two; Eager is in the upper right corner.
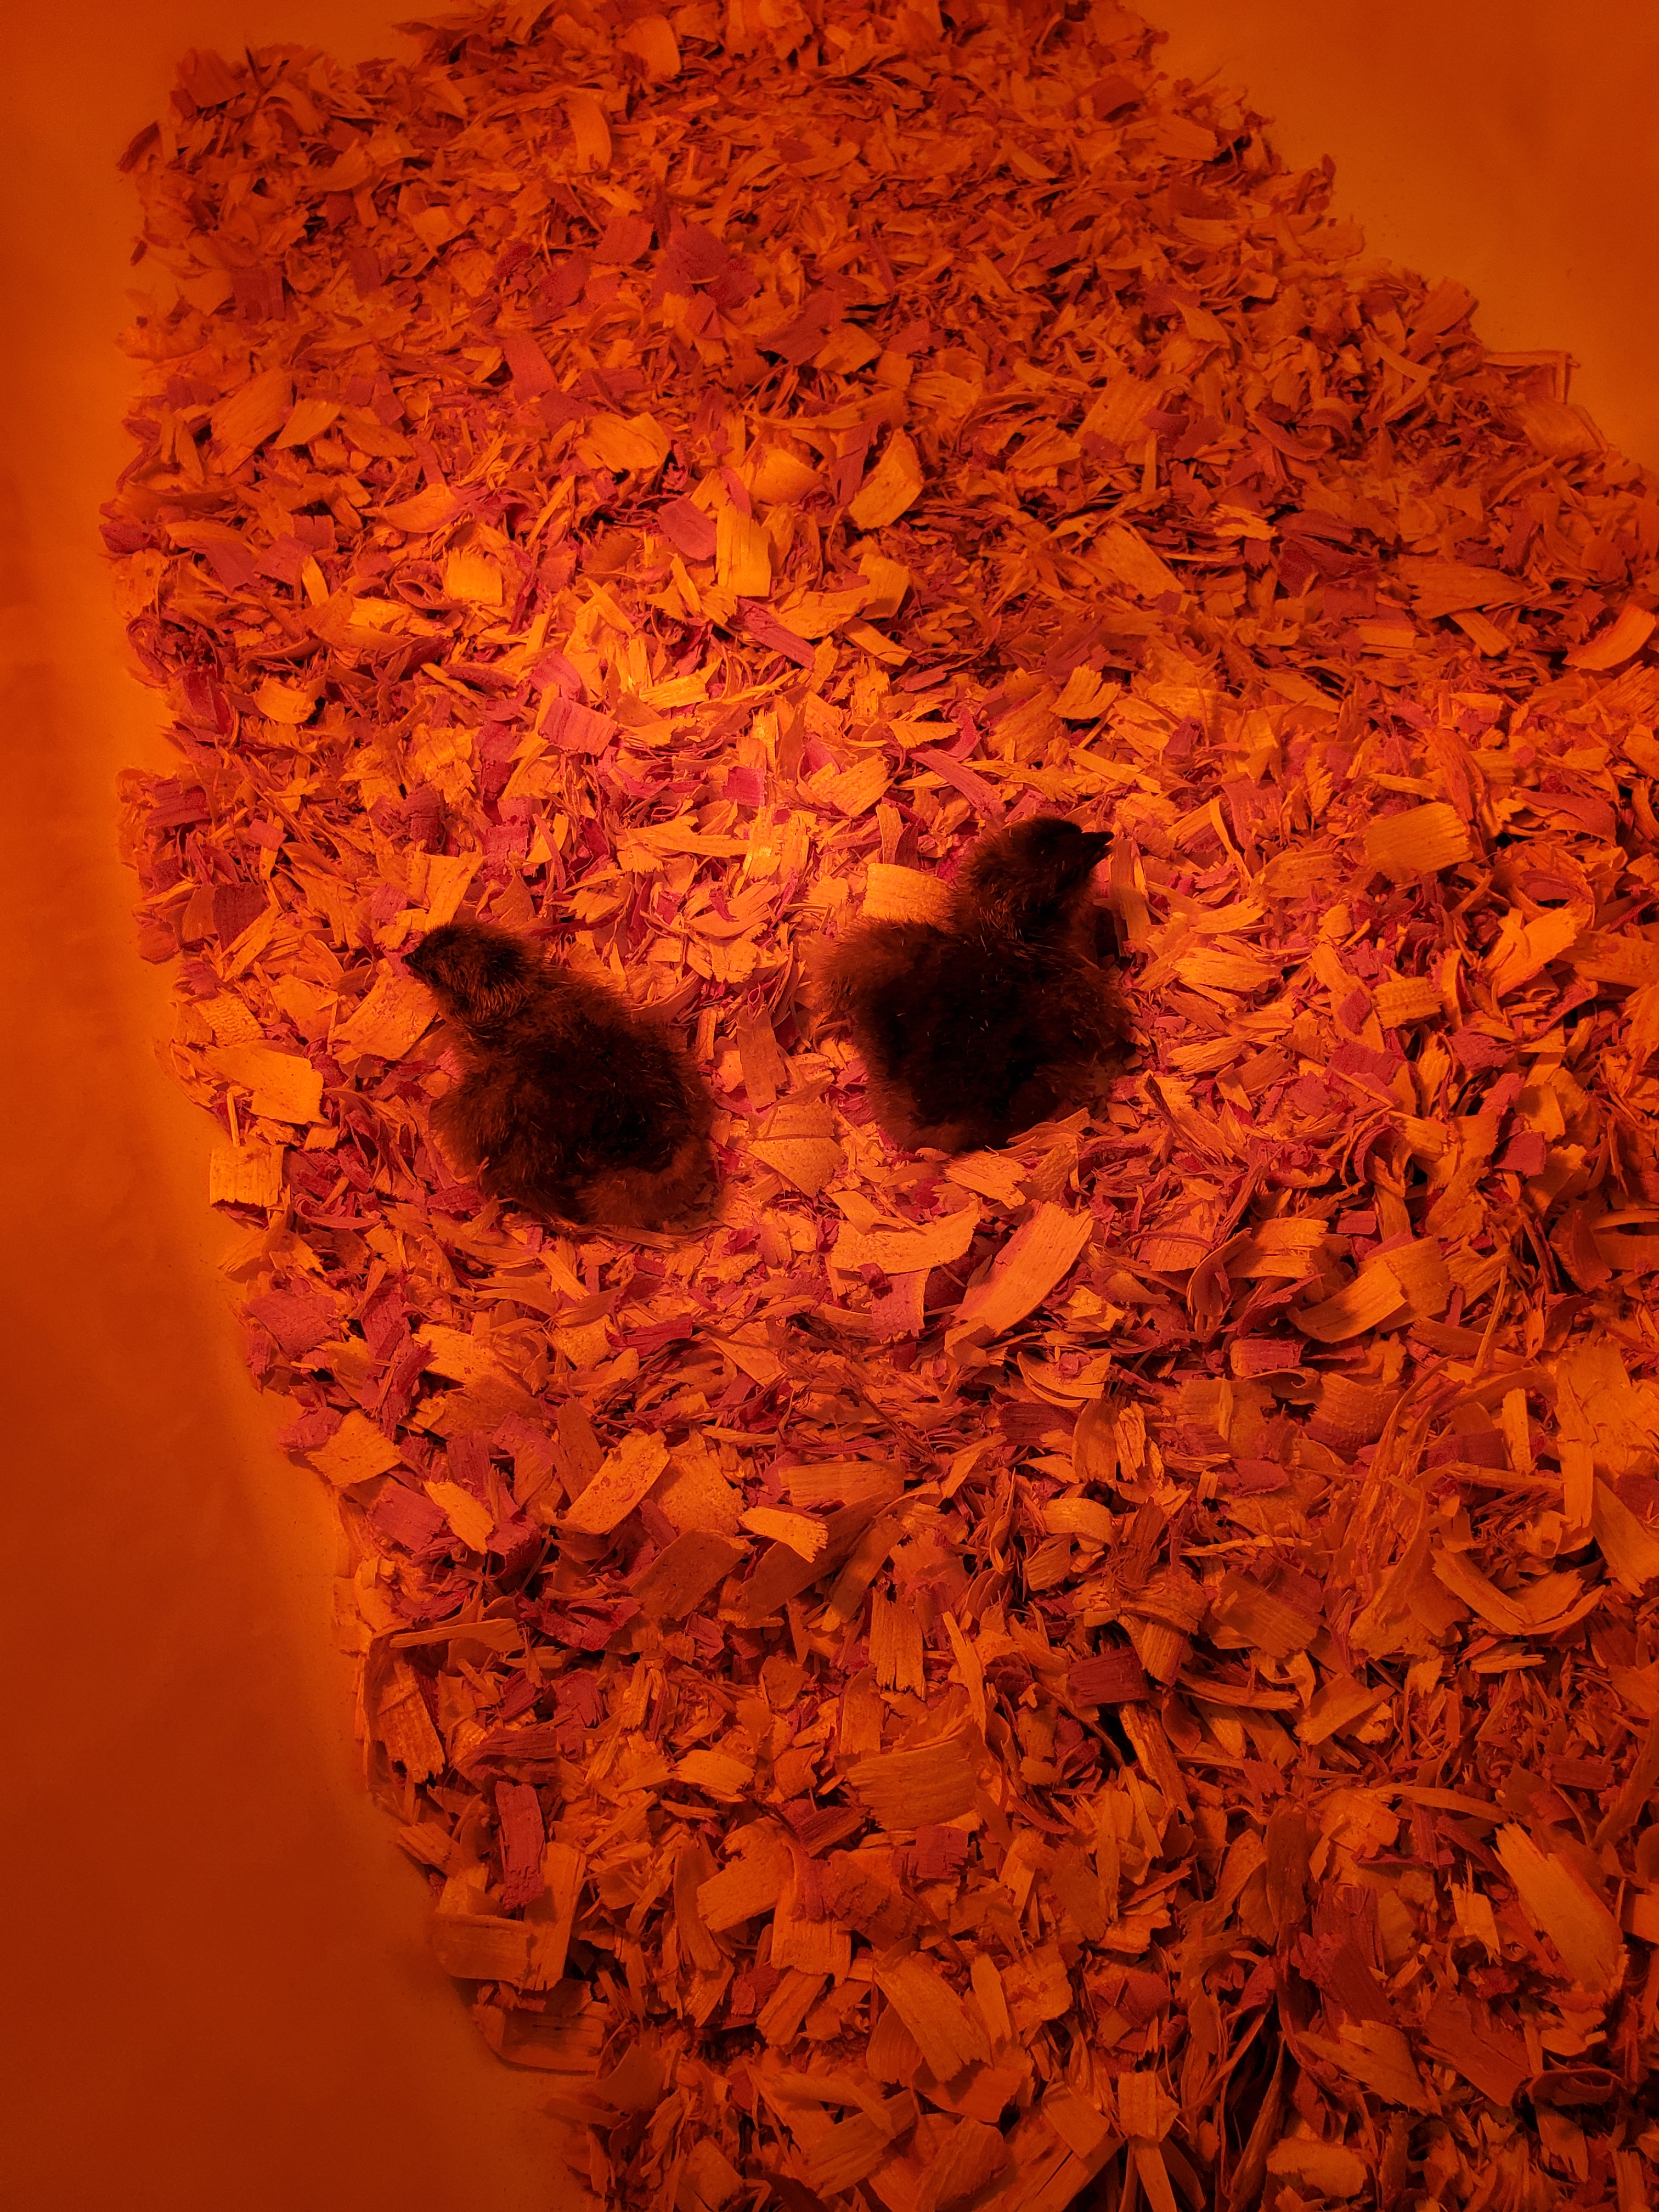
After they dried off for a few hours, we moved them from the incubator to the bathtub-cum-brooder.
The third Blue Bell had made great progress by now but she was nice enough to wait until we got home from church so we could actually watch her break out of the egg. Emmett was enthralled! Ok, I’ll admit it – Oscar and I were, too. I wish I could post the video I took of the hatching – I actually considered paying money to upgrade my WordPress account so I could post videos until I discovered the file was too big to transfer from my phone to my computer (roll eyes).
On the way to church, an off-hand comment was made about what this chick could be named if it was born during the impending thunderstorm. Sure enough, the 9-year-old boy remembered that remark and, despite no thunderstorm, declared it’s name was Thunderbutt!
By now, we were finally seeing activity among the Cream Legbar eggs. The first hatched shortly after 6:00 that evening. I was really concerned though when I saw this emerge from the shell:
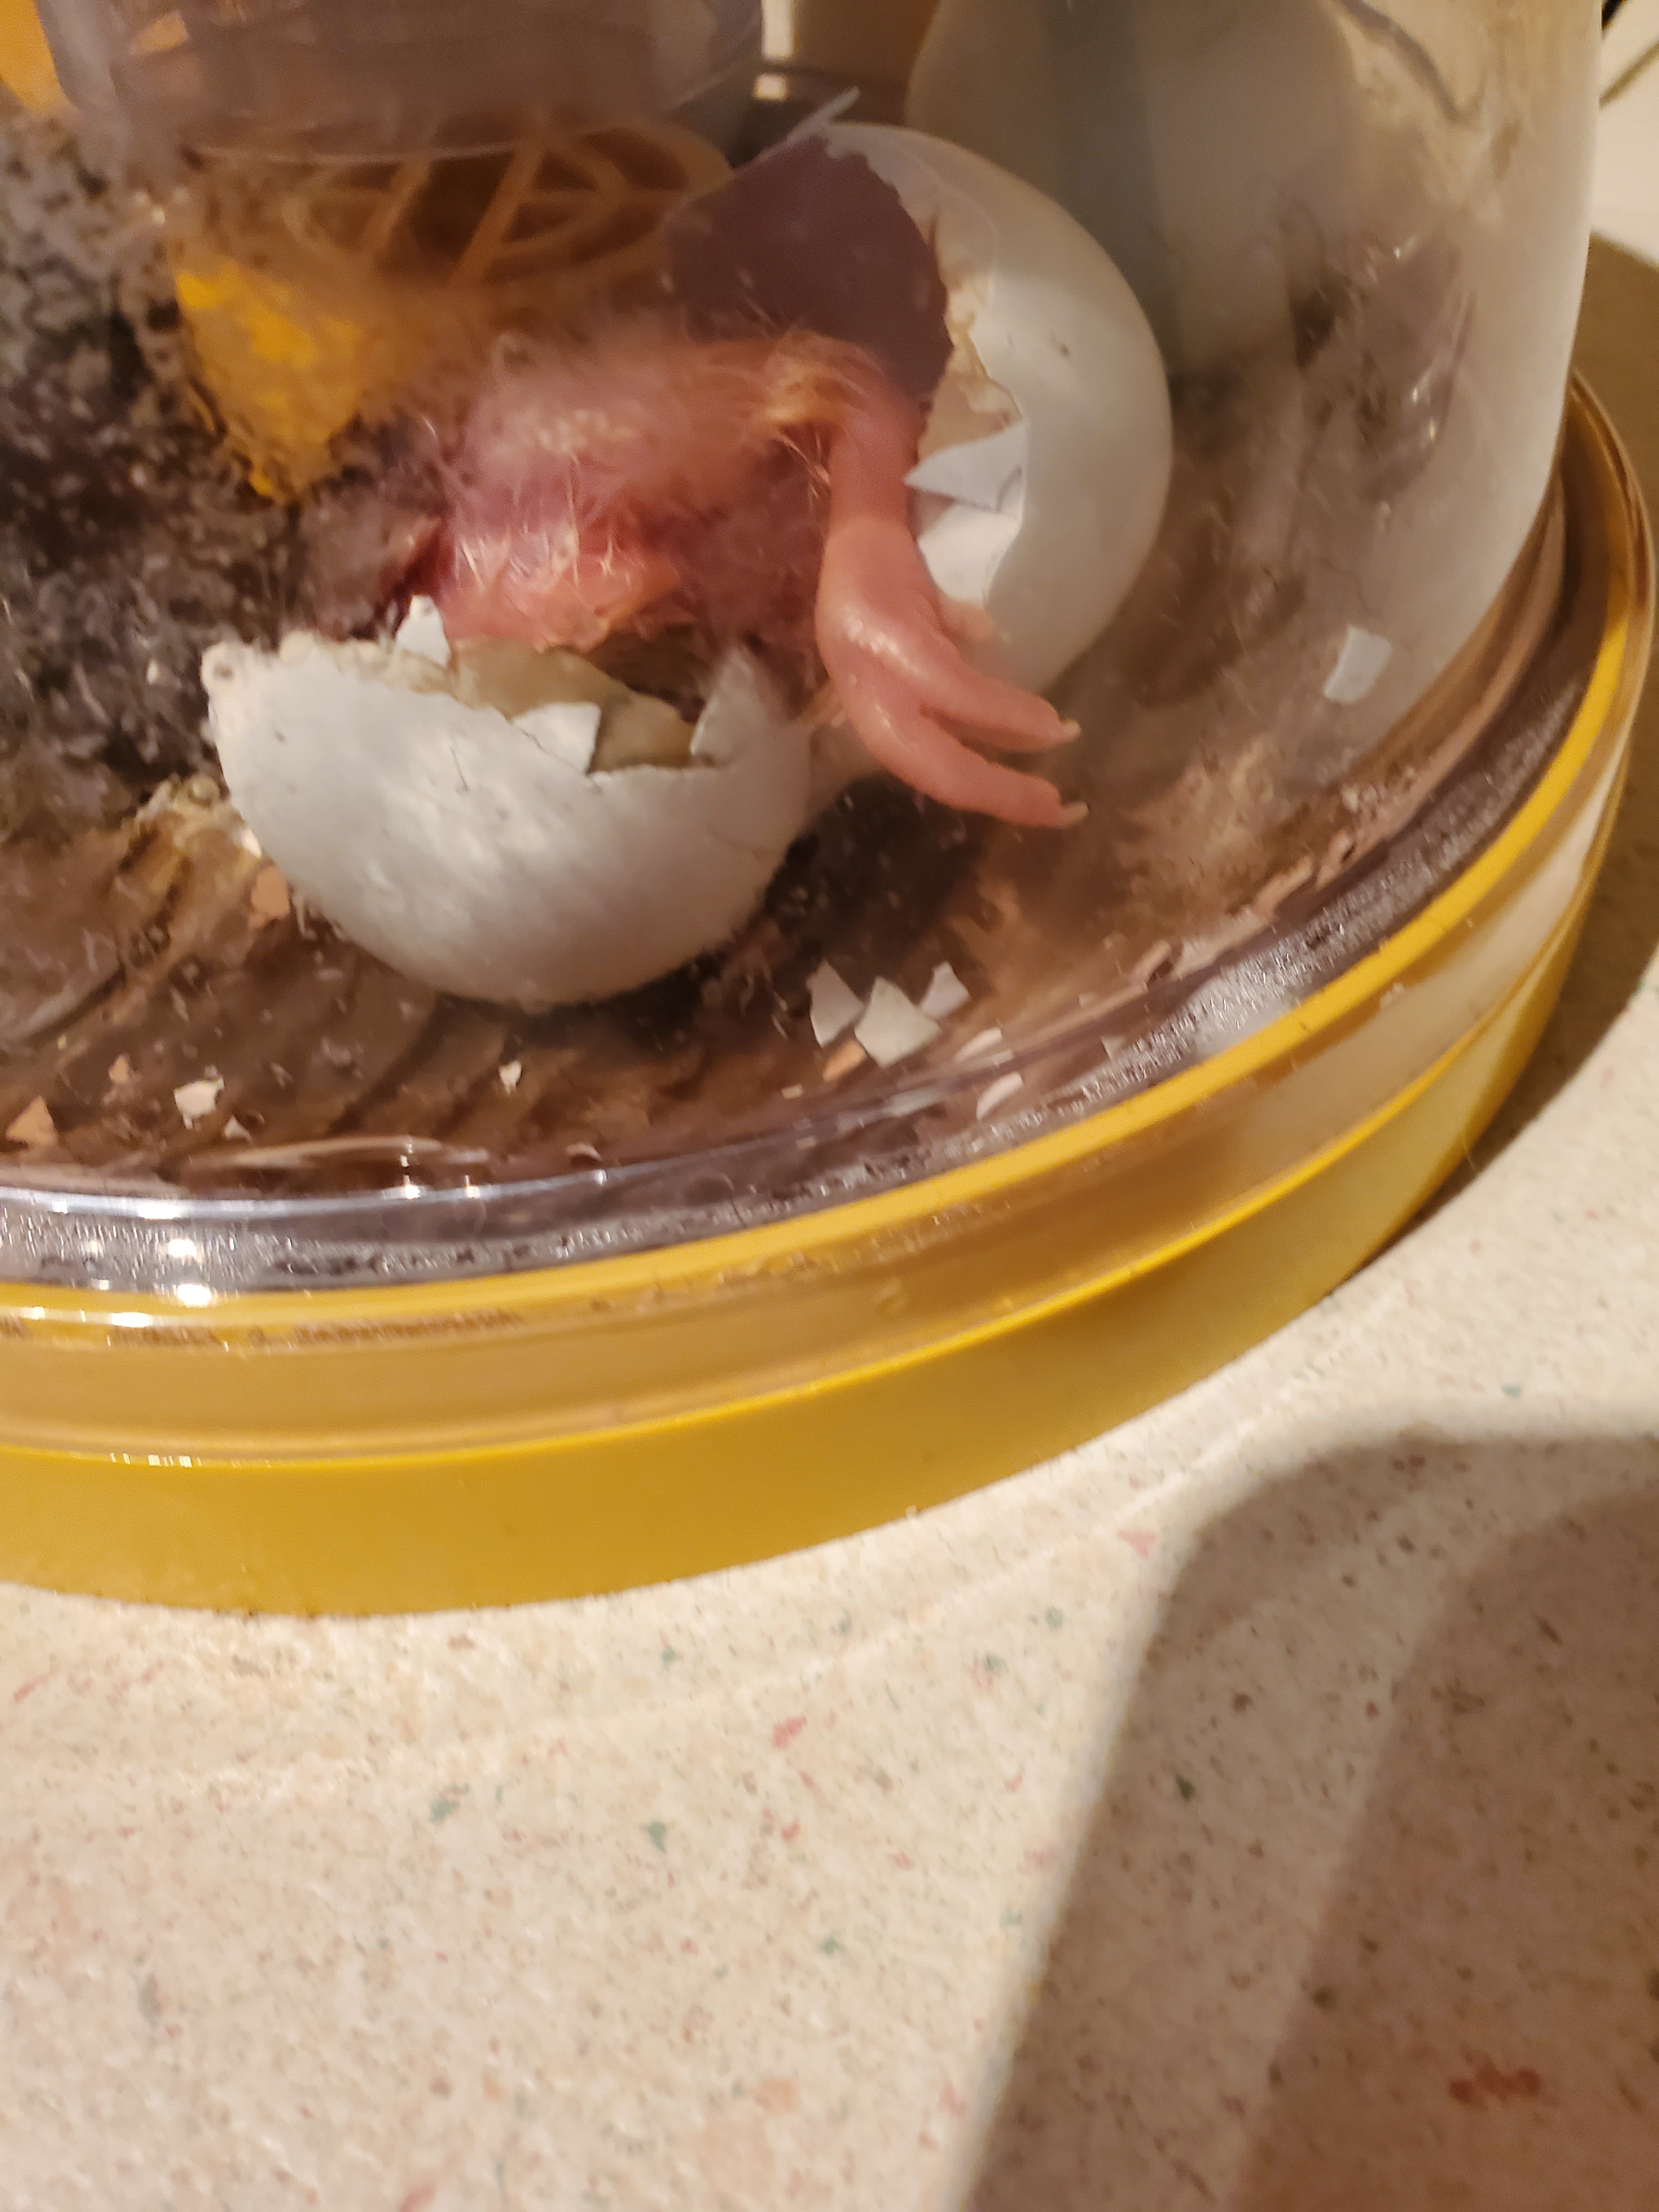
I was sure we were about to see a deformed chick; but no …
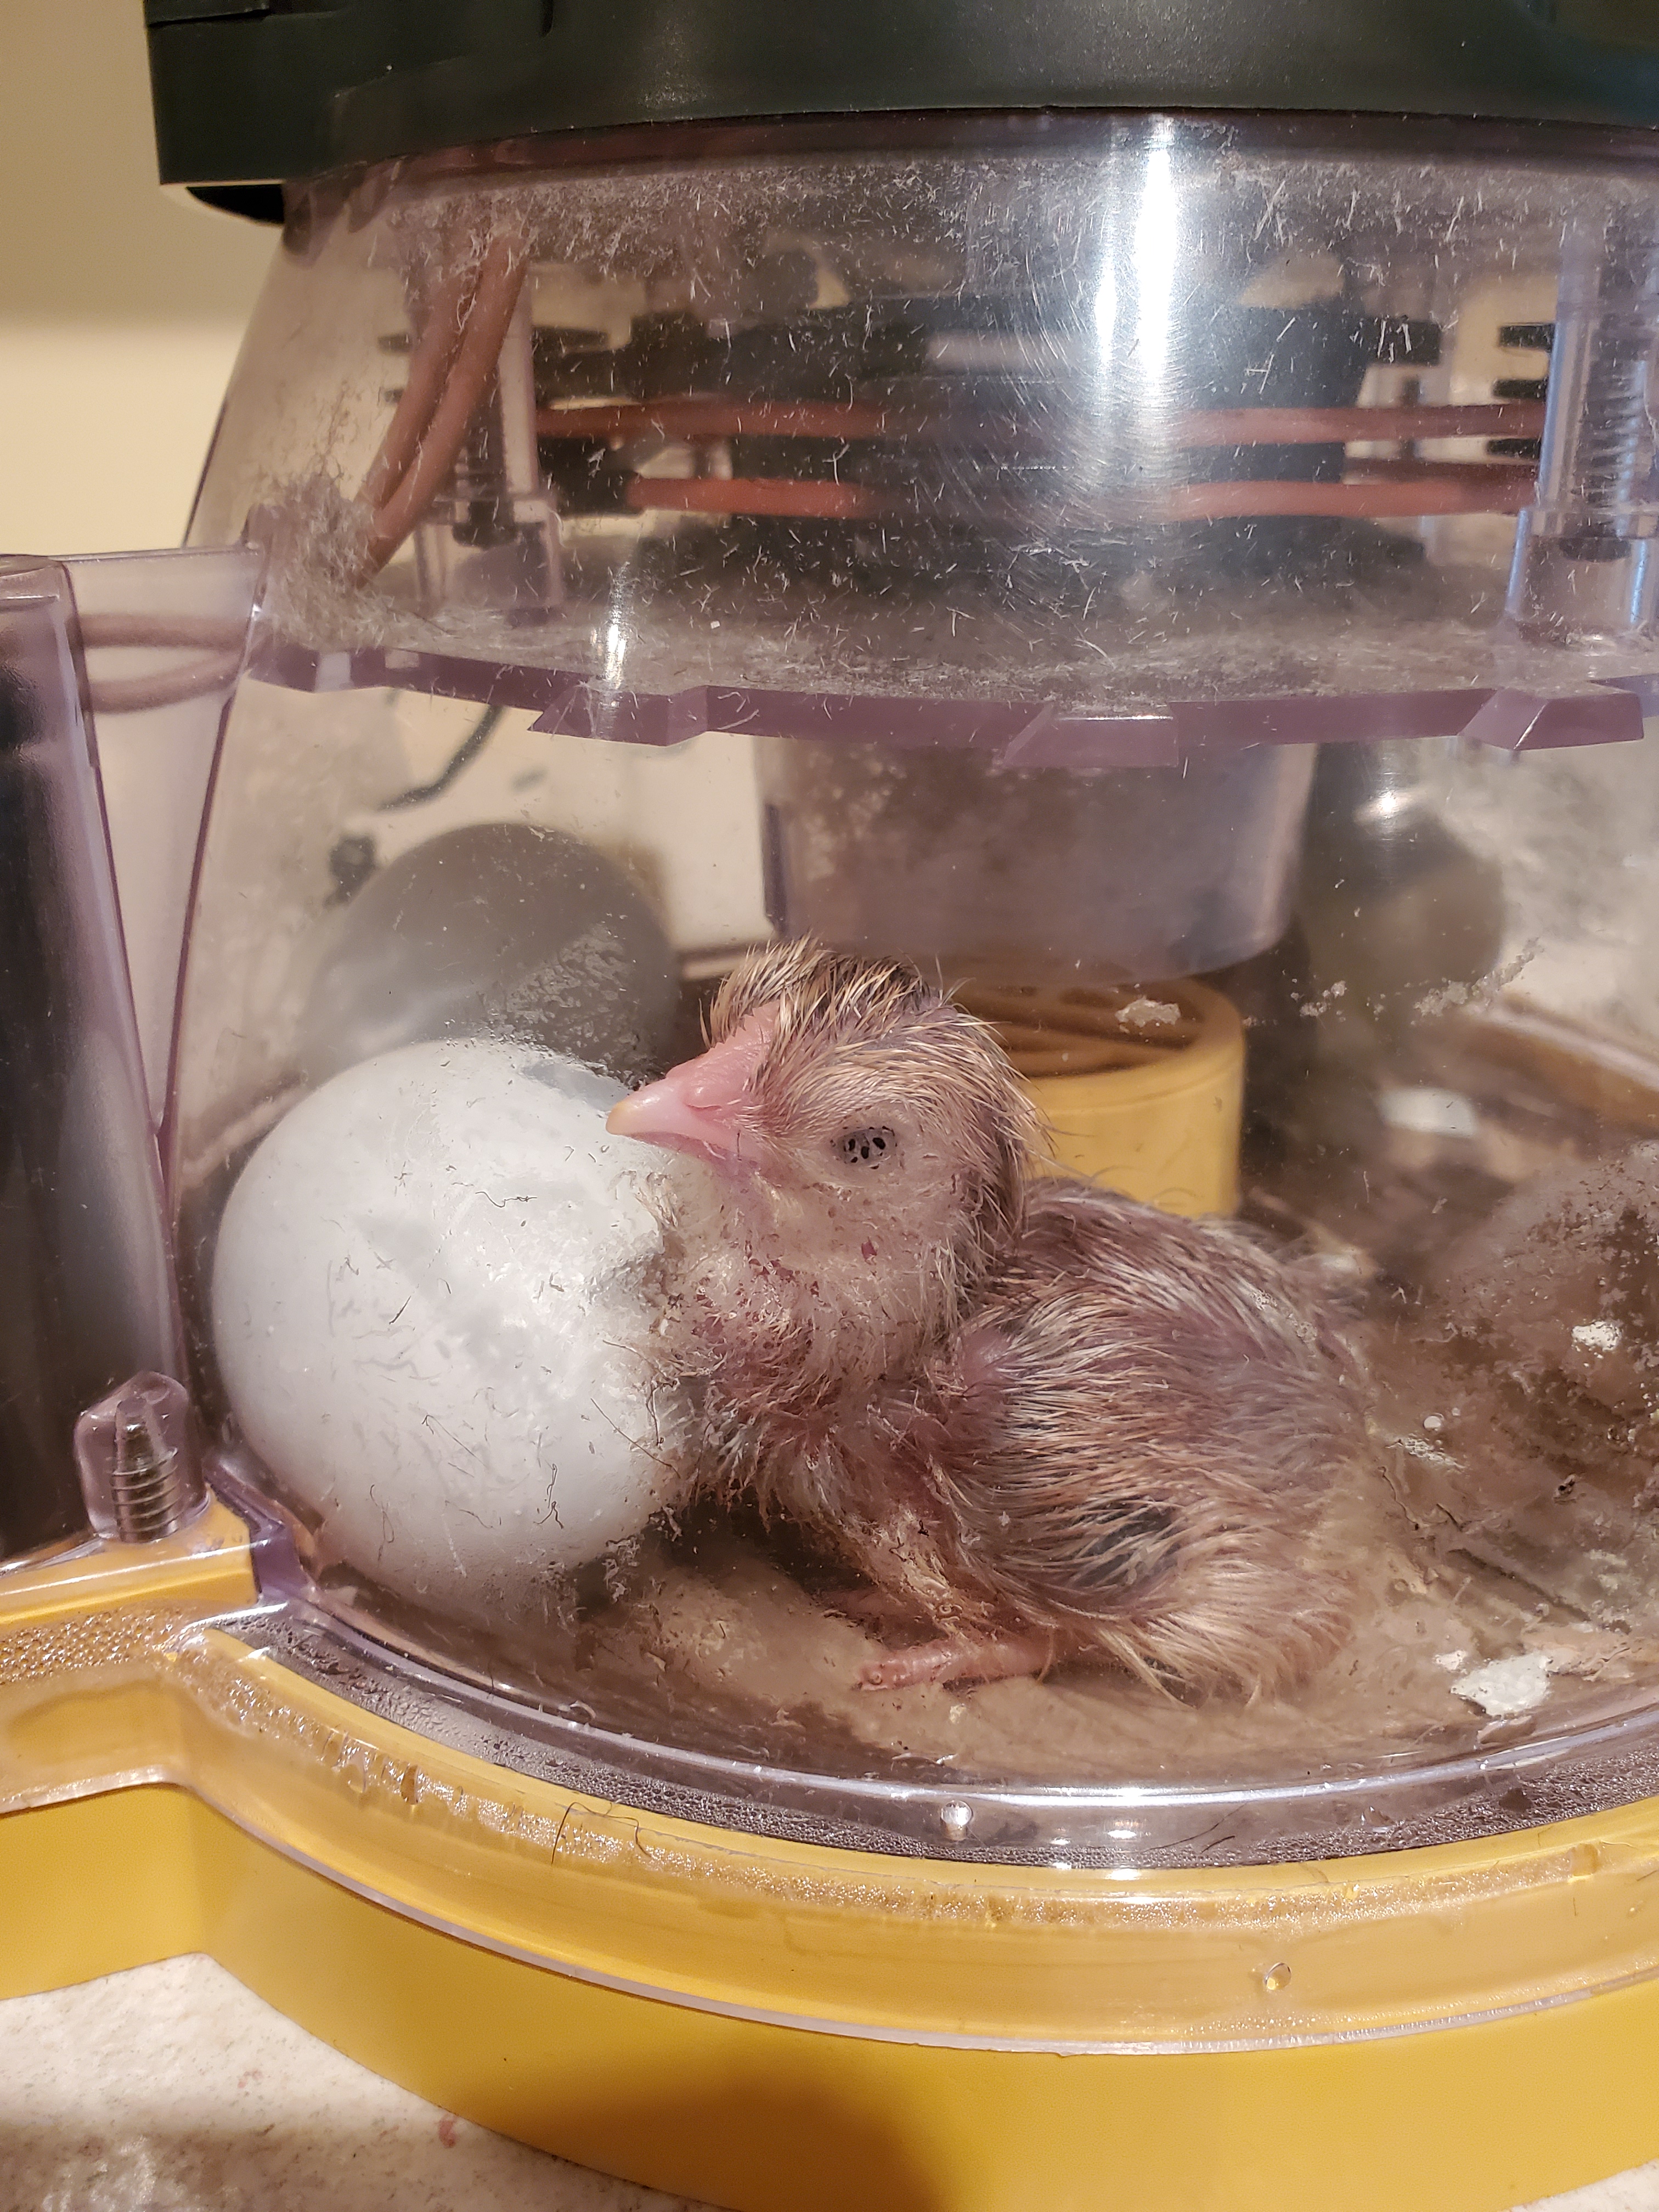 Big Foot was perfectly formed. He just had humongous feet. The Blue Belles had little stick legs with little stick feet so it was quite a contrast.
The next couple of Legbars hatched and were put in the brooder. I told Emmett the last one would be named Caboose because it was at the end of the train.
Boy, did I come to regret that comment. You see, Emmett is the Caboose of his family, so, after I said that, he had a bond with that unhatched chick. Unfortunately, it didn’t hatch and it didn’t hatch. It was pipped, it was zipped, but it was stalled.
I went to work Monday morning expecting it to hatch before I got home. But no, it still hadn’t hatched. The little thing was trying and you could hear it peeping but it was getting nowhere. I looked closer and it appeared like the darn thing had somehow got turned around in the egg. I had never heard of such a thing though so I hesitated to get involved. I read on backyardchickens.com that you should give a hatching chick at least 24 hours to get out of the shell without “helping” it. It was really close to that and he was still peeping so I let it be.
When I got up at 2:00 am to let the dog out, the peeping, though, had gotten very faint. I could not let that thing die! So, I hatched it. I broke the shell away and sure enough, little Caboose was in the shell backward and would not have made it out by herself. We watched her closely for a couple of days to see if there were any lasting effects from her ordeal but, other than being smaller than everyone else, she was fine.
So, out of seven eggs we had seven bouncing chicks! Eager, Roadrunner, Thunderbutt, Big Foot, Dotty, Number Six, and Caboose.
My biggest take away from the experience? It was fun – once – but there were lots of anxious moments, too. So, from now on, I’m leaving the egg hatching to the professionals – other chickens!
Lockdown! (of the chicken variety)
“We can see a thousand miracles around us every day. What is more supernatural than an egg yolk turning into a chicken?” — S. Parkes Cadman
Friday, June 7, we started 7 eggs in the incubator. Friday, June 26th, was lockdown. Two days to hatching. Or so we thought.
The next morning we found … a pip!
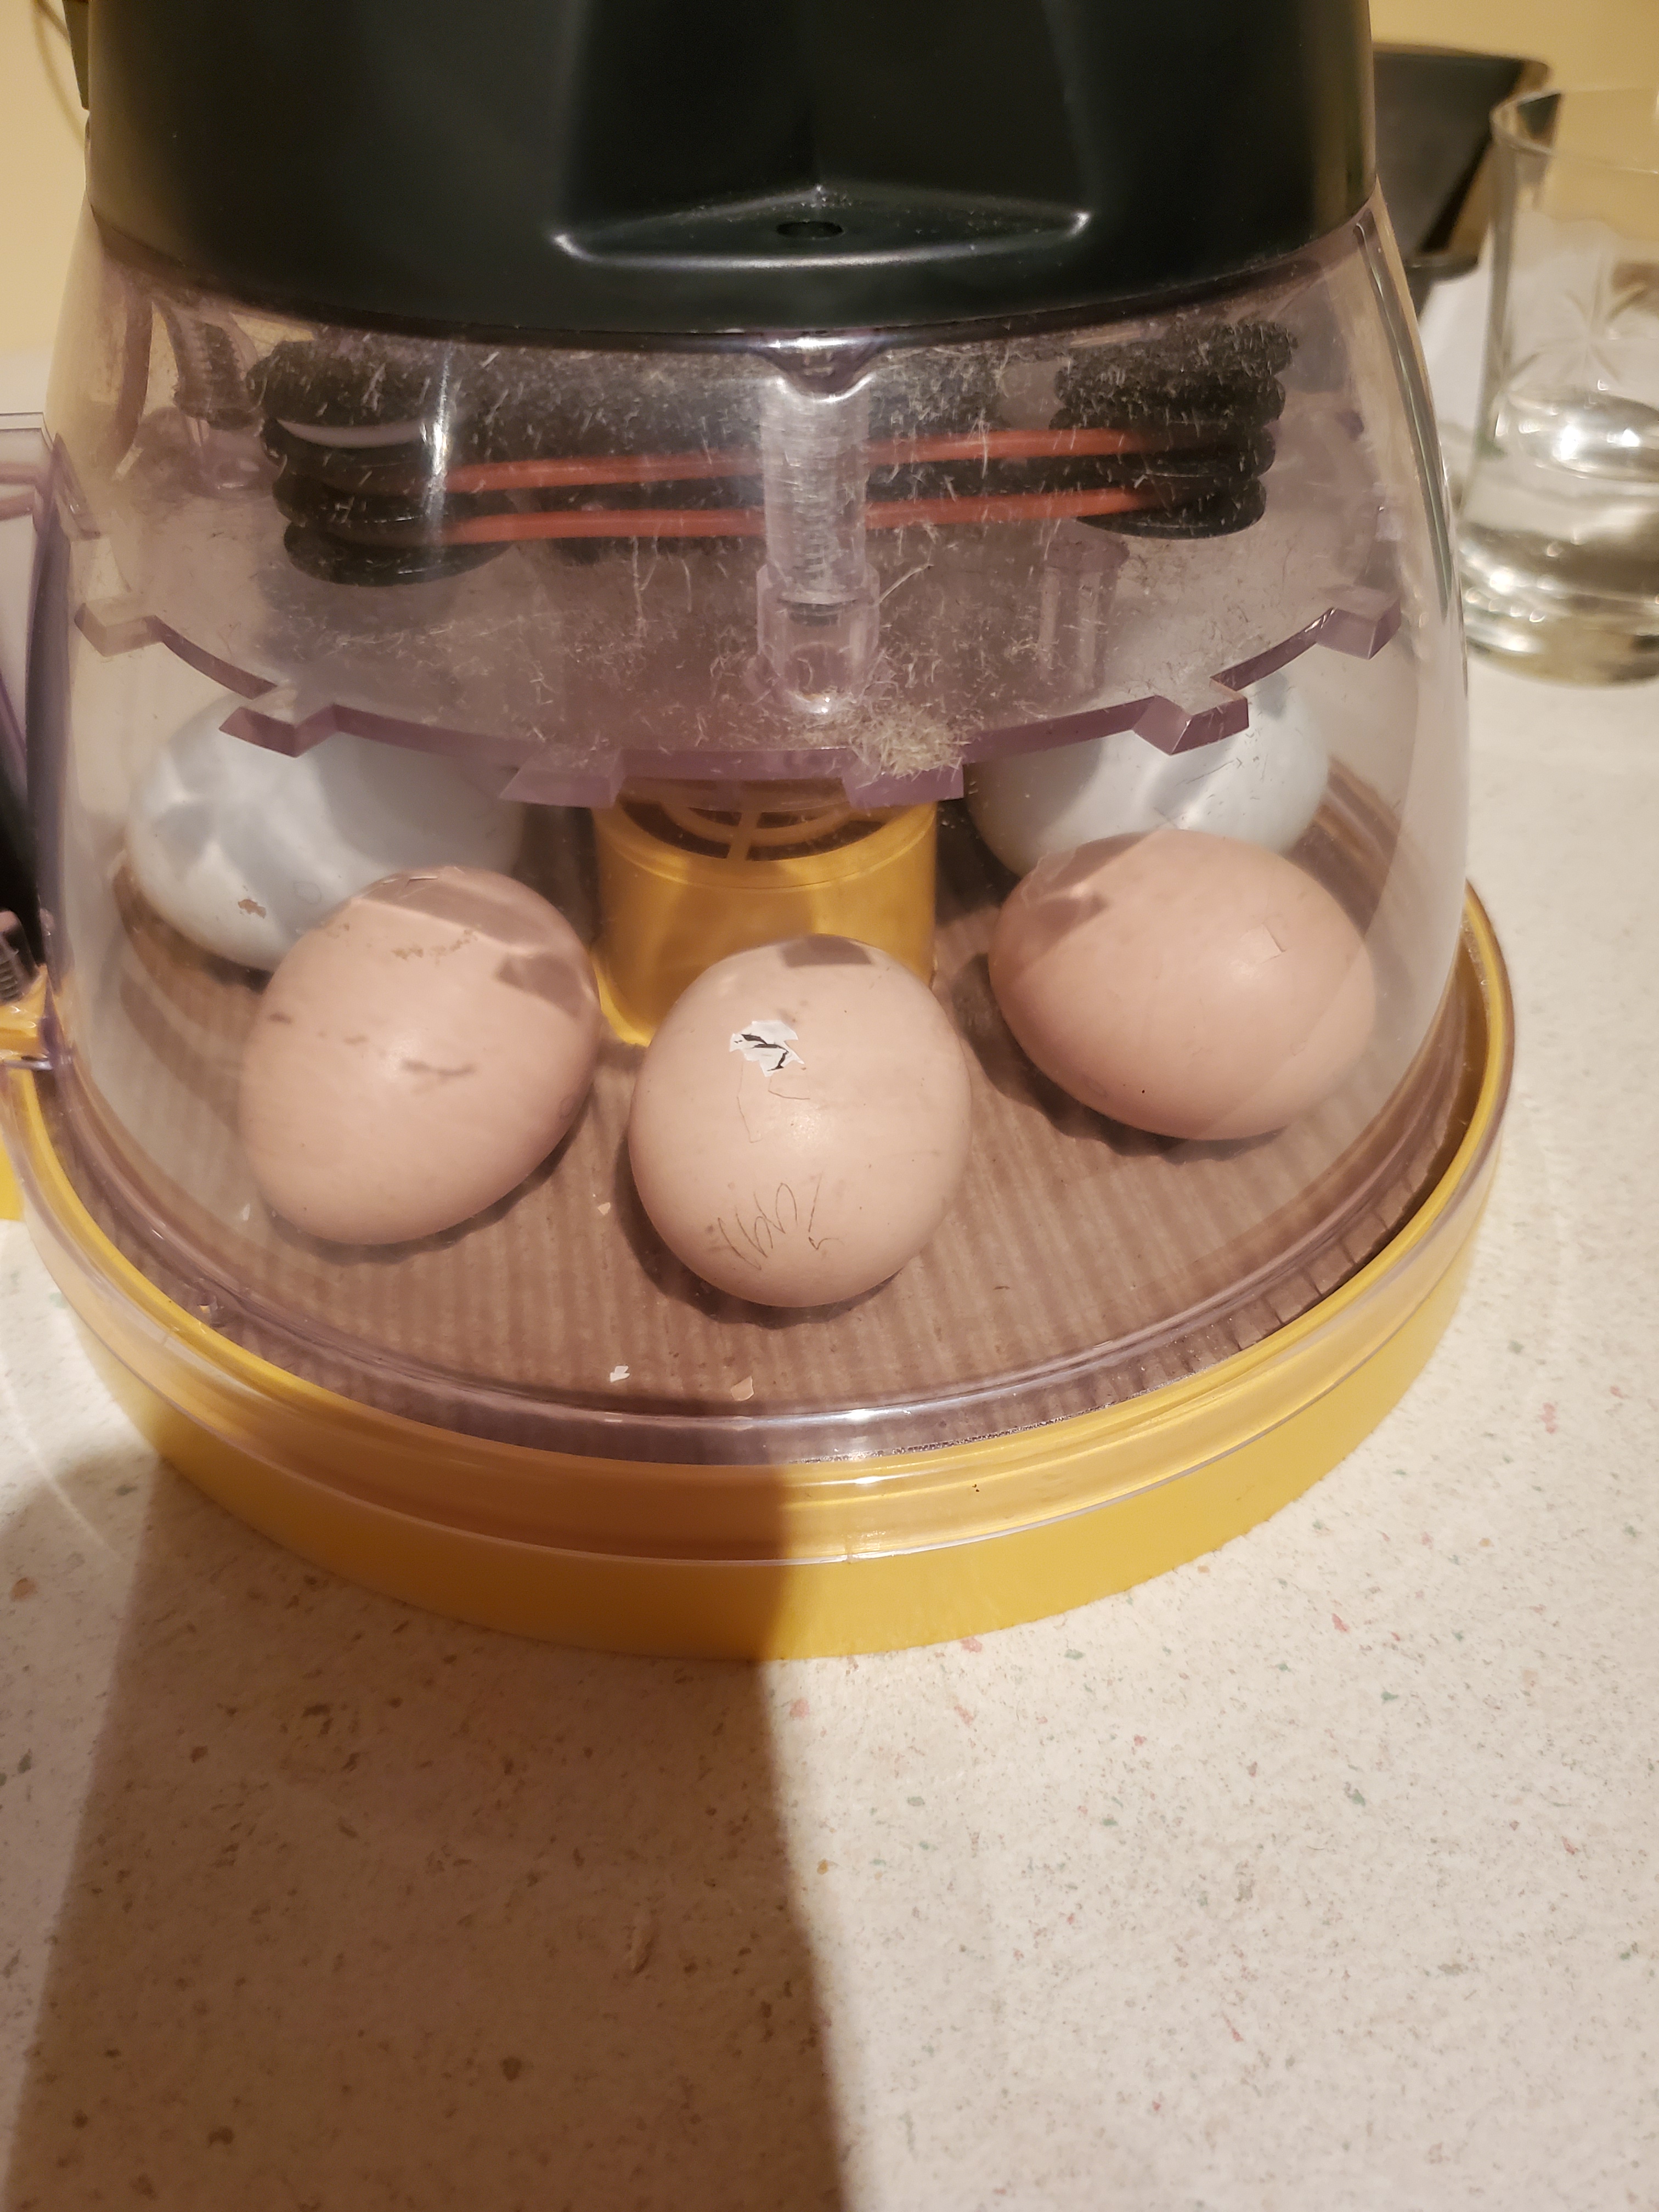
I’d arranged with my daughter to bring my youngest grandson for the hatching. We’d figured hatching wouldn’t start until two days after lockdown so she was going to bring him Sunday afternoon. However, it appeared someone was eager to exit the egg so she had to scurry and get him here by Saturday afternoon. By then there were signs in the other two brown eggs, too.
I was relieved to see that the brown eggs were active. After the initial candling when we could see veining, they were just too dark to see if they were progressing so I was a bit anxious about them. It was fun to candle the blue eggs though and see things progressing – there’s the head! there’s the body! there’s the legs and feet!
We waited and waited but nothing else happened that day and finally went to bed about 11:00 pm.
🐤
Labor Day
As many women know, when you work full-time and a “holiday” comes up, it’s not usually a day off. That’s when you get things done that need more than an hour or two of effort after getting home from the job, already exhausted. Sometimes these “extra” days are used for cleaning and organizing, sometimes for cooking ahead. Either way, there is always plenty to do.
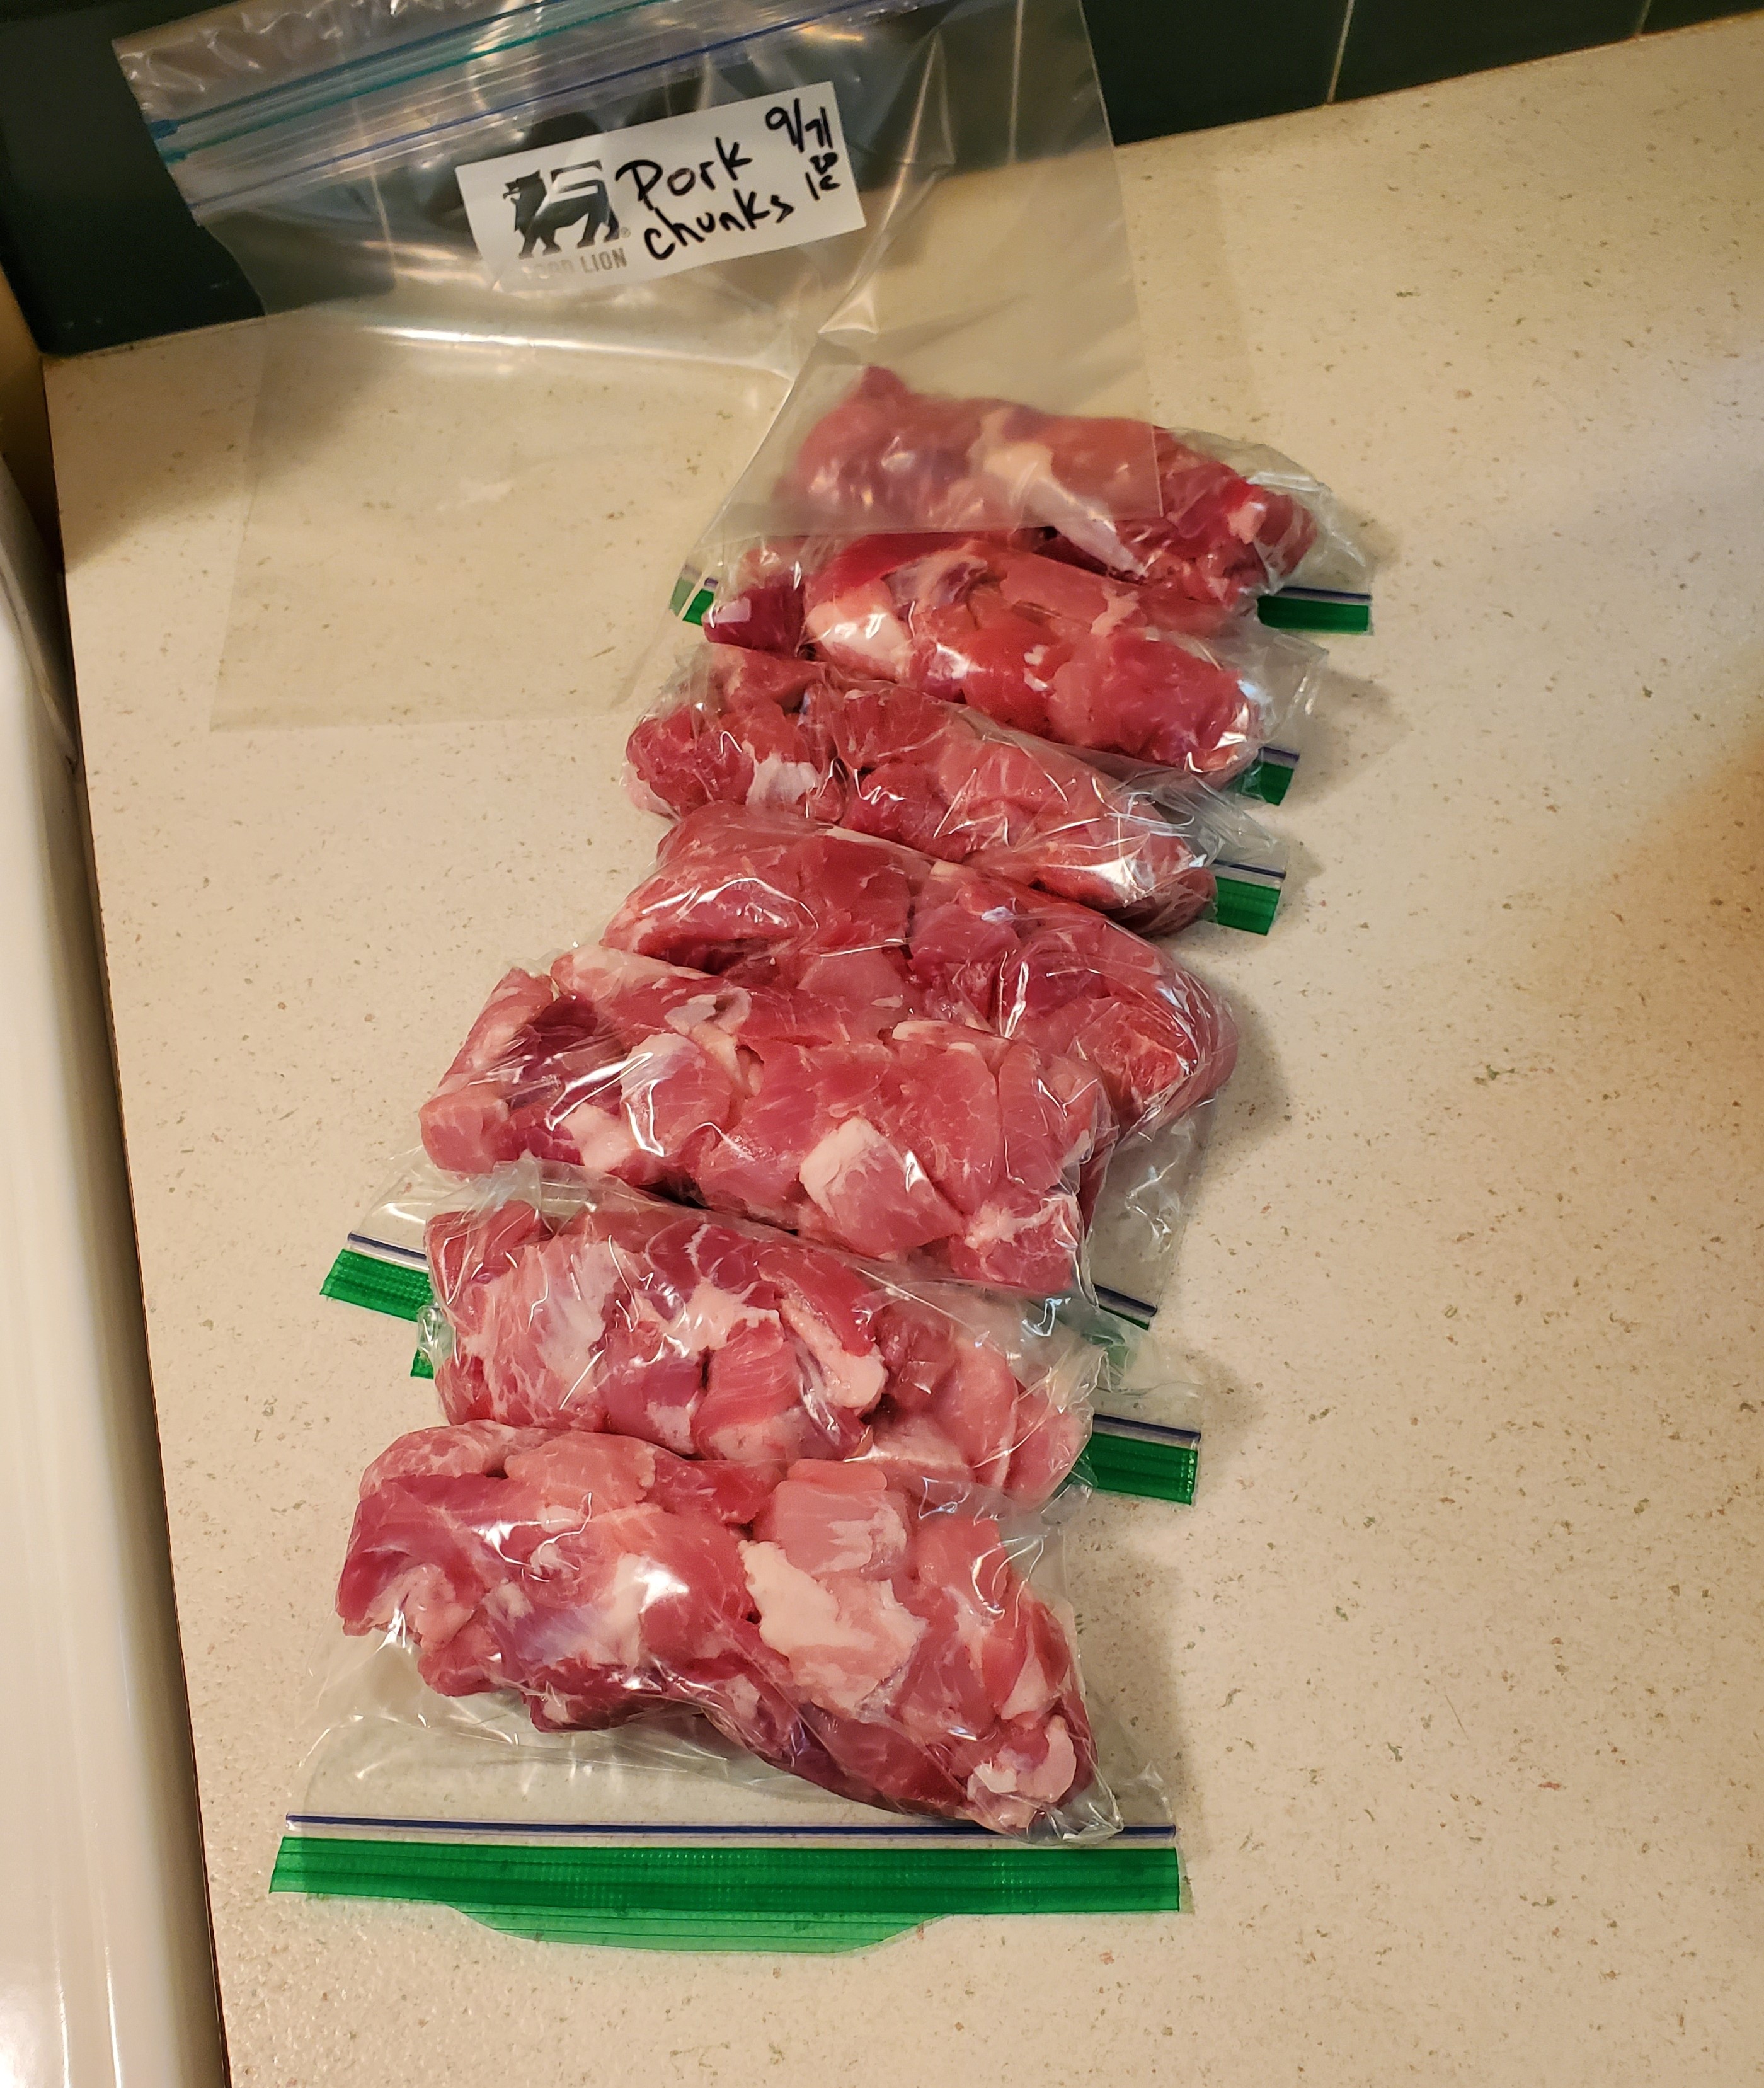
In addition to watermelon, I found pork shoulder on sale. The trick of course was finding a store with stock, since empty shelves have been the name of the game the past several month. Sure enough, my usual store had none. Jessica, my daughter (she lives two hours away), said her store had none either. I sent a picture to Oscar (the grandson who lives with me now) and told him to hit up the two stores on his way home from work Friday. Eureka, he found some! I had him bring three home – two for our freezer and one for his mom’s freezer.
Of my two, I put one in the big freezer that we just got back up and running (after unplugging it four years ago) and one in the refrigerator for further processing before freezing it.
Saturday and Sunday were used to dehydrate the watermelon. Today, though, was Pork Day. I cut up the pork shoulder in the refrigerator.
I got 7 one-cup-ish packets of cubed pork. I double-bagged them and put them in the freezer. I’m looking forward to making Slow Cooker Chile Verde (a new recipe for me) and Slow Cooker Pork Stew (a family favorite), when the colder weather comes in a few months.
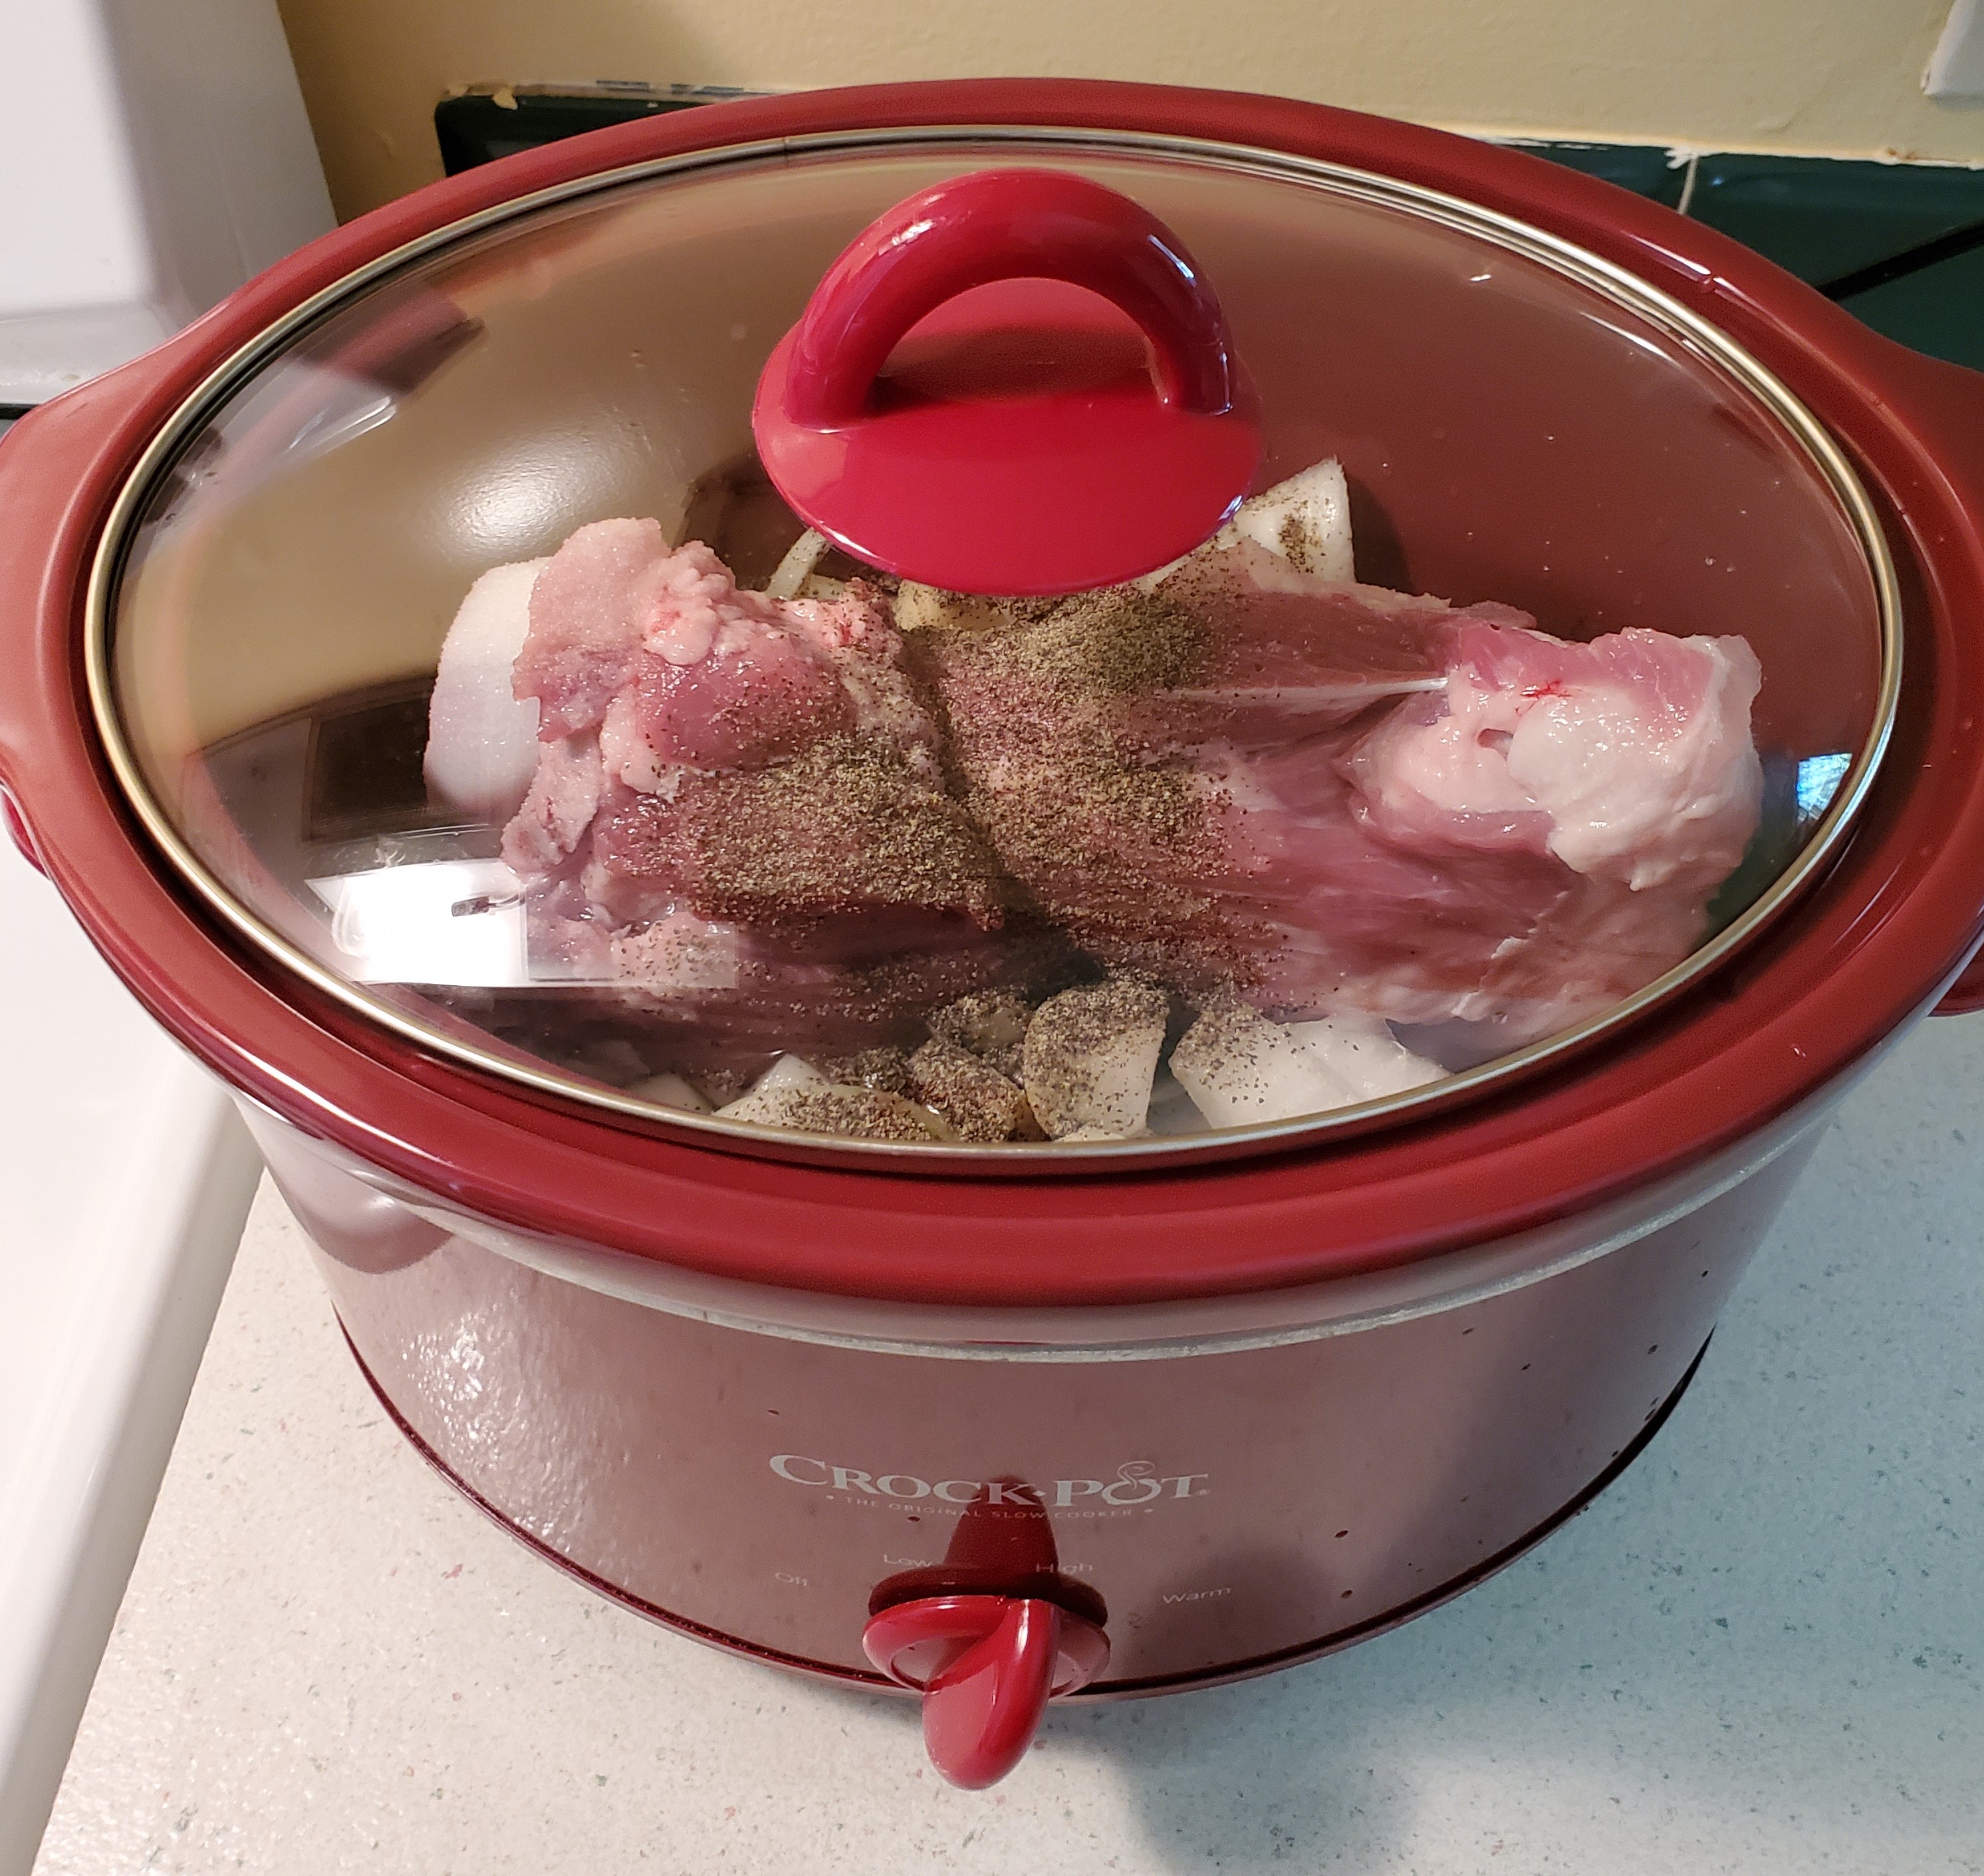
I’m not the most efficient meat cutter. There was a lot of meat left on the bone. I try not to beat myself up about not doing something the best or the “right” way: I just find another way to accomplish the task. I put that meaty bone in the crockpot with onion, salt, and pepper to cook down into soup base. I’ll freeze that and enjoy pork and bean soup later in the winter.
I always feel a sense of accomplishment when I get things done for future use. I have pork ready for nine or ten meals from that one pork shoulder.
Sometimes, though, there’s a niggling voice that says, “These are ‘piddling’ things. You have nothing to be proud of.” When you see other people who raise big gardens and can and freeze the harvest, raise the pigs and chickens and send them to “freezer camp,” it can be a bit intimidating. I often have to remind myself to stop comparing my efforts/abilities with anyone else. They didn’t used to know how to do what they are now doing. It’s okay to do what I can do and feel a sense of accomplishment.
Rejoice in where you are and keep on learning!
🙂
Storing Summer Sweetness
Seedless watermelons were on sale at the grocery store, so guess what I did? That’s right, I fired up the dehydrator!
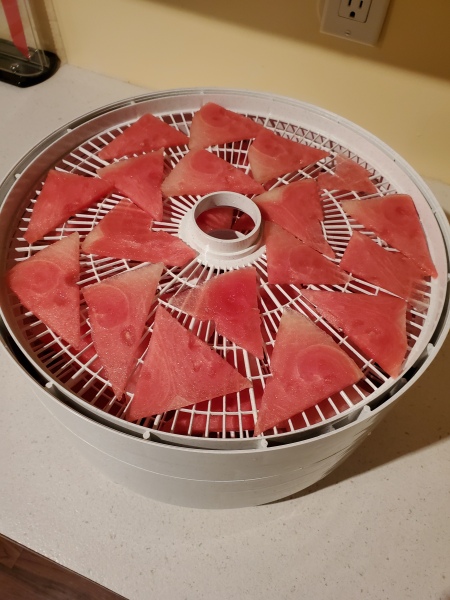
Eating dehydrated watermelon in the middle of winter is like having a blast of summer in your mouth. The flavor is concentrated and sweet. It’s not that nasty, fake “watermelon” flavor they use in candies either, it’s the real deal.
I only dehydrate watermelon when I have no other plans for my dehydrator as it can take a day or so to finish. My other requirement is to get the watermelon on sale. While you can use a less expensive seeded watermelon, removing the seeds is verrryyy tedious. So, if I can afford to get seedless, I get seedless.
Because of these limitations – price and the amount of time in the dehydrator – I don’t dehydrate watermelon every year so it really is a treat when I do.
When I made it before I learned that it works best to thinly slice the watermelon rather than cut it in chunks. The chunks take a longer time to dry and are very chewy and sticky. The slices are like putting a paper-thin wafer in your mouth that just melts. With slices though, you will want to turn them after a few hours and then again a few hours later so they don’t stick to the trays. Trying to remove fully dry watermelon slices from a dehydrator tray results in watermelon crumbles resembling the bottom of a potato chip bag. They’re still tasty but not as fun to eat.
Store the finished product in an airtight container.
🙂
A Little Chicken
When my oldest grandson came to live with me this Spring, I realized I would now have a bit of brawn at my disposal to implement some of the loftier schemes I have been unable to do by myself. Thus, my long-standing intention of having a flock of chickens, with all the paraphernalia that goes with that, became one of his projects this summer.
It turned out that the fact this has been on MY To-Do list for years gave me no precedence for acquiring the supplies needed to build the chicken coop. Seemingly, nearly everyone on Lockdown suddenly decided They wanted chickens, too. Building supplies were really hard to find. 2 x 4s? Gone. OSB sheets? Gone. Chicken wire? Gone! Nevertheless, I persisted until I tracked down what I needed and we are now the proud owners of the Crookedest Chicken Coop in the East.
We got some hatching eggs from a local farm, Dragonfly Farm, borrowed an incubator from a friend, and embarked on one of the fun experiences of life: hatching chicken eggs.
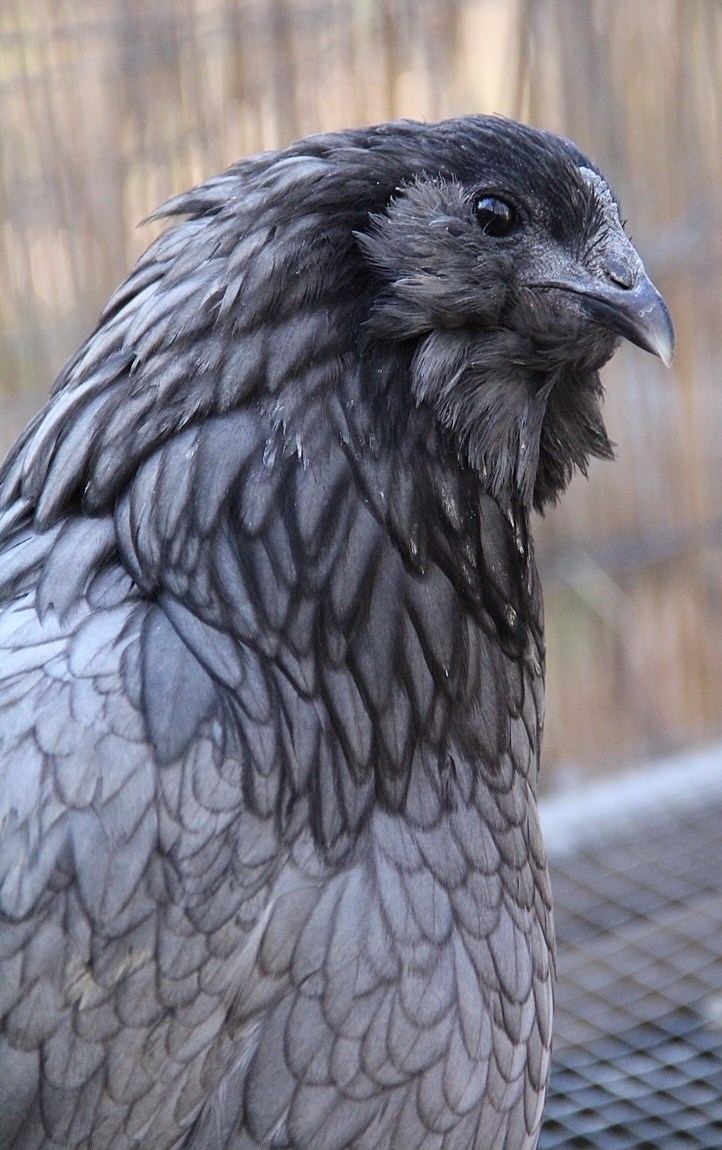
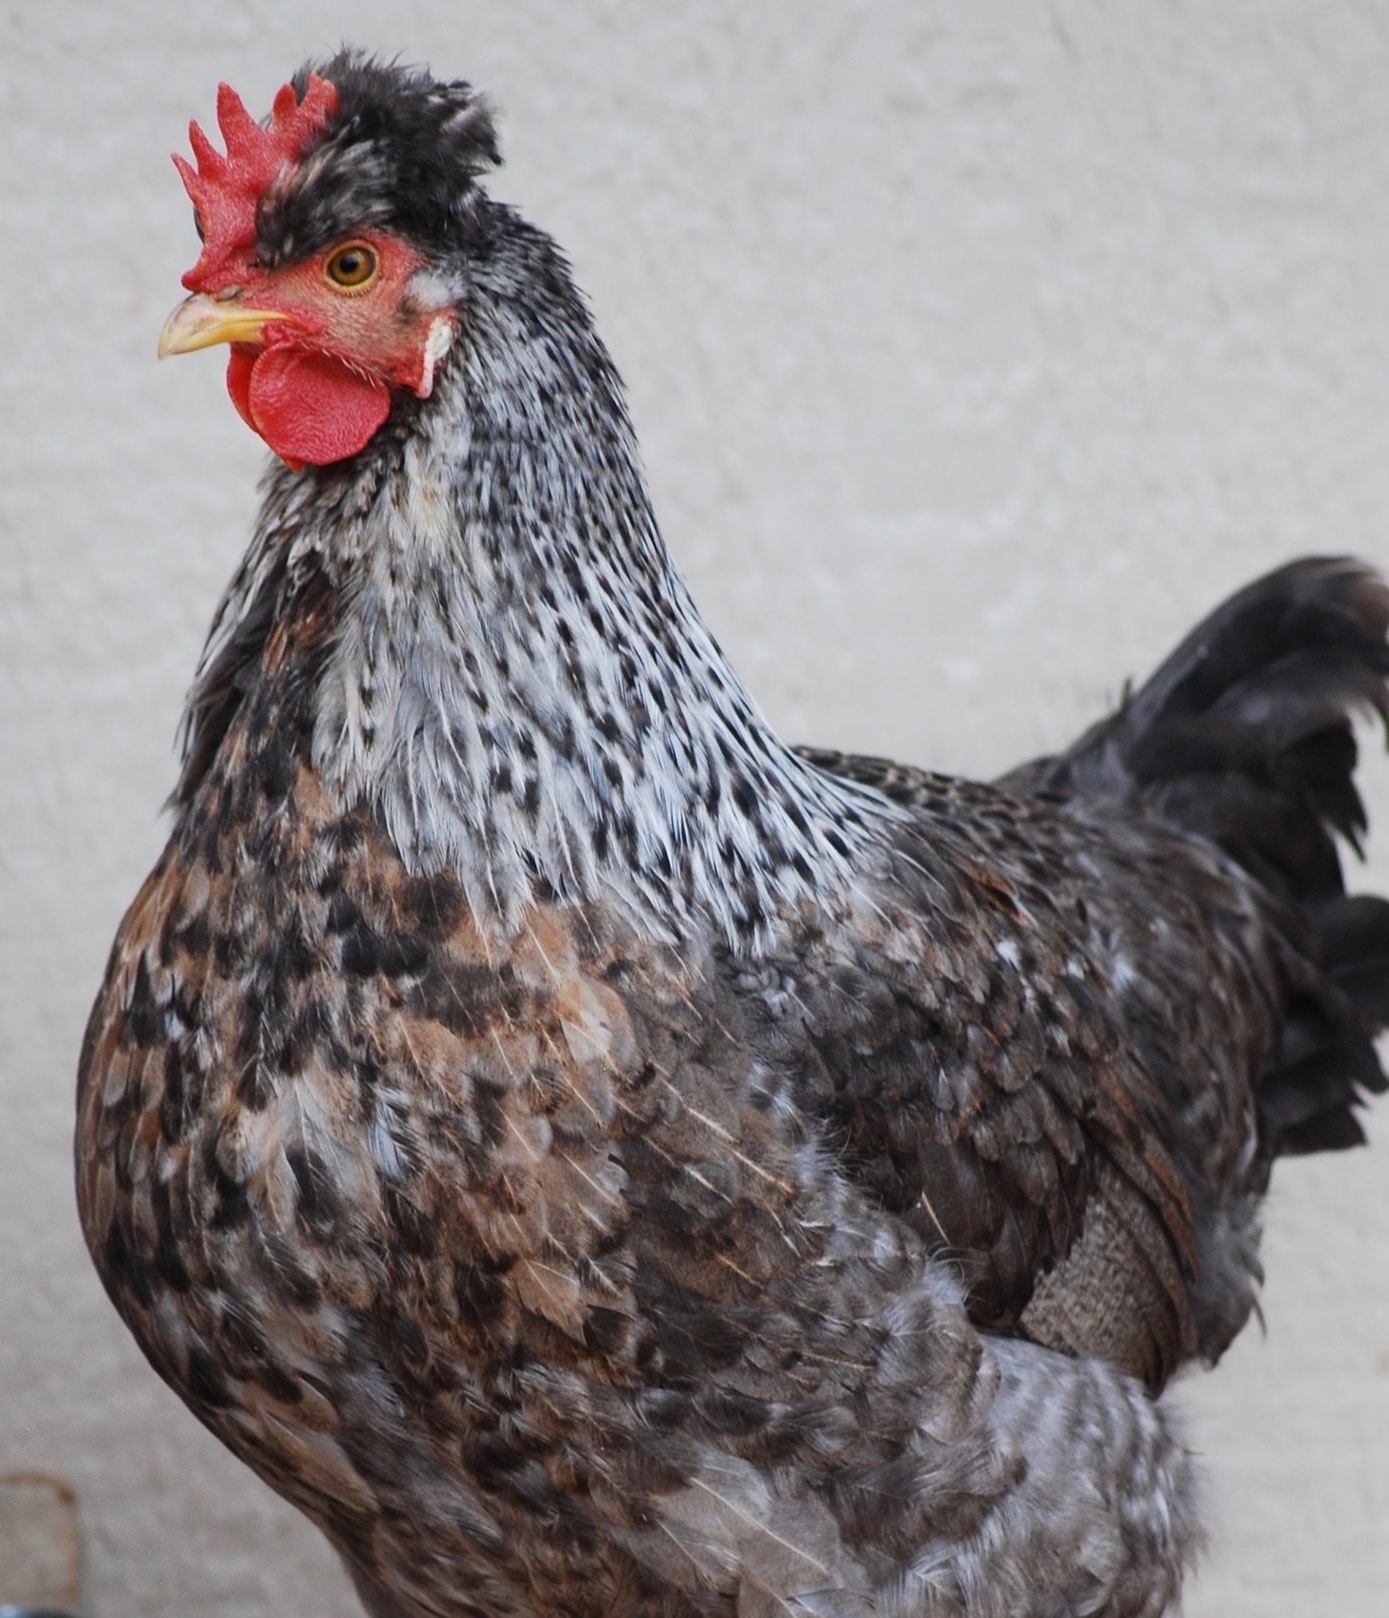
 On June 8th, we put 3 Laced Blue Belle (brown) eggs and 4 Crested Cream Legbar (blue) eggs into the incubator, looking forward to chicks (all hens of course!) that would grow up to look like this:


You must be logged in to post a comment.