ONE OF MY FAVORITE THINGS
Last night, after I got home from work, I got to do one of my favorite things.
I canned Chicken!
I think it’s a favorite thing to can because it’s also the easiest thing to can. Now that I’m using my Nesco Smart Pressure Canner, it’s even easier, too!
Here’s all it takes to can chicken:
COLLECT THE SUPPLIES
4 wide-mouth pint canning jars (that’s how many fit in my canner)
4 pounds (ish) of boneless, skinless chicken breast (you can do thighs too)
Salt

I’ve been buying boneless breasts and thighs over the past few months for this project.
PACK THE JARS
Shove a whole chicken breast in each jar – squish it in there real good – leaving an inch of space at the top of the jar. Add some smaller pieces if the jar isn’t quite full. Add 1/2 teaspoon of salt to each jar.
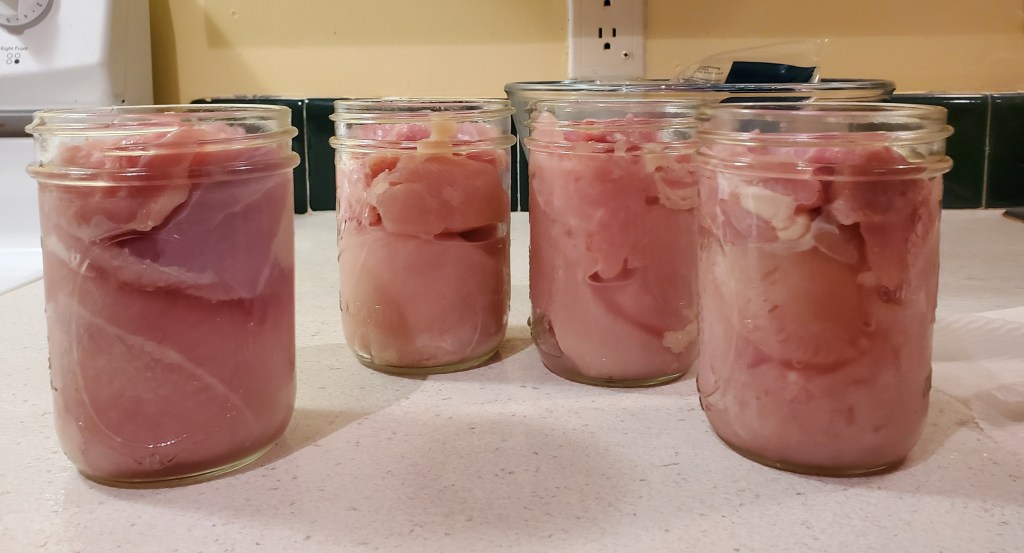
Packed with chicken
Wipe the rims and put on the lid and the ring.
Put the jars in the Nesco electric canner. Add 8 cups of water to canner. Set the timer to 75 minutes (90 for quarts).
PROCESS
Once the canner is up to pressure, the Canner will beep to indicate when to switch the valve from Exhaust to Airtight. At that point, my work is done! I don’t need to do anything else for 2 1/2 hours or so — when it’s time to unload the jars from the canner.
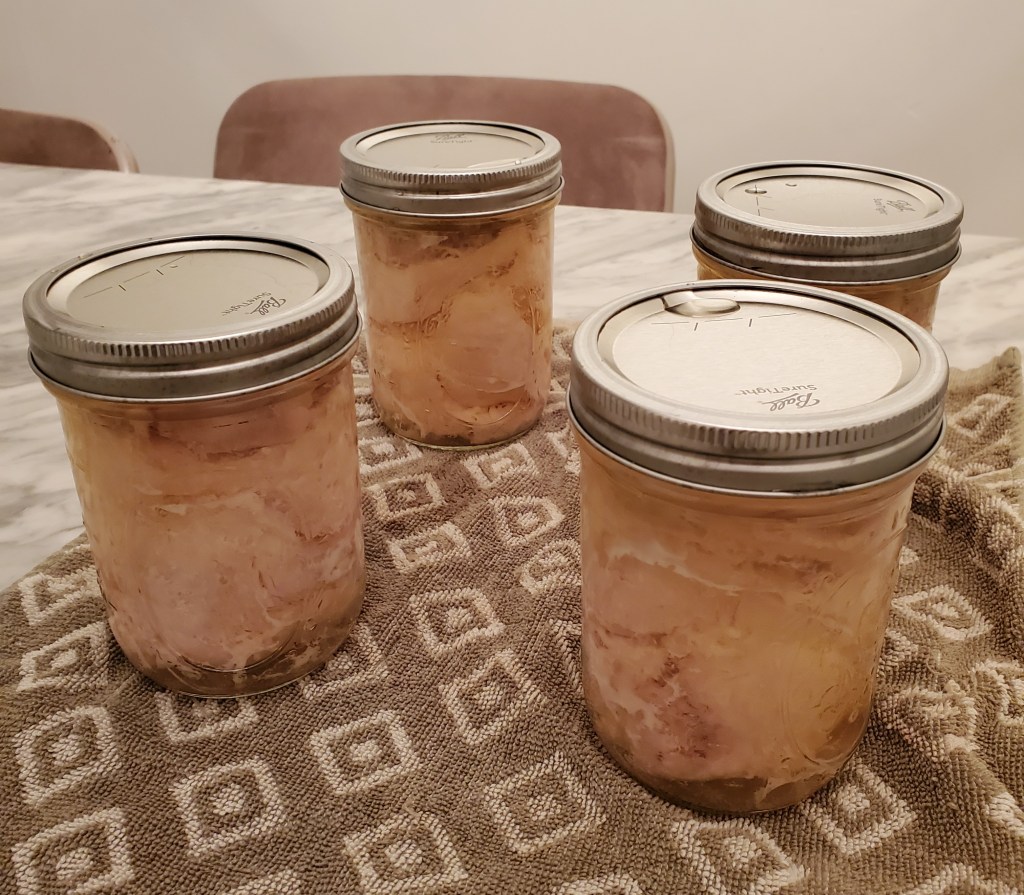
With so little effort, I have shelf stable meat to use in any recipe that calls for cooked chicken. Each pint jar holds about a pound of chicken (a quart holds two pounds).
Do you see why it’s my favorite thing to can?

You must be logged in to post a comment.