THINGS I LEARNED – PART 1
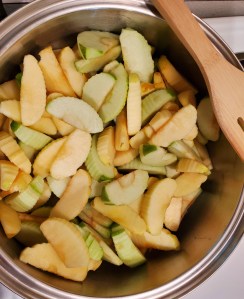
Making applesauce is super easy. You peel, core, and slice some apples, cook them until they are soft, and mash them. Just like that, you have applesauce.
As I processed applesauce this year, I tried some different techniques and tools than I’ve used in previous years. Rather than record the steps involved in making and preserving applesauce, I’m going to report on what I learned with this year’s batch.
COOKING
I played a bit with the cooking of the apples. Normally, I use my big soup pot to cook them.
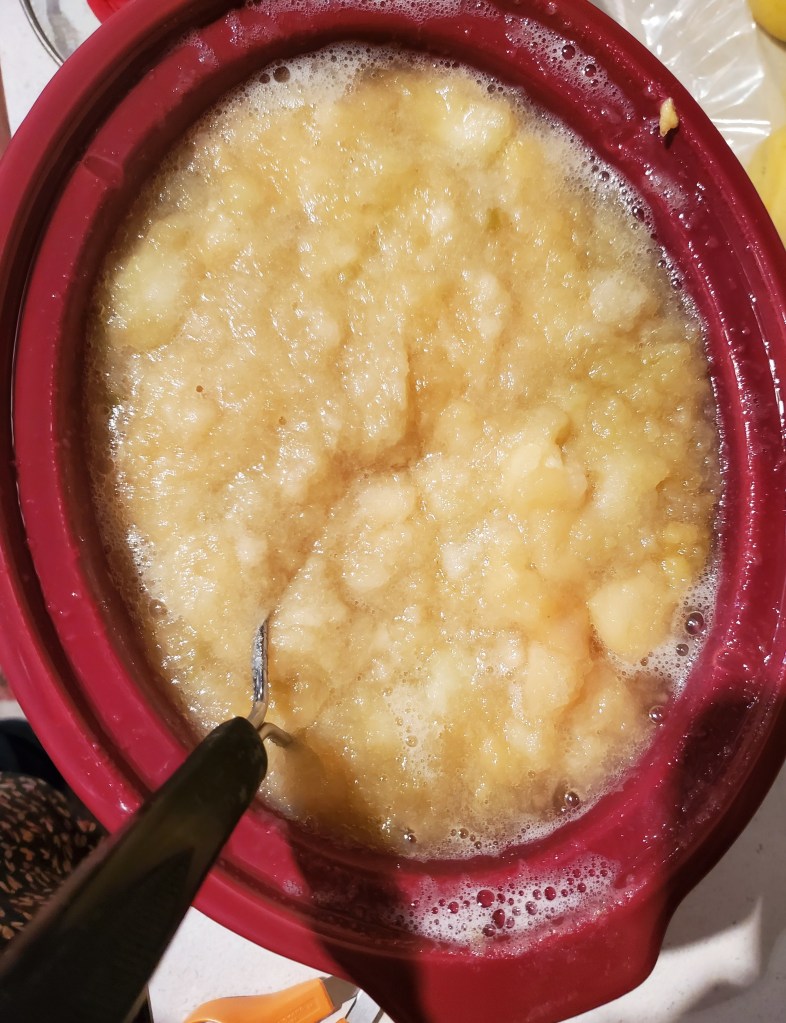
For one of my batches though, I used the crockpot and really liked the results. The downfall, of course, is that it takes three or four hours to get the apples cooked and mashed. Since I do much of my canning at night, after work, using the crockpot would rarely be feasible. That’s fine — I know the option is there on the weekends if I want to use it then.
PRESERVING
In prior years, my preserving method was to put two cups of applesauce in a sandwich-size baggie, seal it, and freeze it flat. It is such an easy process. This year, though, I canned all the applesauce I made. Amazingly, I had never canned applesauce before.
Canning it was a bit more work than freezing it but doing so provided me with a shelf-stable supply of applesauce. This removes concerns about losing the food if the electricity goes out for an extended period. Canned applesauce is also more useful for those of us who forget to take food out of the freezer. I can use this applesauce without planning ahead since I don’t have to thaw a bag before using it.
Using my Nesco Smart Canner, though not a new tool, certainly made the process easier. For one thing, since it is made specifically for small-batch canning, preparing and processing four or five jars of applesauce at a time was just about all my back could handle.
Another nice thing was that while the Nesco was coming to a boil (this takes about 20-30 minutes), I could get all of the clean-up done. Once it produced a steady stream of steam, I could push the button and walk away. With no further intervention, it would process for the amount of time I set (15 minutes for pints at my elevation for applesauce), and I could come back to remove the jars at my convenience. Now that I’m getting the directions between water bath canning and pressure canning straight in my mind, the Smart Canner is the thing makes it possible for me to keep canning.
One new thing I figured out with the canner this time is that I need to process a minimum of 4 jars. Even though I’ve seen You Tube videos where the user put a single jar in the canner to process, I always seem to have problems (e.g., floating jars that siphon) when the canner is not fuller. So, this time, when one of my batches of applesauce ended up filling only 3 jars, I followed the guidance from the National Center for Home Food Preservation to add a jar filled with water to the batch. This jar can be used as water storage so it’s not really a waste. I really don’t like using up a canning lid for something like that though. My next question is: can I just put an empty jar (of water) with no lid in the canner? I suspect the answer would be yes with water bath canning, no with pressure canning.
HOW MANY APPLES?
I struggled with finding the correct number of apples to use per canning jar.
I thought I knew what I was doing as my “The Complete Guide to Home Canning” manual said it takes an average of 21 pounds for 7 quarts or 13.5 pounds for 9 pints. I tried to convert the math to figure out how many pounds for 5 pints and just kept missing the mark. I finally settled on 1.5 pounds, or 5 apples, per pint … maybe.
There’s more to tell so check back in a few days for Part 2.

Busy bee!
Sent from my iPhone
LikeLike