VINEGAR ALERT
Are you are planning to home can some pickles this year? Or pickled beets or pickled green beans or pickled cauliflower or pickled tomatoes?
Then be aware that the white vinegar we routinely just pick up from the grocery store shelf and put in our shopping baskets without a second thought may have been diluted to levels unsafe for food preservation.
Vinegar effectively preserves food because the acetic acid it contains increases the acidity of the vegetables, killing off any microorganisms and preventing spoilage. When you use vinegar to preserve food, it must have a 5% acetic acid level.
Recently various homesteading and canning You Tubers have alerted followers to pay attention to the vinegar label. Several manufacturers, without notice, have reduced the acidity in their white vinegar to 4%. I imagine the 4% acetic acid vinegar is fine for most of the many other uses for vinegar – in the laundry, making salad dressing, in the garden – but it is not to be used for food preservation.
So, read your labels and make sure you are getting what you expect.

GOING ON AN ADVENTURE
I’ll be off the homestead for a bit. Oscar will be taking care of things while I’m gone. I’ll be back soon though and have left some treats here to enjoy while I’m traveling. Have a lovely week!

Remember: jobs fill our pockets but adventures fill our souls.
When’s your next adventure?
TOO HOT
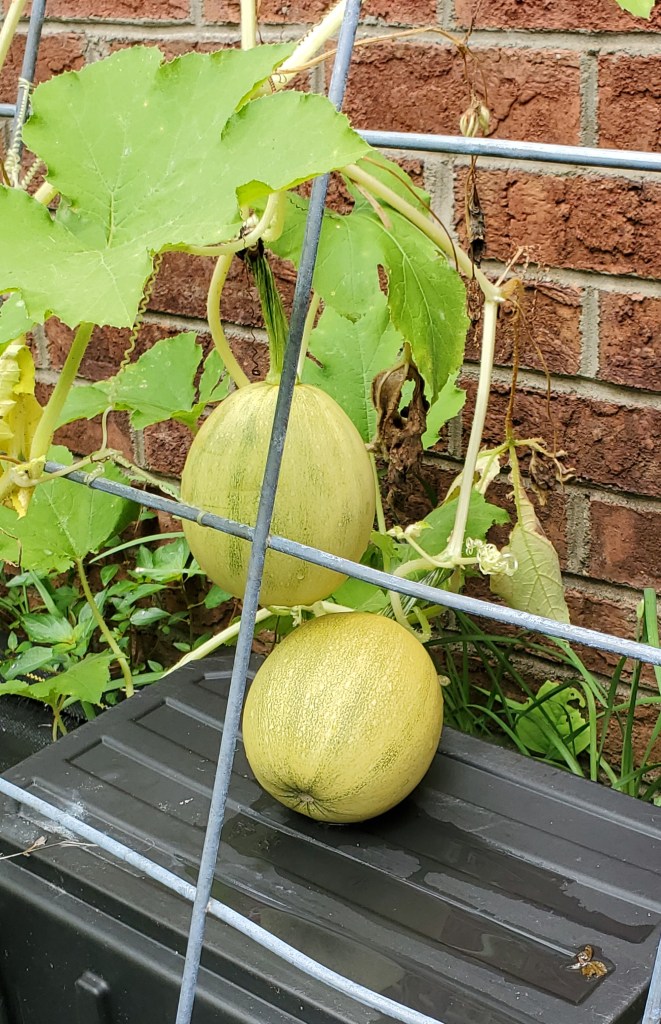
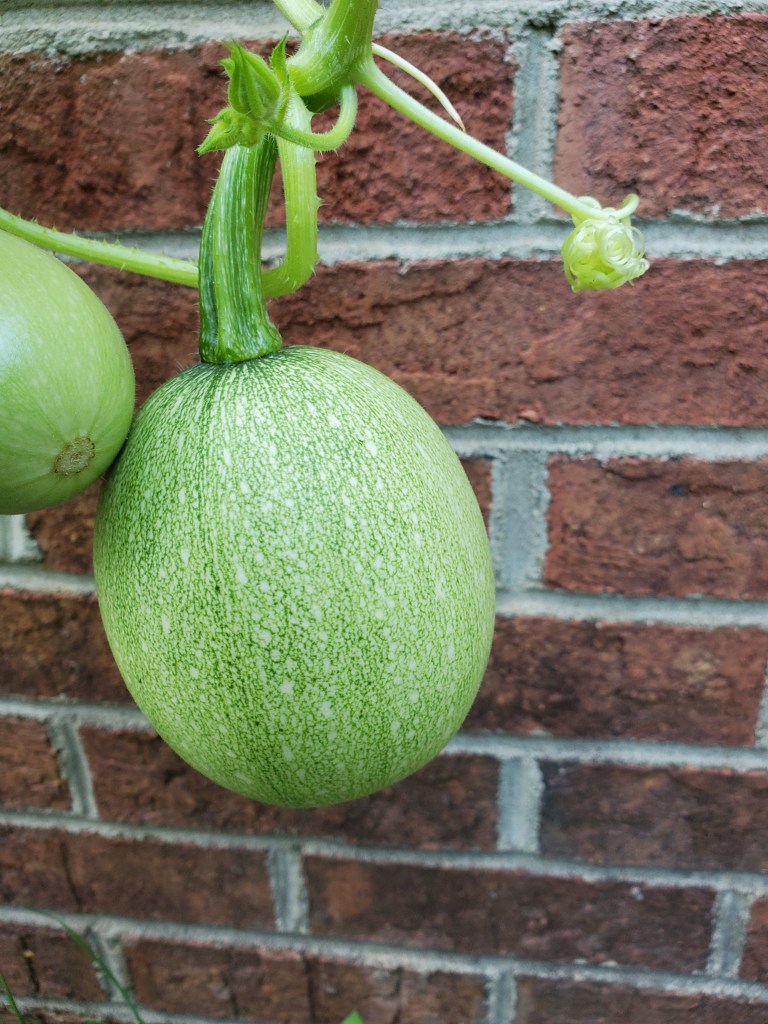
Look what was ready to pick today!

Aren’t these spagehtti squash just adorable?
They aren’t very big but may be each one just the right size for two people. I’m looking forward to trying the “Turkey Sausage, Broccoli and Pasta” recipe I found that recommends replacing the pasta with spaghetti squash (if it turns out, I’ll post it). After that, though, I’ll have to look for more spaghetti squash recipes as I’ve never used it before.
This weekend the outdoor temperatures have been too hot, and the humidity too oppressive, to work in the garden. Fortunately, it rained each night, so I didn’t need to water either! The result was I pretty much stayed inside the house.
It was time to fertilize everything with Fish Emulsion this weekend, but the rain took that plan off the table (I don’t want overwatering to then be an issue). I hope to be able to do it tomorrow or Tuesday after work.
Actually, I haven’t minded that, overall, it’s been a pretty lazy weekend. We all need one of those once in a while.
NEW DIGS
I have enjoyed my time with the worms since I inherited my worm bin from the Sussman family when they left South Carolina. Worms are easy to care for and the worm castings are one of the best fertilizers around.
My bin is very basic – a large, plastic storage container with air holes – and it performs perfectly. Stir the bedding every time you put more food in the bin, dig a hole put in the food, cover the food with bedding, and put the top back on the bin. Can’t get much simpler than that.
Or can it?
Periodically I’ve seen variations that have intrigued me. No, I’m not interested in the pay-lots-of-money-unnecessarily systems you can find on-line nor the ones that utilize “worm tea.” I know, I’m leaving fertilizer on the table, so to speak, by not harvesting the “tea,” but I’m just not interested in that aspect of it – I’m interested solely in harvesting worm castings (poop). The problem is that, since I typically lean toward being lazy, I tend to not get around to harvesting as often as I could.
So, I decided to try a worm tower. A tower lets you lure your worms to a higher level in the tower, leaving the castings they’ve deposited in the bottom layer of the bin. This makes it much easier to harvest the castings.
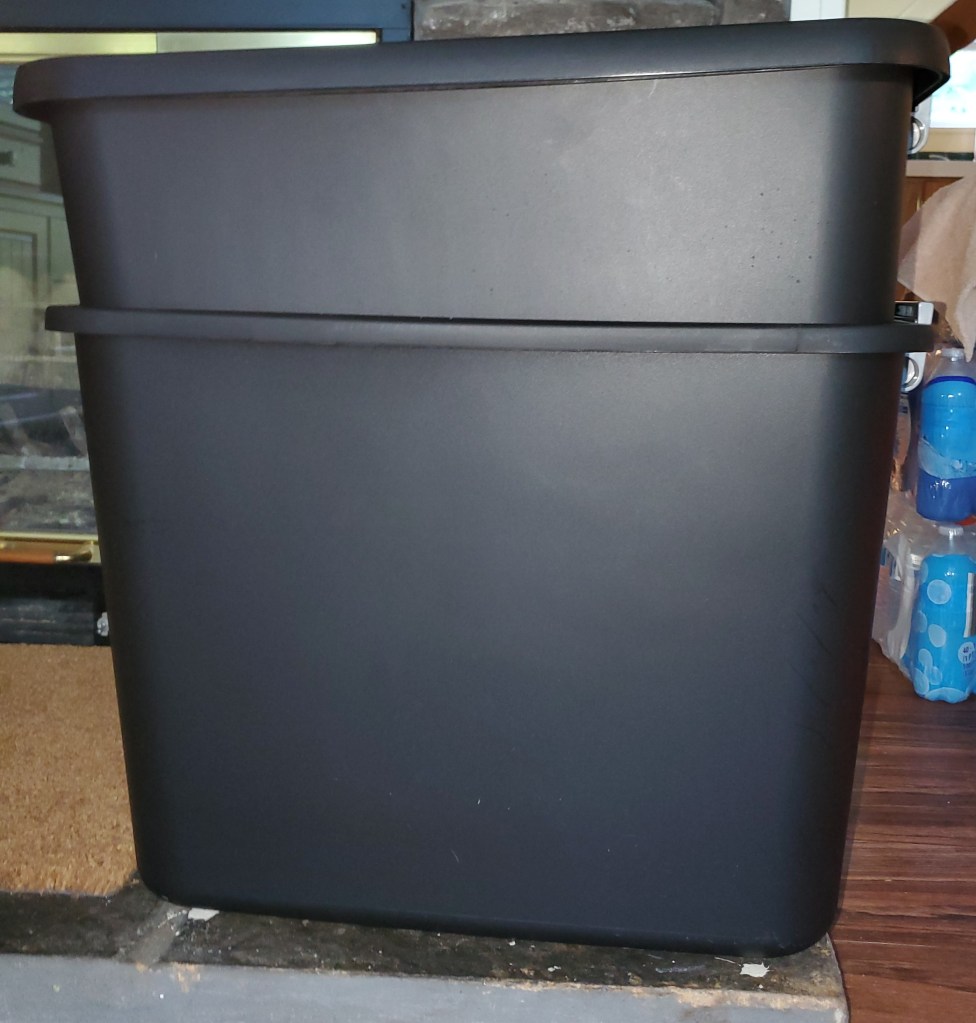
Most DIY worm towers I’ve seen use 5-gallon buckets which, I felt, were too small. I decided to make my worm tower with 20-gallon storage containers (similar to what I have but a bit smaller).
I acquired the storage containers when I was off work last week and have been preparing them by scrubbing them out and airing them for a few days (to reduce the plastic smell). I also prepared new bedding for them by loading up a five-gallon bucket with re-hydrated coconut coir, shredded paper, small pieces of sticks, etc.
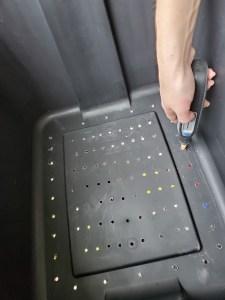
Next, I had Oscar (I have to keep him involved in learning and doing new things after all) drill holes in the bottom of the upper bin and smooth off the rough edges, so they don’t irritate the worms’ delicate skin as they move through the holes.
Finally, it was moving day!
I made sure to remove any leftover food from the bedding in the old bin. Let me tell you, there wasn’t much left – worms really like to eat! I also pulled out some of the old bedding with worm eggs to get a head start on the next generation and put that it in the bucket of new bedding.
Then I carefully dumped the contents of the old bin into the bottom container of the new bin. Generally, you should avoid just dumping worms and their bedding from one bin to another, but it was necessary, so we tried to be delicate with the process.
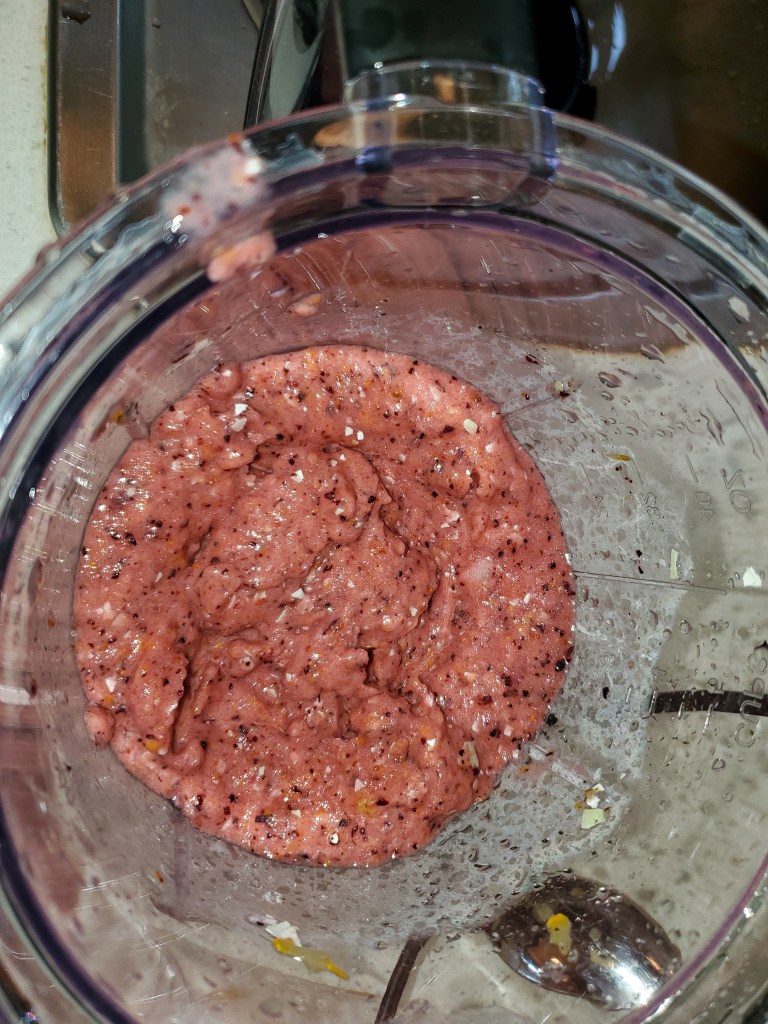
I ran some blueberries, peaches, eggshells and other goodies through the blender. I don’t usually pulverize their food – I just tear or chop it into small bits – but doing so makes the food in the top bin more tempting to the worms and is more readily digestible so it will encourage them to move. There I go, acting like I understand worm psychology.
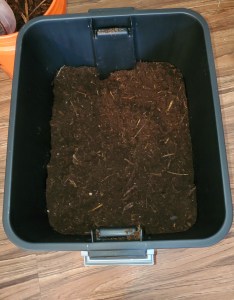
After placing the top bin (with the holes) inside of the bottom bin (with the worms) I filled it with the new bedding (I had already checked that the Ph and moisture levels were correct). I made a trough down the middle, poured the lovely mess of food in the trough, and covered the food with bedding material.

Ta-Da! The finished product, my new worm tower:
The articles I read indicated it would take about two weeks for the worms to move from the bottom bin to the top bin …
wait a minute…
While finishing up this post, I noticed: there is something wrong with this picture.
Can you see what the problem is with this new bin?
Look closer at the top bin – it’s missing something:

I forgot to drill the air holes in the side!!!
Poor wormies!
I ran (ok, so at my age “ran” is a relative term) to the bin and sure enough, the walls on the inside were dripping with condensation (it’s been a few days). There were even a couple of worms trying to escape. (Worms will leave an environment that is not welcoming.)
I checked the moisture level of the bedding with my meter, and it wasn’t too terribly bad. I mixed in a couple handfuls of dry paper shreds and gave it a good stir.
That’s when I noticed there are already a lot of worms in the top bin! Most of the food is gone, too.
Don’t you just love when something works like it’s supposed to?
I drilled the air holes (being careful to not get any of the plastic shavings inside the bin).

I will leave the lid off with a light on over the bin tonight (the worms don’t like light so will stay in their bedding) to help dry it out a bit. Then, tomorrow, I’ll give them some more food and put the lid on.
After all the worms have migrated to the top bin, I will use the castings and bedding in the bottom bin as side dressing for plants in my garden.
I will leave the worms in the new layer for about three months. This will give the eggs I transferred time to hatch, the adults that are currently reproducing to lay more eggs, and those eggs to hatch into juvenile worms.
Then, I will create a new top bin with fresh bedding, lure them up a level, and harvest the remains from this bin. This will give me two top bins (with holes for the worms to travel up) and one bottom bin (no holes). I will repeat the process by alternating between the two “top” bins, leaving the bottom bin (with no holes) empty. This tower will take up less floor space while make harvesting much easier.
Did you know, the average life span of a red wiggler worm can be as long as 4 or 5 years? That’s assuming you do your part to take care of them, of course.
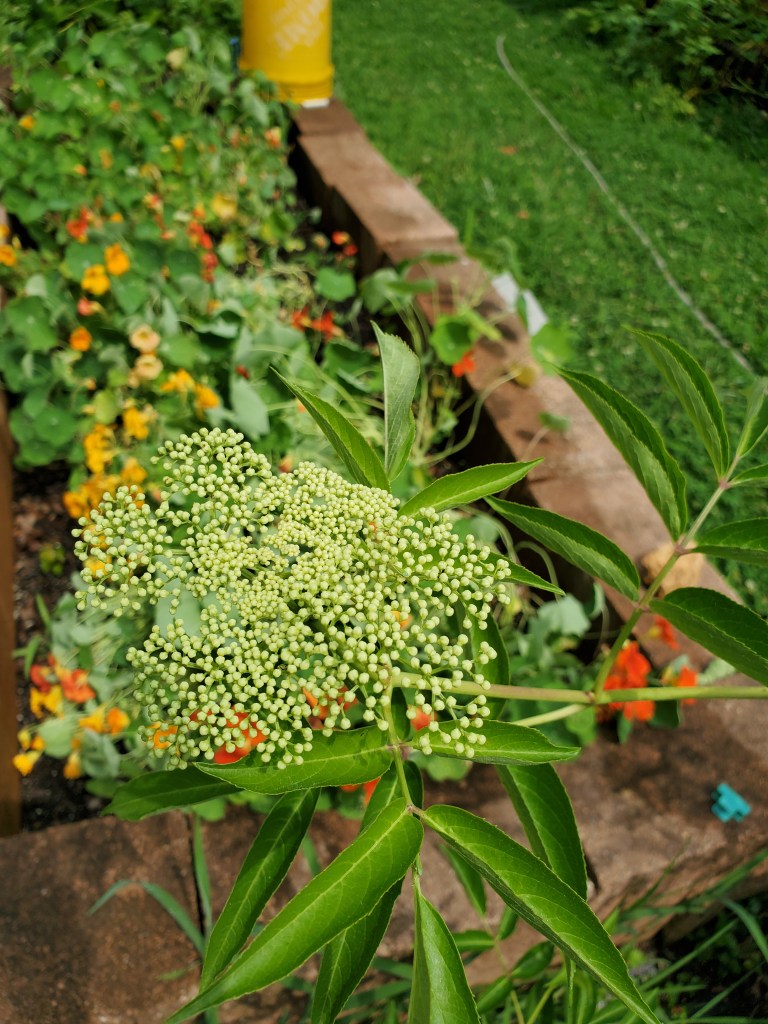
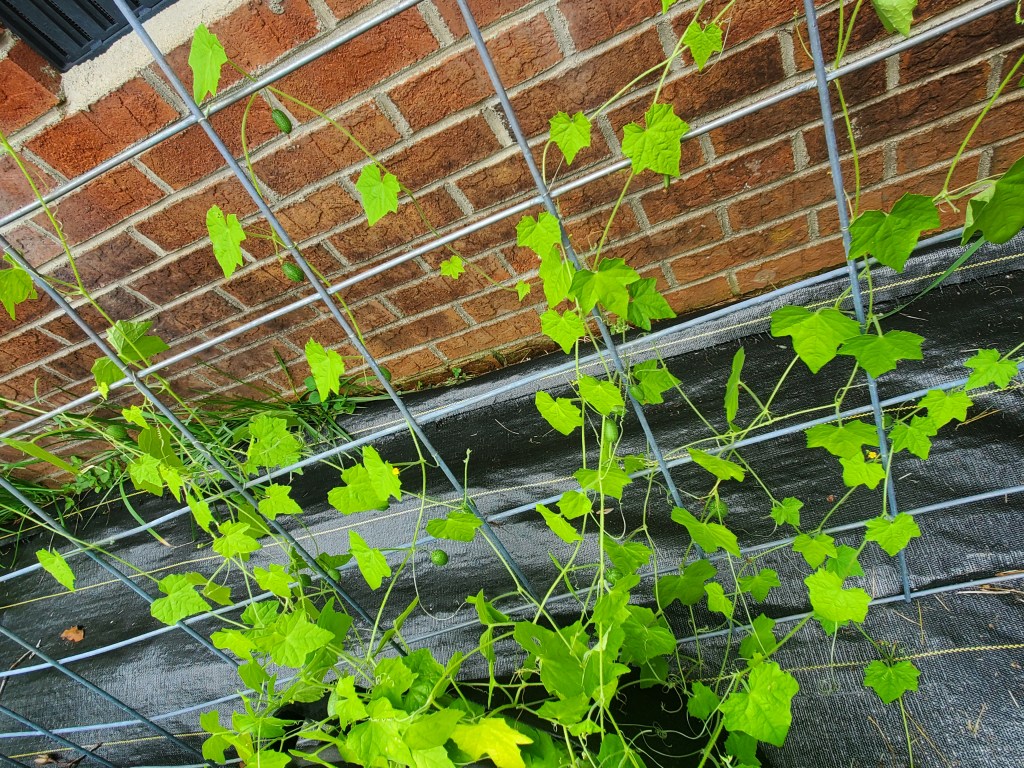
ENJOYING THE GARDEN
This is the fun time of the gardening season – so much is happening now. I’ve enjoyed watching the tomatoes change from green to blush to red. The Time Bomb Peppers are doing great. There is a new cucumber on the vine. I can’t even count the gherkins, there are so many. Even the elderberries have flowers. The spaghetti squash is ripening. All of the flowers – petunias, cosmos, nasturtiums, impatiens – are going all out with color.


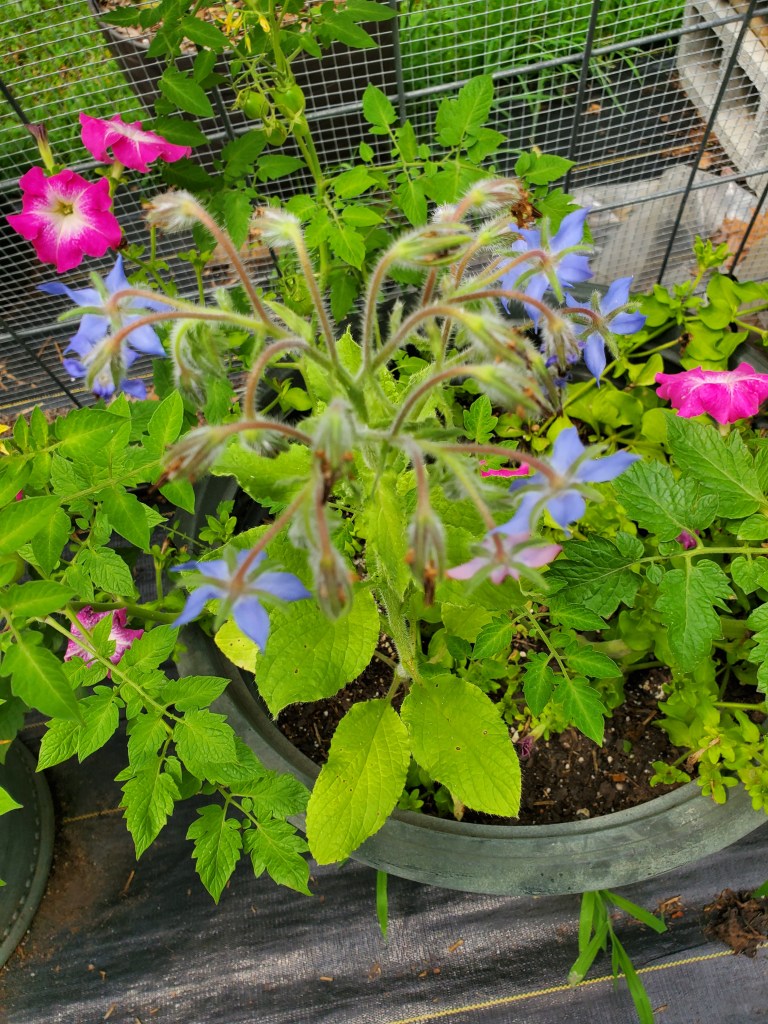

Surprisingly, none of the other squash plants are doing much but making flowers – maybe they produce fruit later? The potatoes have become an act of faith – I’m not sure what they are doing. Time will tell.
I have a new recipe waiting for my spaghetti squash to ripen and just yesterday I saw a vlog by Living Traditions Homestead that has me looking forward to making pizza sauce with my cherry tomatoes.
There’s much to look forward to!
A SURPRISE FROM WORK
Thursday, we received an unexpected e-mail from the bosses: the stores were going to be closed on the 3rd and the 4th! There were lots of hurrahs from everyone. For me, that meant a very welcome 4-day weekend!
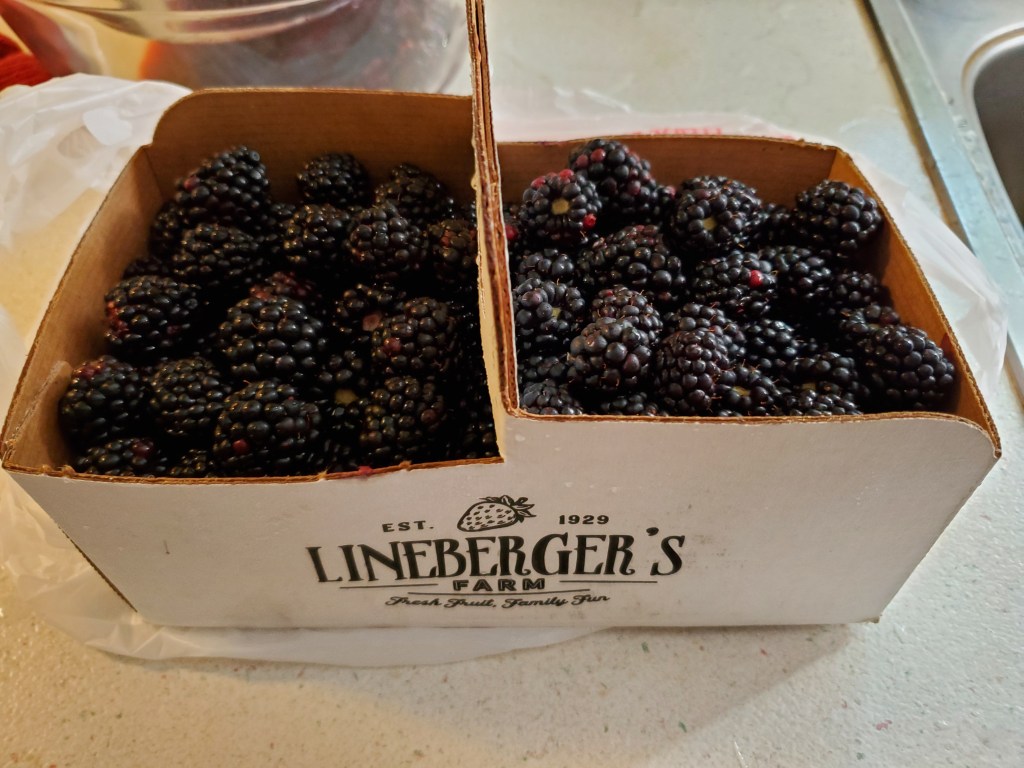
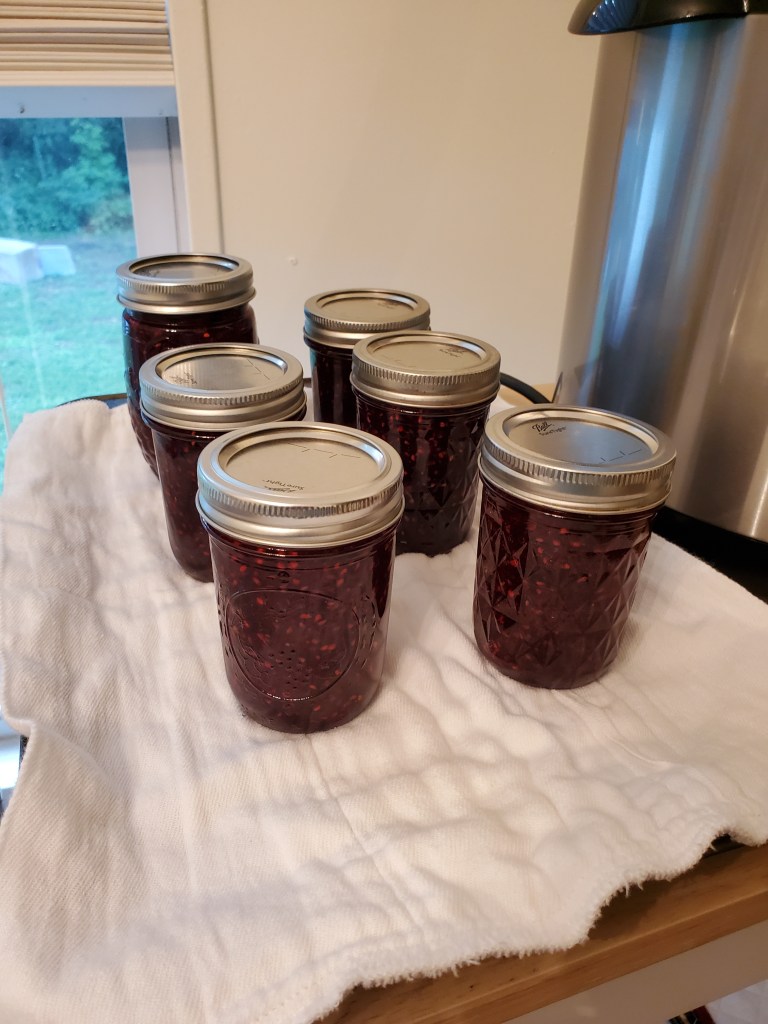
Saturday morning, I invited a friend to go to the Piedmont Triad Farmers Market with me. I came home with a basket full of stuff – most prominently, a gallon of blackberries from Lineberger’s Farm. When I saw all those blackberries at the market, I realized I hadn’t made blackberry jam for 10 years. Well, another decade, another batch.
Jam is relatively quick and easy to make. Freezer jam is the easiest method, but I wanted shelf-stable jam, so I processed it in the water bath canner.
The blackberries were nice and clean so there wasn’t much prep work in that regard.

For jam, the berries need to be crushed. I wanted to reduce the number of seeds in my jam though, so I ran them through the food mill. That was the most tedious part of the process.
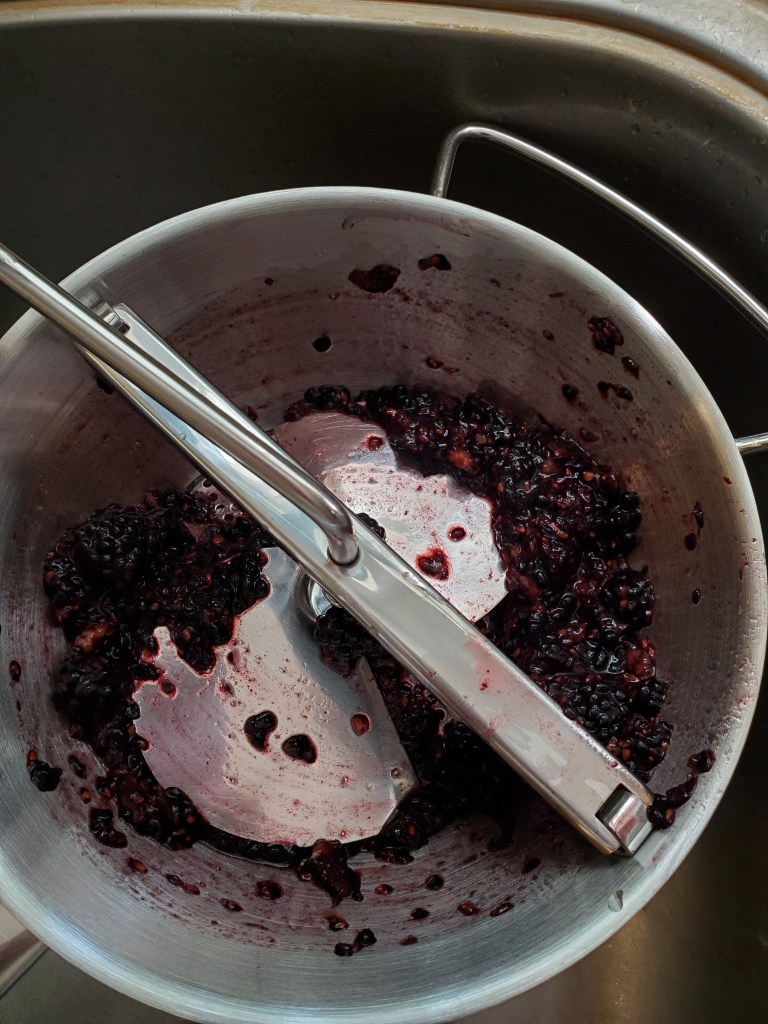
It took one whole 2-quart box to make the 4 cups of crushed blackberries required for a batch of jam. After bringing that to a boil, I added 7 cups of sugar and brought it back to a boil. When it was ready, I ladled the jam into the jars and put them in the canner.
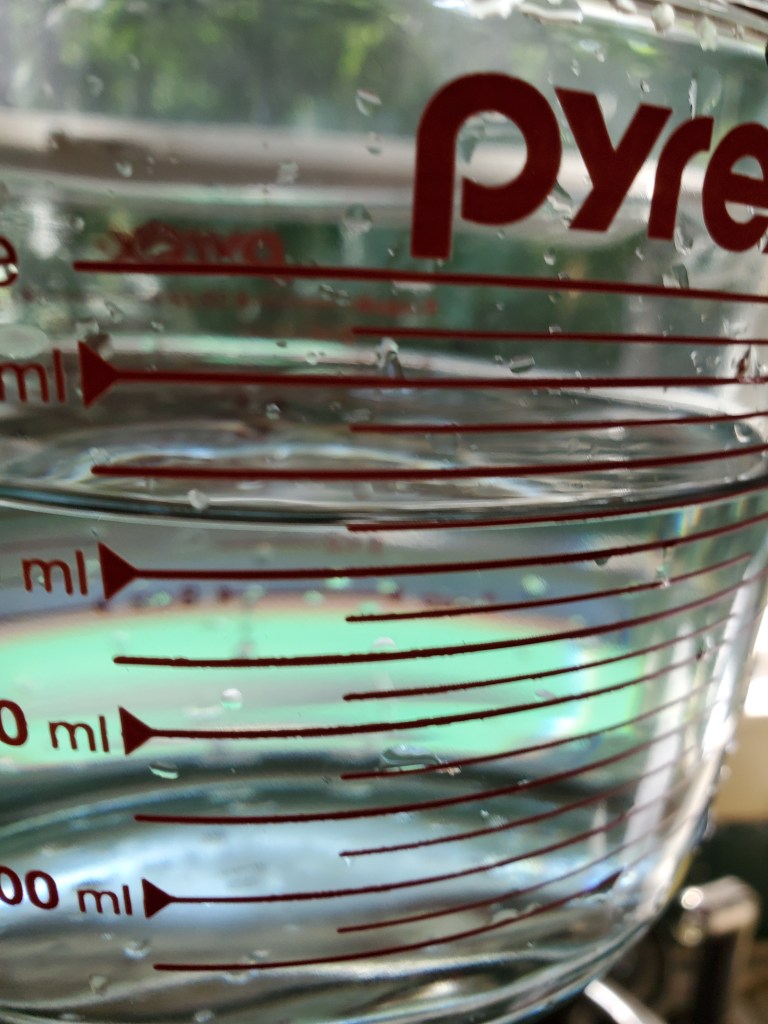
I relished the fact that this was the first time I could use water straight from the faucet in my canner now that the magnesium/iron is filtered out.
After processing for 10 minutes, I have six jars of jam for the shelf. There was a small bowl full of jam left that I put in in the fridge for immediate use.
The other 2-quart box will be packaged in smaller portions and put in the freezer. I have visions of muffins and cobbler in my future!
AREN’T THEY LOVELY?
Look what I picked from my garden!
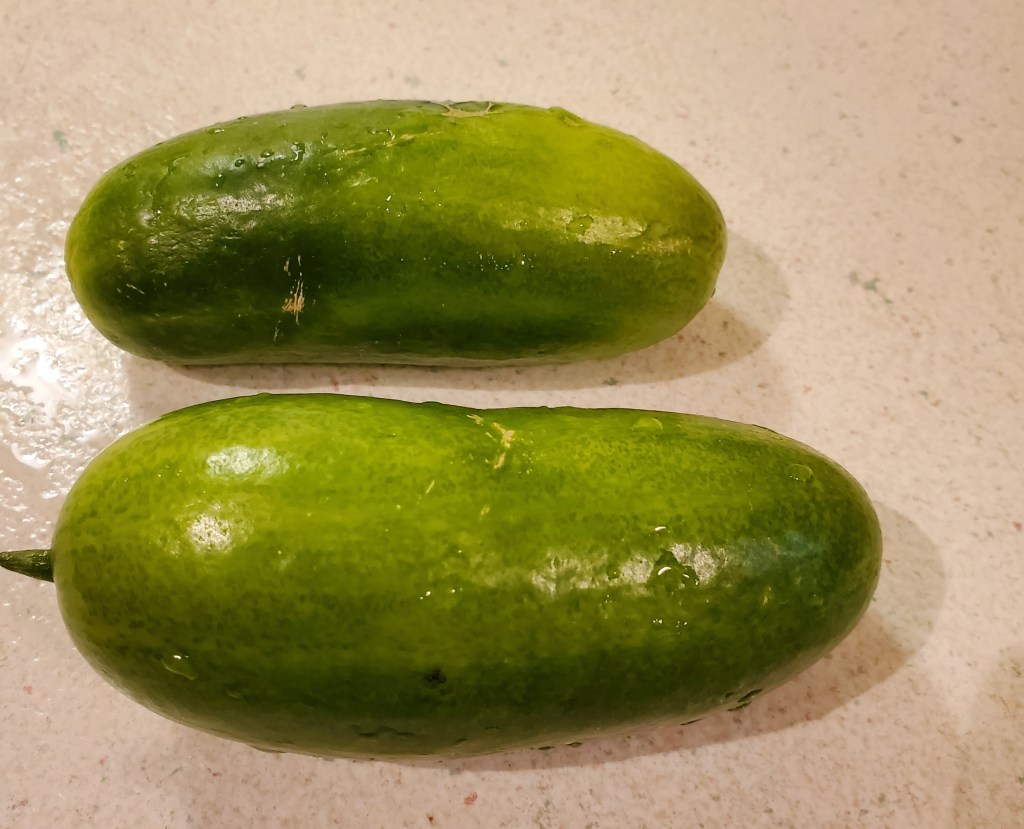
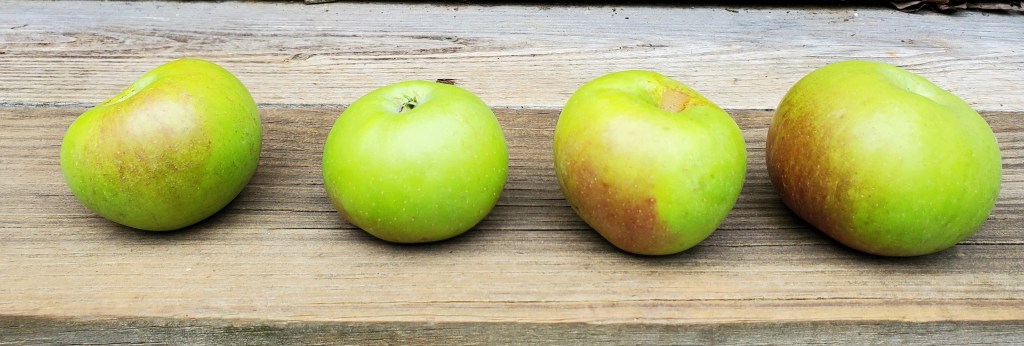
Two fat cucumbers and four Mary Reid apples!
I expect more cucumbers over the season but there won’t be any more apples. Nevertheless, this is an exciting event since these are the first apples from either tree since I planted them in 2020. Boy, after reviewing that post, those trees have come a long way in just two and half years.
TAKE STOCK – WEEK 26
Good personal hygiene is important under normal circumstances. In an emergency or after a disaster has occurred it is still important but not necessarily as easy to accomplish.
This week TAKE STOCK of how well you will be able to maintain personal hygiene if the water isn’t flowing from the faucet or it’s been contaminated and is unsafe to use.
The water we store in our 72-hour kits for emergency use (3 gallons per person) is only enough for very basic uses. In fact, it’s not much more than the minimum amount adults should drink each day (2.3 liters for women, 3.3 liters for men per the Institute of Medicine). This is not enough to also re-hydrate dehydrated or freeze-dried food, or flush the toilet, or to bathe, or wash your clothes.
Those of us using well water have a built-in wake-up call to help our households understand their water use. Every time the electricity goes out, the well pump goes out too. Next time this happens, take notes of every attempt to function normally – reaching for the faucet to brush your teeth or get a drink of water, or to flush the toilet, and think “Drat, can’t do that.”
I don’t know how those on city water can replicate this experience – can you turn off your water for a day? At any rate, find a way to run a similar test.
Understanding how your family uses water will help you identify changes you need to make to your family’s water preparedness to be able to manage during an emergency.
After you TAKE STOCK of how dependent you are on running water, determine how you will offset those needs in an emergency.
This article on the CDC site may also help you maintain personal hygiene in an emergency.
UNINTENDED CONSEQUENCES
Oscar is notorious for 1) not finishing projects and 2) not cleaning up stuff he’s used on a project. This of course has consequences.
For example, when you leave your brand-new wire cutters in the yard for weeks, instead of putting them away, they rust (fortunately they were His wire cutters not mine or there would have been quite a different discussion). When you drag your feet for four months building a chicken tractor that should have taken 1 month even on an Oscar-modified schedule (2 weekends for a regular-speed person), you get to live with a frustrated grandma (he agrees this isn’t pleasant but still just sits there). When you don’t put away the half bag of sand left after laying pavers in the dog yard ….
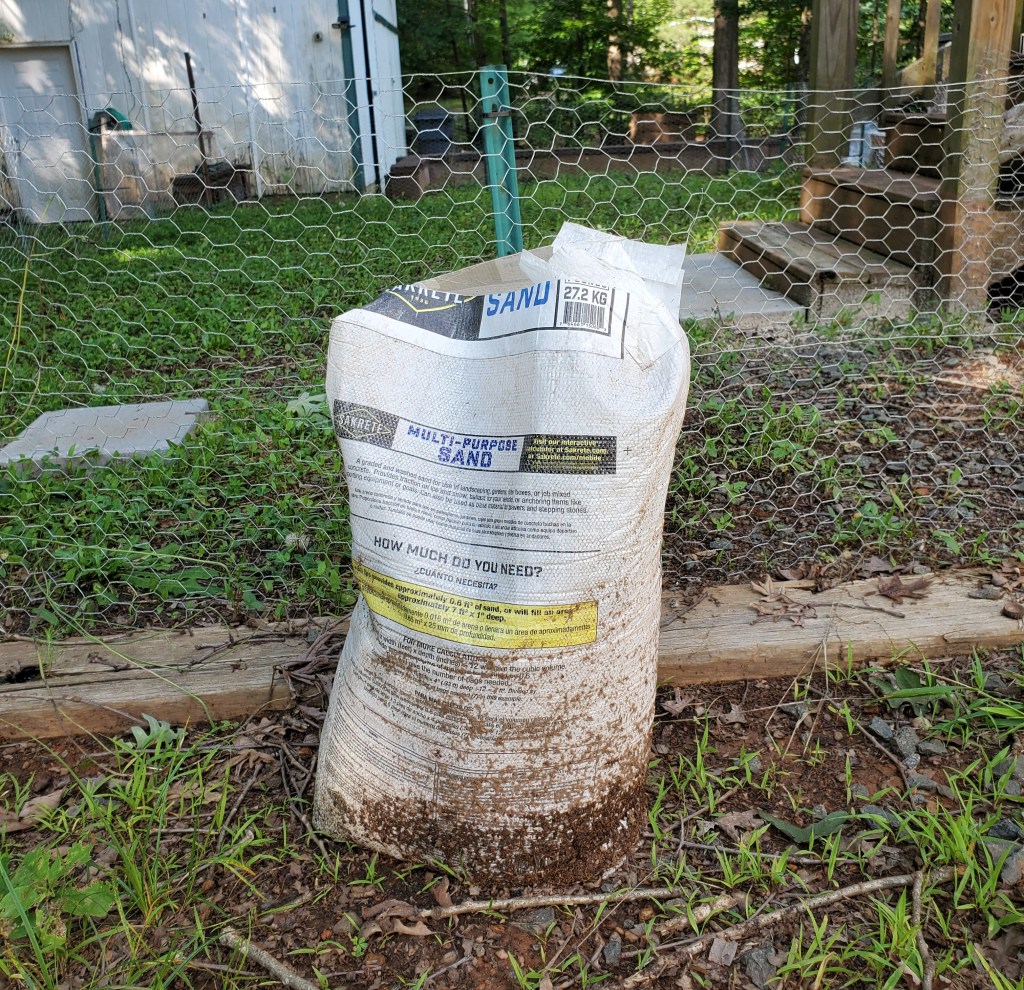
… a pair of Carolina Wrens builds their nest in the bag …
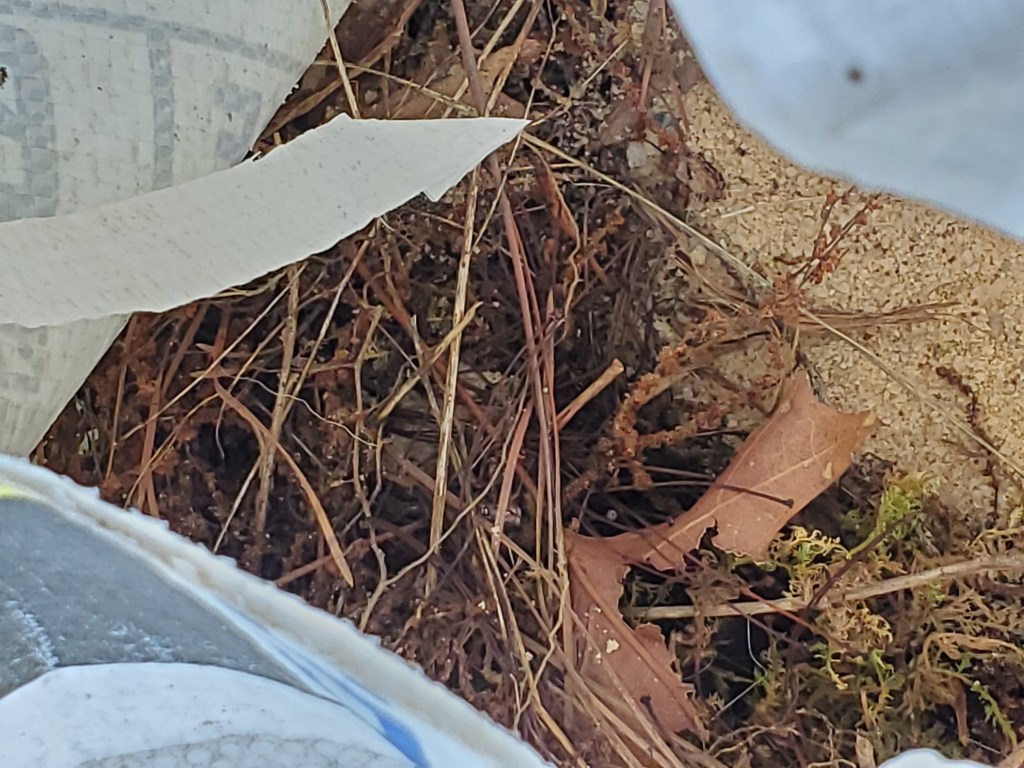
Click HERE to see and hear a Carolina Wren.
They are cute little birds and I enjoy listening to them. I admit I screamed quite loudly when I looked in the bag and one of them flew out! Both the male and female tend the nest and it’s been interesting to watch as food is shuttled in. The nest is domed with a side entrance so I can’t see if there are eggs or hatchlings in it. We’ll just leave it alone. Apparently, the male wren removes the nest when they are done. Hmm, I’m not used to that. What a pleasant thought.
In other news, I got a reprieve from watering the garden for the past week as it rained from Monday through Friday. Ironically, the day it started raining was the same day I received the new sprinkler I ordered to make watering the peas, squash, sunflowers, and cosmos more efficient, lol.
Things are moving along at a fast clip in the garden. When I showed you some of the garden developments earlier this week, the spaghetti squashes were 2″ long. Today they are 5″ long! In just four days!

While putting tomato cages on the tomato plants this weekend, I discovered one of the comfrey plants has flowers.

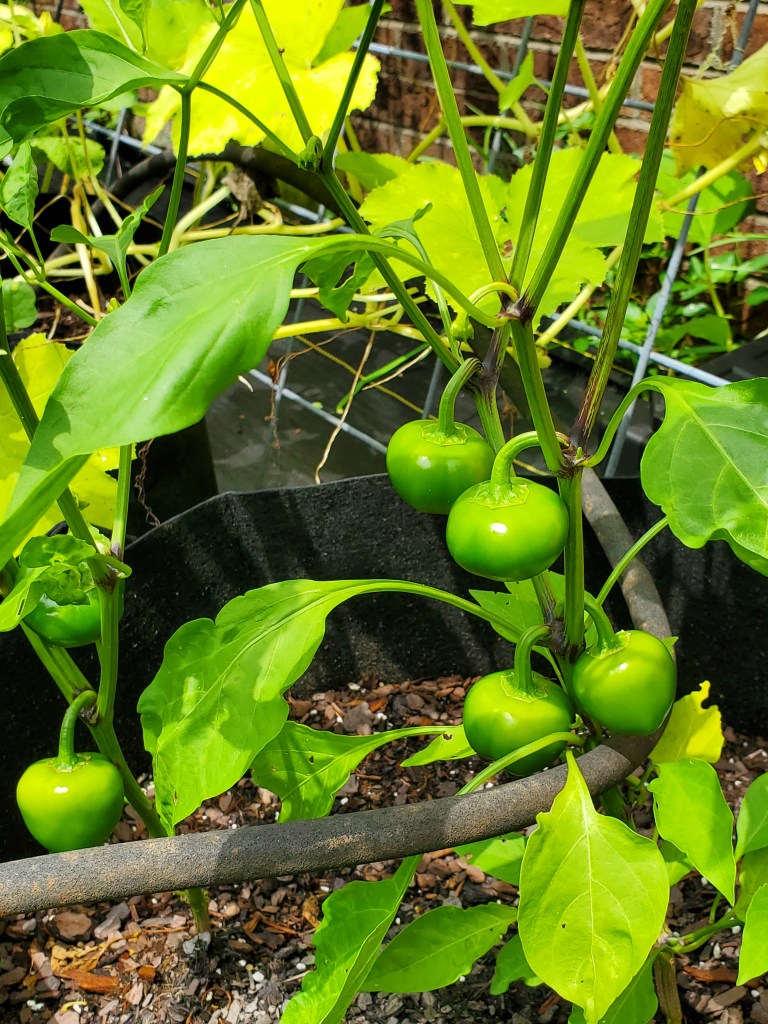
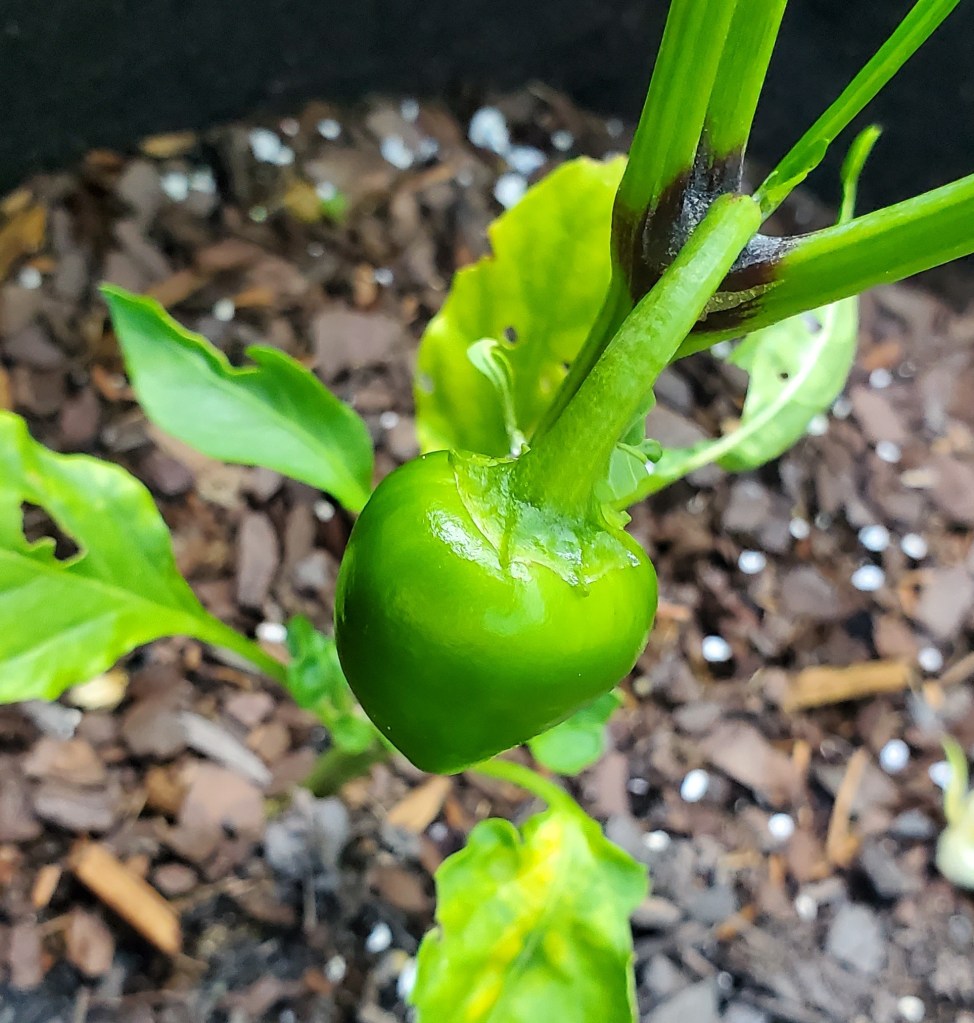
A few days ago, the Time Bomb pepper plants had flowers, but today I discovered a little pepper! I am looking forward to trying these. They apparently have a heat index between a bell pepper and a jalapeno pepper.
I am pleased to report that not only have I managed to keep the Vick’s Plant alive, but it’s thriving. I have a dismal track record with succulents, so I am feeling quite accomplished. Click HERE to see how much it has grown since I transplanted it.

Summer has begun. In Alaska, that means winter is almost here. In North Carolina, that means I can plant more stuff.

AN EASIER WAY
When I got up this morning, I wasn’t interested in my usual toast for breakfast so decided to make pancakes.
I am nearing the end of a box of Old-Fashioned Pancake Mix – meaning you have to add the milk, eggs and oil to the mix rather than the Just Add Water style. In the process of mixing batter for 10 pancaked, my eyes picked up the liquid measurement from the 20-pancake column. Sigh. So, I guess I’m making 20 pancakes and added the additional measurements of the other ingredients.
I started heating up the pan on the stove and then remembered my burners are flaking out on me. The last time I made pancakes, the burner suddenly decided, without my permission, to surge to High heat, burning the pancakes. Nope, not going to risk that again on a batch of 20 pancakes.
Cookie Sheet Pancakes to the rescue!
I’ve done these before and it’s a quick and easy way to make large batches of pancakes (yes, I consider 20 pancakes to be a large batch). Just fill up more cookie sheets when you are cooking for a larger crowd.
This couldn’t be easier:
- Preheat oven to 425 degrees F.
- Spray a regular-sized cookie sheet with non-stick spray.
- Pour the prepared batter in the pan and spread it out evenly. Use a box mix, or your favorite scratch recipe.
- Bake for 14 – 16 minutes.
- Cut into 20 squares.
- Let’s eat!
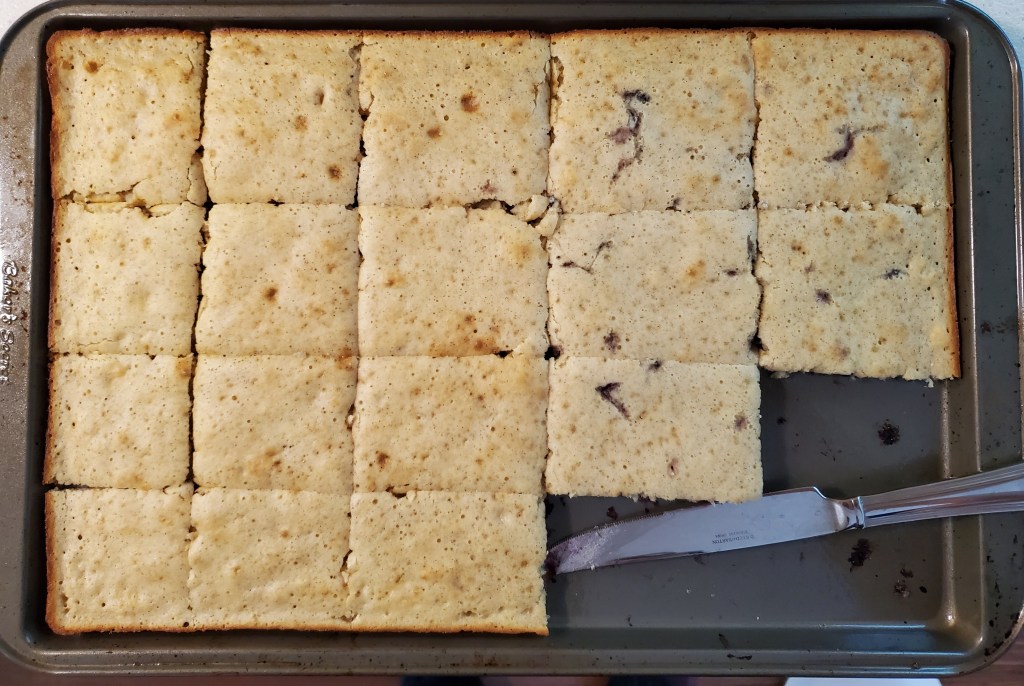
I put blueberries on top of half the batter and left half plain. How fun to be able to offer a variety of pancakes out of one sheet – raspberries, chocolate chips, whatever your heart desires.
I set my timer for 15 minutes and they were perfectly done. You can use the time to do other things – in those 15 minutes, I took my shower, got dressed, brushed my hair and teeth, put in my contacts, and folded and put away a load of laundry.
Now, admittedly, eating square pancakes can be a bit unsettling. Remember though, Wendy’s managed to get us to eat square hamburgers so I suppose we are adaptable beings!
Put any leftovers in an air-tight container and refrigerate if you’ll use in a couple of days or freeze for use down the road.

You must be logged in to post a comment.